13
Air Cleaner
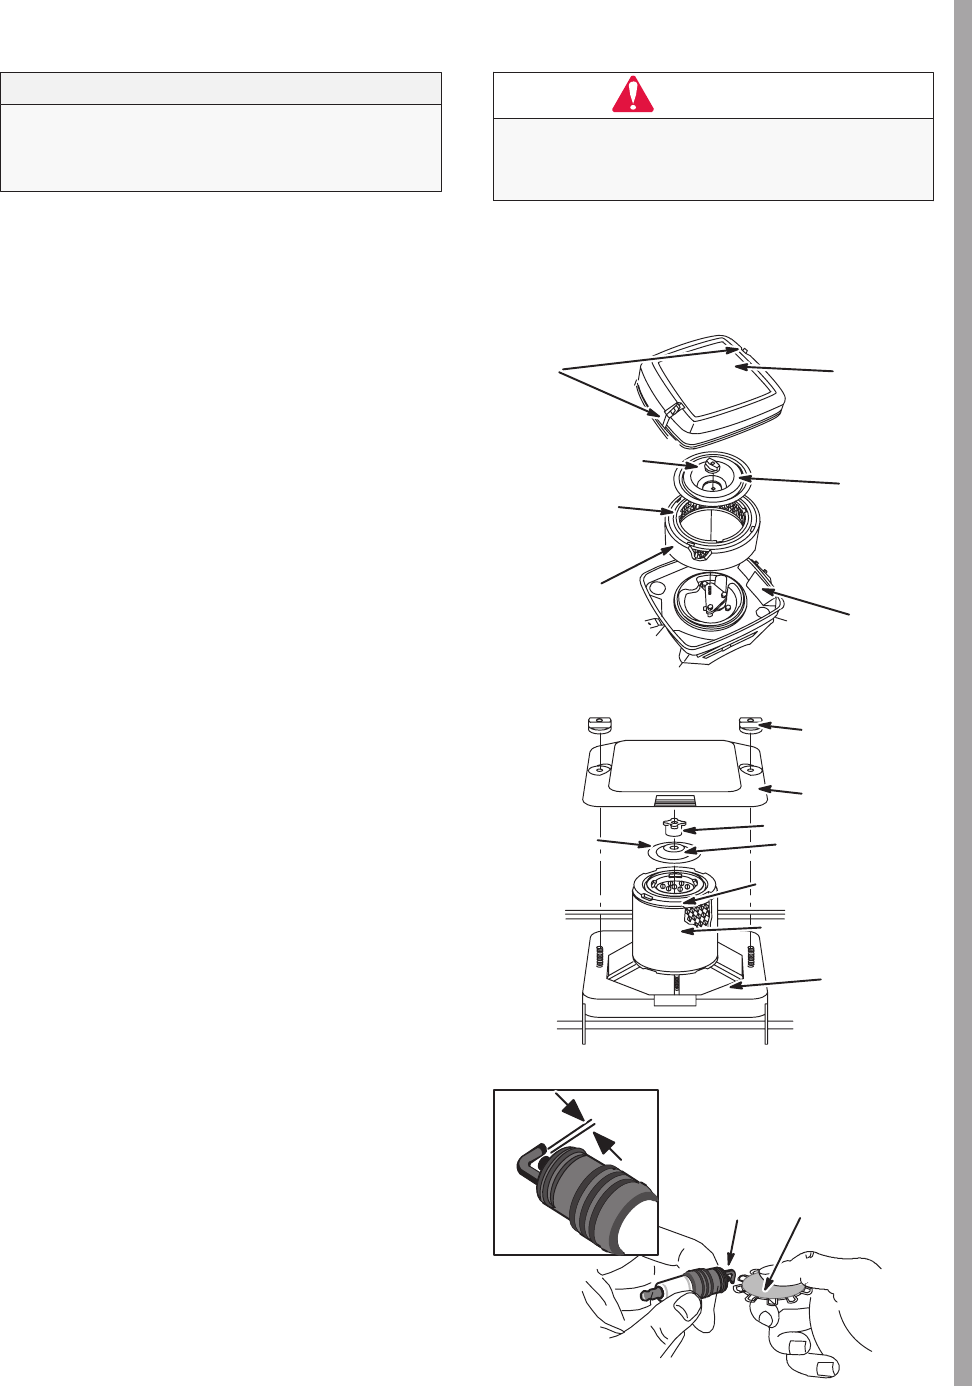
All engines have a round air cleaner cartridge. In addition, some engines have a pre-cleaner.
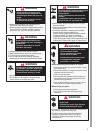
Do not use pressurized air or solvents to clean
cartridge. Pressurized air can damage cartridge;
solvents will dissolve cartridge.
CAUTION
Ensure air cleaner, retainer, and cover are
properly installed before starting engine.
WARNING
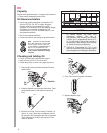
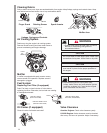
Pre-cleaner
To clean pre-cleaner (if equipped), separate it from cartridge and wash in liquid detergent and water. Squeeze dry in a
clean cloth.
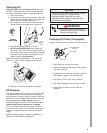
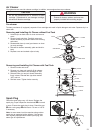
Removing and Installing Air Cleaner without Fuel Tank
1. Unhook clips on both sides of cover and remove
cover.
2. Remove knob and plate. Carefully remove air
cleaner assembly to prevent debris from entering
carburetor.
3. Reassemble clean (or new) pre-cleaner on clean
(or new) cartridge.
4. Reinstall air cleaner assembly, plate and knob in
body.
5. Replace cover and reattach clips to body.
COVER
KNOB
CARTRIDGE
FOAM
PRE-CLEANER
CLIPS
BODY
PLATE
Removing and Installing Air Cleaner with Fuel Tank
1. Remove knobs and cover.
2. Remove nut, plate and carefully lift air cleaner
assembly (pre-cleaner and cartridge) off stud.
3. Reinstall clean (or new) air cleaner assembly
firmly in base. Reinstall late (top side marked
“UP”) and nut.
4. Reinstall cover. Tighten knobs securely.
COVER
NUT
PLATE
CARTRIDGE
PRE-CLEANER
KNOB
“UP”
BASE
Spark Plug
Check the spark plug every 100 hours. Replace the
spark plug if upon inspection the electrode
Ê is burned
or worn. Ensure the spark plug is clean. Check the gap
Ë with a wire gauge Ì and reset to .76 mm or 0.30 in.
if necessary.
Note: In some areas, local law requires using resistor
spark plug to suppress ignition signals. If this engine
was originally equipped with resistor spark plug, use
same type for replacement.
Ê
Ì
Ë


