


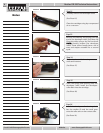

Photo 12
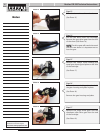
Step 10
Remove the white transfer roller saddle
from the non-gear side of the cartridge.
(See Photo 12)
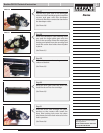
Step 11
Remove the toner agitator drive gear
from the side of the cartridge.
(See Photo 13)
P
hot
o 13
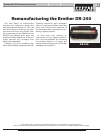
Photo 14
N
eed help with a particular remanu-
facturing problem?
Call the Technical Resource Center from
8am - 5pm PST: 800 394.9900
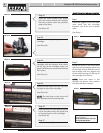
Photo 10
Photo 11
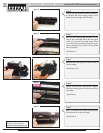
Step 9
Lift the transfer roller away from the
drum.
(See Photo 11) Clean the transfer
roller using dry compressed air.
Step 8
Lift the top cover of the cartridge to
separate the two sections.
(
See Photo 10)
Brother DR-250 Technical Instruction 3
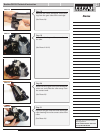
Step 12
Rotate the drum locking hub counter-
clo
ckwise and remove the hub from the
dr
um axle
.
(See Photo 14)
Notes