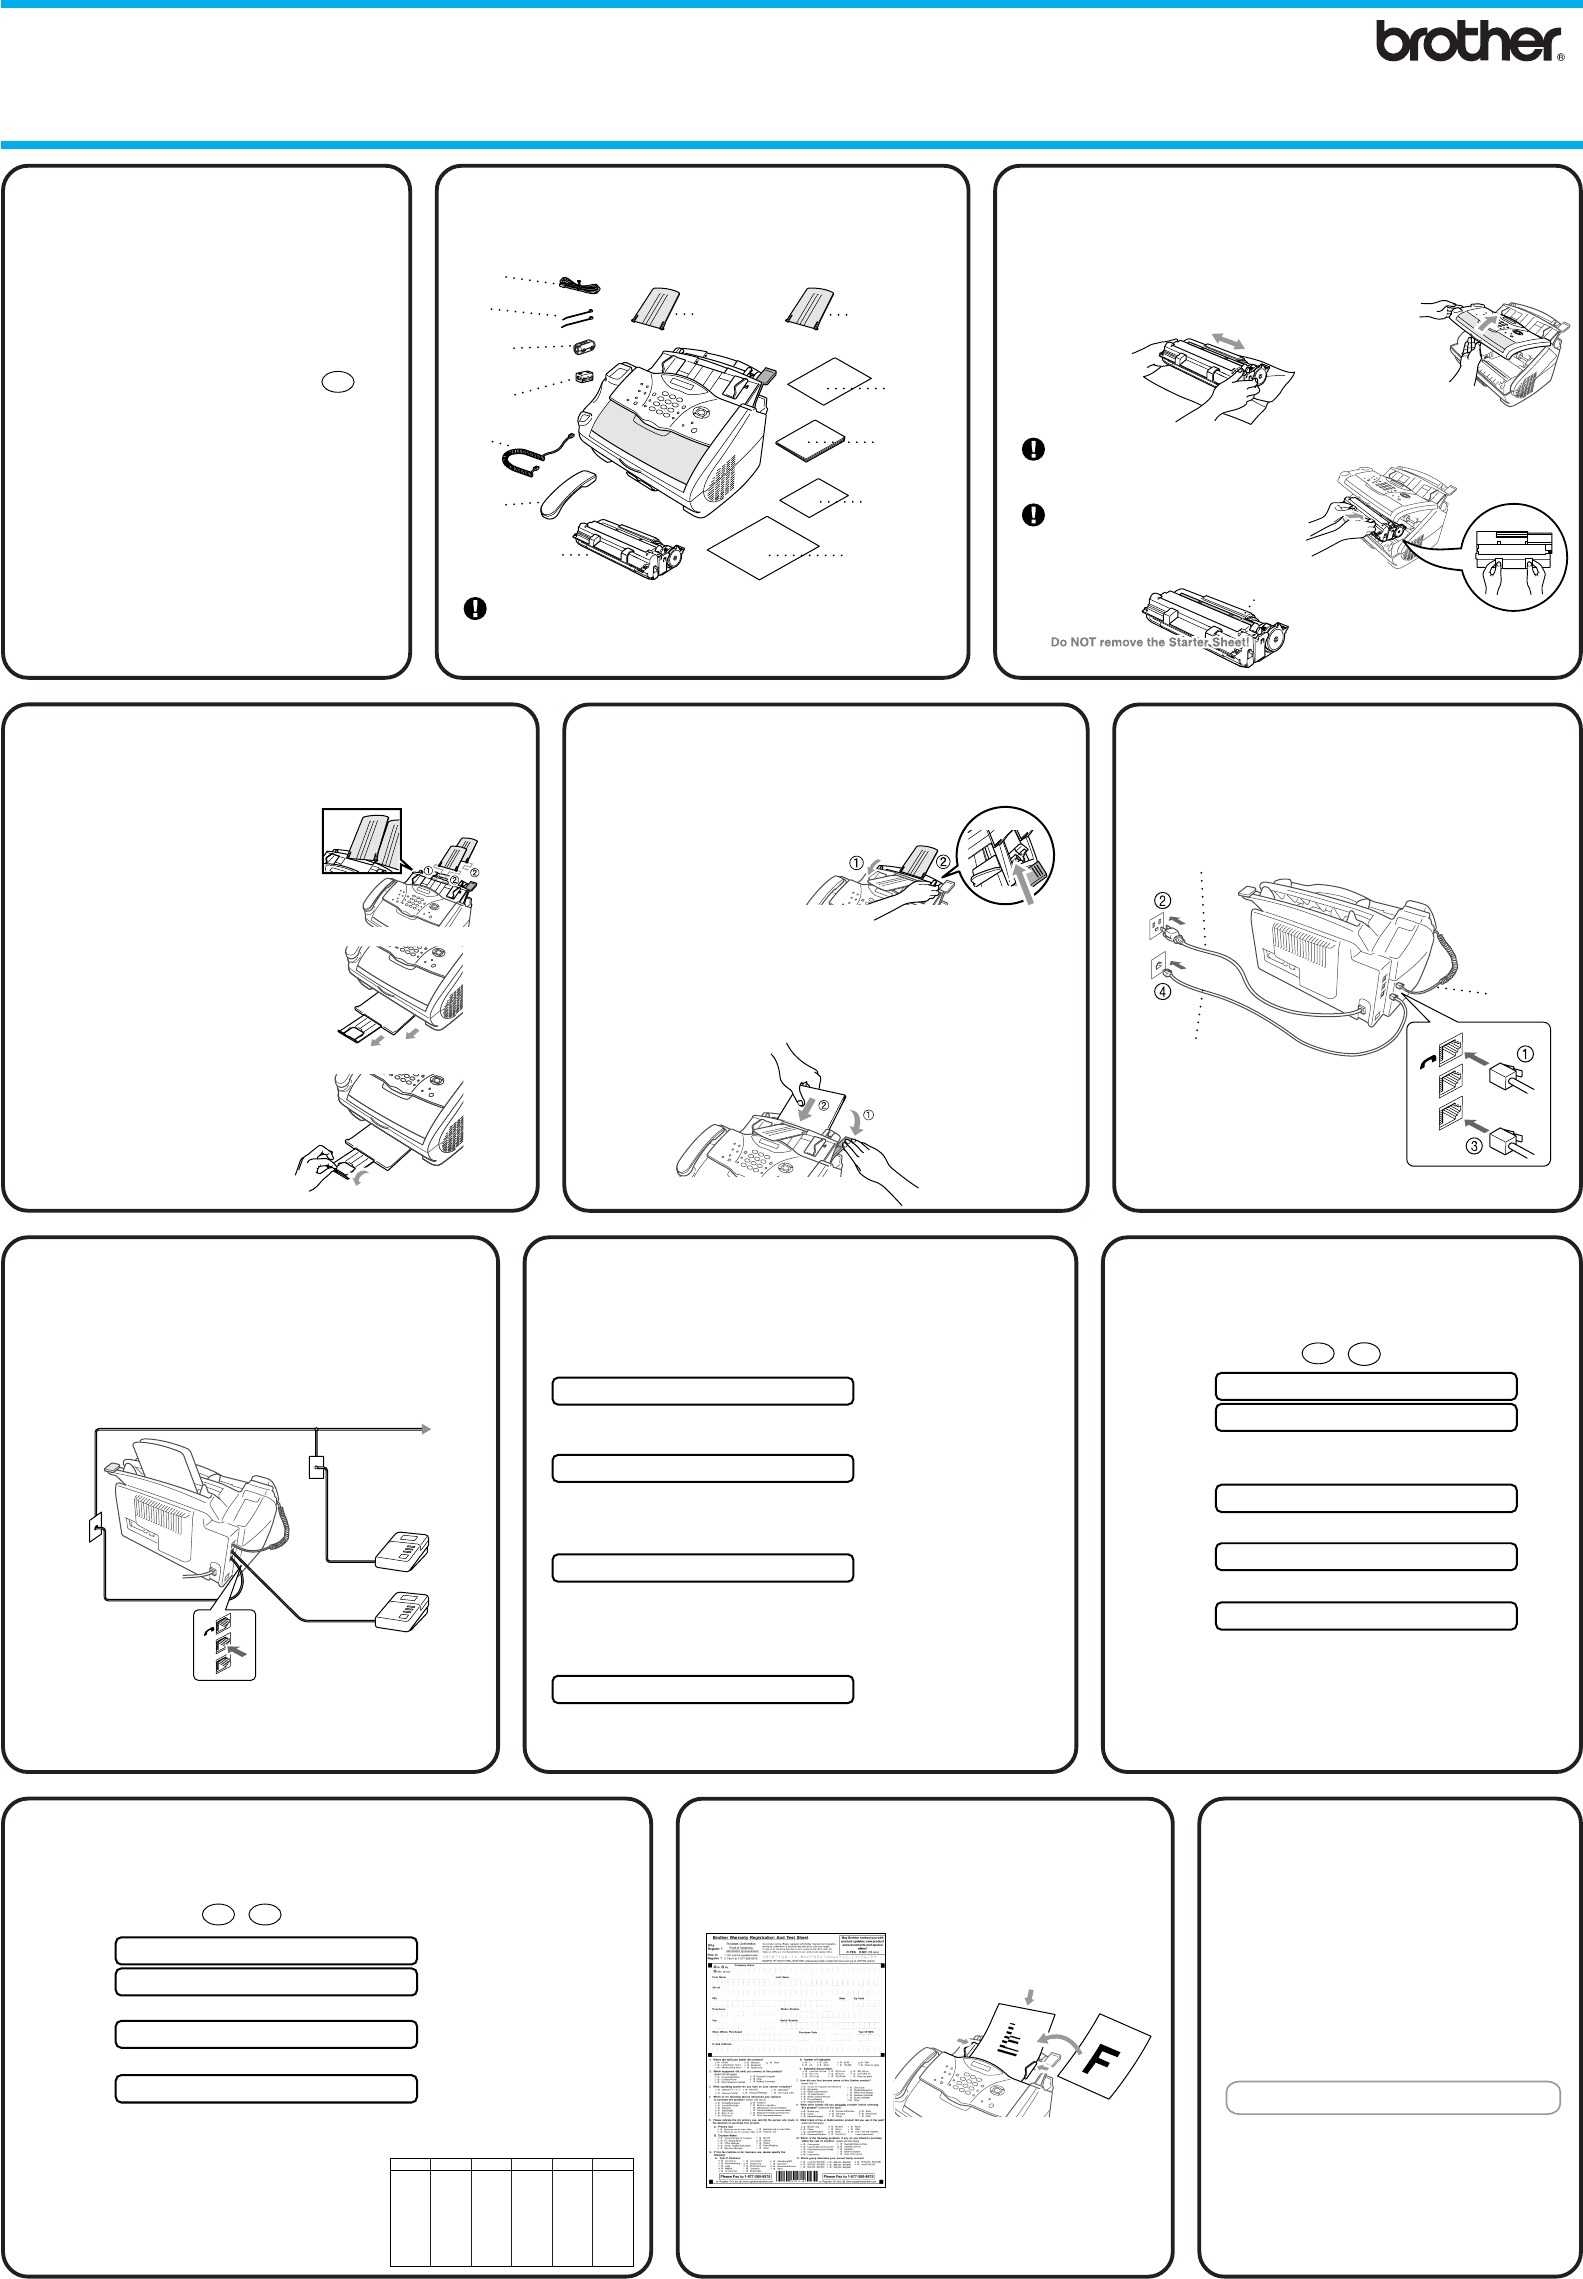
Load the paper
with the lever
down
Press and slide
7
Select a Receive Mode
THANK YOU!
CONGRATULATIONS ON PURCHASING
THE ULTIMATE BROTHER MACHINE.
WE ARE SURE YOU WILL BE THRILLED
WITH THE CONVENIENT WAY YOUR NEW
MACHINE PERFORMS SO MANY TASKS
WITH DAZZLING RESULTS!
For more details, press Reports and
1
on
your machine or see your Owner’s Manual.
If you cannot solve a problem:
Refer to Frequently Asked Questions
(FAQs) on Brother World Wide Web;
URL: http://solutions.brother.com
Call Brother Customer Service at:
USA: 1-800-284-4329
(9AM-5PM EST)
1-800-284-3238 (TTY service
for the hearing impaired)
In Canada: 1-800-853-6660
(8AM-8PM EST)
1-514-685-6464
(in Montreal)
1
Packing List
Keep the packing materials for possible future
transport. If you do not pack the machine properly, it
may void your warranty.
Telephone
Wire Cord
Drum Unit Assembly
(With free Starter
Toner Cartridge)
Owner’s
Manual
Brother
Quick Setup Guide
Handset
Curled
Cord
Test Sheet
(For USA Only)
Telephone
Handset
Document
Support
Paper
Support
Accessory
Order Form
Cable Tie
(For FAX-3800 Only)
Filter Core for
Bi-directional IEEE 1284
(For FAX-3800 Only)
Filter Core for
USB Cable
(For FAX-3800 Only)
5
Install Handset,
Power Cord and
Phone Line
3
Attach the Plastic Supports
and Pull out the Paper Tray
4
Load Paper
6
If you are sharing one
phone line with an external
telephone answering
device, connect it now to
the external jack.
A. Adjust the guides to the position for
the paper size you are using.
B. Fan the paper well.
8
Set Date and Time
A. Press Menu/Set,
1
,
2
.
YEAR:XX
2.DATE/TIME
B. Enter the last two digits of the year and press
Menu/Set.
MONTH:XX
C.
Enter two digits for the month and press Menu/Set.
DAY:XX
D. Enter two digits for the day and press Menu/Set.
TIME:XX:XX
E. Enter the time in 24-hour format and press
Menu/Set.
F. Press Stop/Exit.
Note: If you can’t step forward, press Stop/Exit and
repeat from Step A.
9
Set Station ID
A. Press Menu/Set,
1
,
3
.
FAX:
3.STATION ID
B. Enter your fax number, then press Menu/Set.
TEL:
C. Enter your telephone number, then press Menu/Set.
NAME:
D.
Enter your name using the dial pad and the chart below, then press
Menu/Set. Use the right arrow to create spaces.
E. Press Stop/Exit.
For more details, see page 4-2 in Owner’s Manual.
Note: If you can’t step forward, press
Stop/Exit and repeat from Step A.
Key
once
twice
three times
four times
A
D
G
P
J
M
T
W
B
E
H
K
N
Q
U
X
2
3
4
5
6
7
8
9
C
F
R
I
L
O
V
Y
five times
2
3
4
5
6
S
8
Z
A
D
G
7
9
J
M
T
For the USA, complete
the Warranty Registration
and Test Sheet...
10
C. Push down the paper lever. Load the paper (with the
lever down). Make sure the print side is toward the fax
machine and the paper level is stacked below the
paper mark. The feeder can hold up to 200 sheets of
paper.
...and fax it to
Brother
at: 1-877-268-9575
LINE
EXT.
Power Cord
Telephone
Line Cord
Handset
Cord
TAD
TAD
NO !
YES !
LINE
EXT.
Choose the mode that best suits your needs by pressing Receive
Mode repeatedly until the screen displays the setting you want to use.
FAX ONLY
For use with a dedicated fax line.
Every call is answered as a fax.
FAX/TEL
For receiving fax and voice calls on one line.
The MFC answers every call and receives a fax or double
rings for you to pick up a voice call.
TAD:ANSWER MACH.
For use with an external answering device.
The TAD answers every call and stores voice messages.
Fax messages are printed.
Make sure that TAD is connected to external jack.
MANUAL
You control the phone line and must answer every call yourself.
For more details, see page 5-2 in Owner’s Manual.
Note:
Please select “TAD ” on your machine if you have
an external answering machine. (For more
details, see page 2-9 to 2-10 in Owner’s Manual.)
A. Attach the plastic
document and paper
support to the
multi-purpose sheet
feeder.
B. Pull out the paper tray
and the extension.
C. If your paper size is A4
or Letter, unfold the
paper stopper by pulling
it toward you.
(For legal paper)
(For A4 letter paper)
LE1941001
2
Quick Setup Guide
Press Fax Start.
Install Printer
Driver from
the Web Site
(For FAX-2900 and
FAX-3800 Only)
11
You can down load the Brother Printer
Driver from the Brother Solutions Center.
Visit us at:
http://solutions.brother.com
2
Install the Drum Unit
A.
Unpack the drum unit assembly,
and gently rock it from side to
side five or six times to
distribute
the toner
evenly
inside the
cartridge.
D. Close the top cover.
B. Open the top cover of the
machine.
To prevent damage to the
drum, do not expose it to light
for longer than a few minutes.
Do NOT remove the clear
plastic starter sheet-this
will be ejected while the
FAX is warming up.
Starter Sheet
C.
Holding the drum unit by its
handles, insert it into the FAX.
FAX-2800
FAX-2900
FAX-3800


