


Installing the Driver & Software
18
STEP2
Windows
®
USB
Windows
®
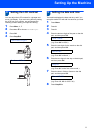
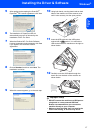
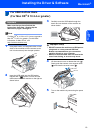
13 Lift the scanner cover to release the lock ( ).
Gently push the scanner cover support down
( ) and close the scanner cover ( ).
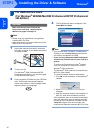
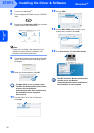
14 Turn on the machine by connecting the power
cord.
The installation of the Brother drivers will
automatically start. The installation screens
appear one after another. Please wait, it will
take a few seconds for all screens to
appear.
Improper Setup
DO NOT try to cancel any of the screens during
this installation.
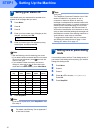
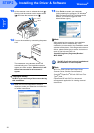
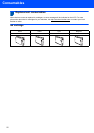
15 When the On-Line Registration screen is
displayed, make your selection and follow the
on-screen instructions.
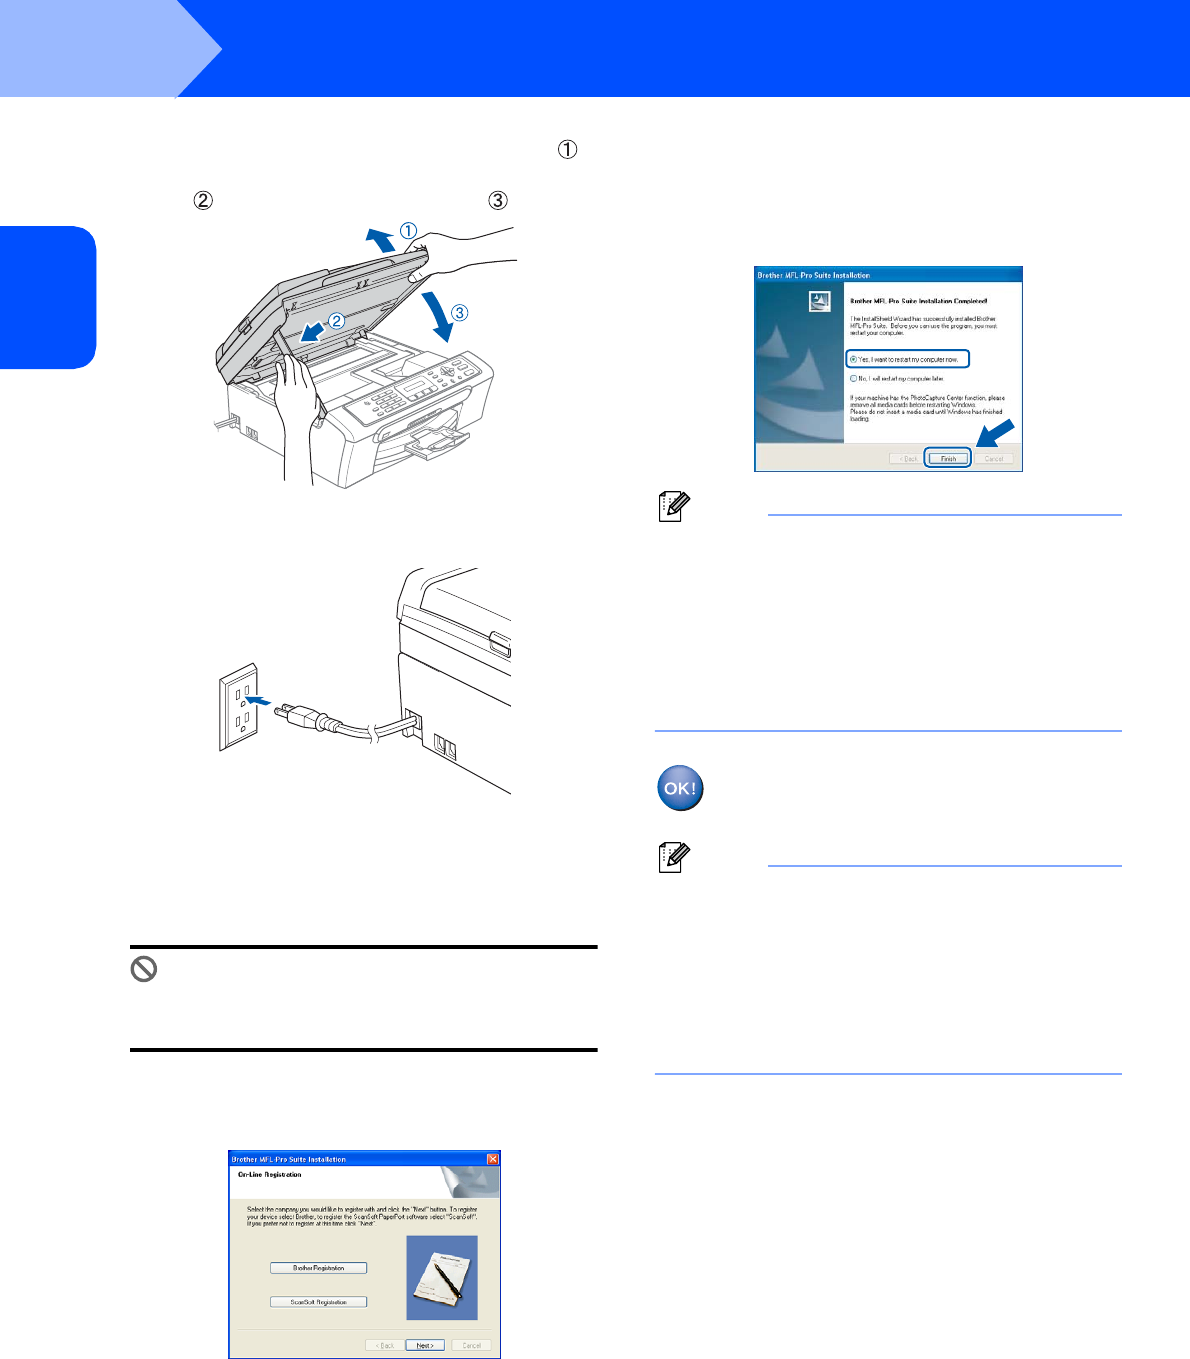
16 Click Finish to restart your computer.
(After restarting the computer, for Windows
®
2000 Professional/XP/XP Professional x64
Edition, you must be logged on with
Administrator rights.)
Note
After restarting the computer, the Installation
Diagnostics will run automatically. If the
installation is unsuccessful, the installation results
window will be shown. If the Diagnostics shows a
failure, please follow the on-screen instruction or
read on-line help and FAQ’s in
Start/All Programs (Programs)/Brother/
MFC-XXXX.
The MFL-Pro Suite has been installed and
the installation is now complete.
Note
MFL-Pro Suite includes the Printer Driver,
Scanner Driver, Brother ControlCenter3,
ScanSoft
®
PaperPort
®
SE with OCR and True
Type
®
fonts.
PaperPort
®
SE with OCR is a document
management application for viewing scanned
documents.