


PRINTING FROM A MACINTOSH
®
7 - 4
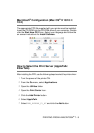
How to Select the Print Server (AppleTalk/
EtherTalk)
Once the print server is connected on your network and the printer is
powered on, the Brother print server’s AppleTalk service name
(default is BRN_xxxxxx_P1_AT, where xxxxxx is the last six digits
of the Ethernet address (MAC address) should appear in the
Chooser.
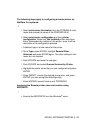
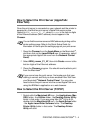
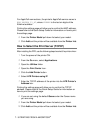
1
Open the Chooser from the Apple Menu on the Macintosh
®
,
and then click on the LaserWriter8 icon (if necessary, select
the appropriate AppleTalk zone from the Network Control
Panel).
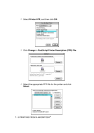
2
Select BRN_xxxxxx_P1_AT, then click Create. xxxxxx is the
last six digits of the Ethernet address.
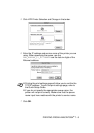
3
Close the Chooser program. You should now be able to print
from the Macintosh
®
.
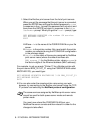
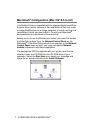
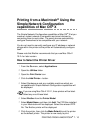
How to Select the Print Server (TCP/IP)
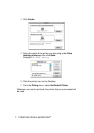
1
Double click the Macintosh HD icon - the Applications (Mac
OS
9) folder - the Utilities folder - the Desktop Printer Utility
folder in that order. If you are using Mac OS
®
8.6 to 9.04,
double click the Macintosh HD icon - the Apple Extras folder
- the Apple LaserWriter Software folder - the Desktop
Printer Utility folder in that order. The Desktop Printer
Utility will start.
You can find the service name and MAC address by printing out the
printer
settings
page. Refer to the
Quick Setup
Guide for
information on how to print the
settings
page on your print server.
If you cannot see the print server, first make sure that your
cabling is correct and that you have enabled EtherTalk from
your Macintosh
®
Network Control Panel. You may also
need to force the print server into the correct AppleTalk zone
using the BRAdmin application or a web browser.