


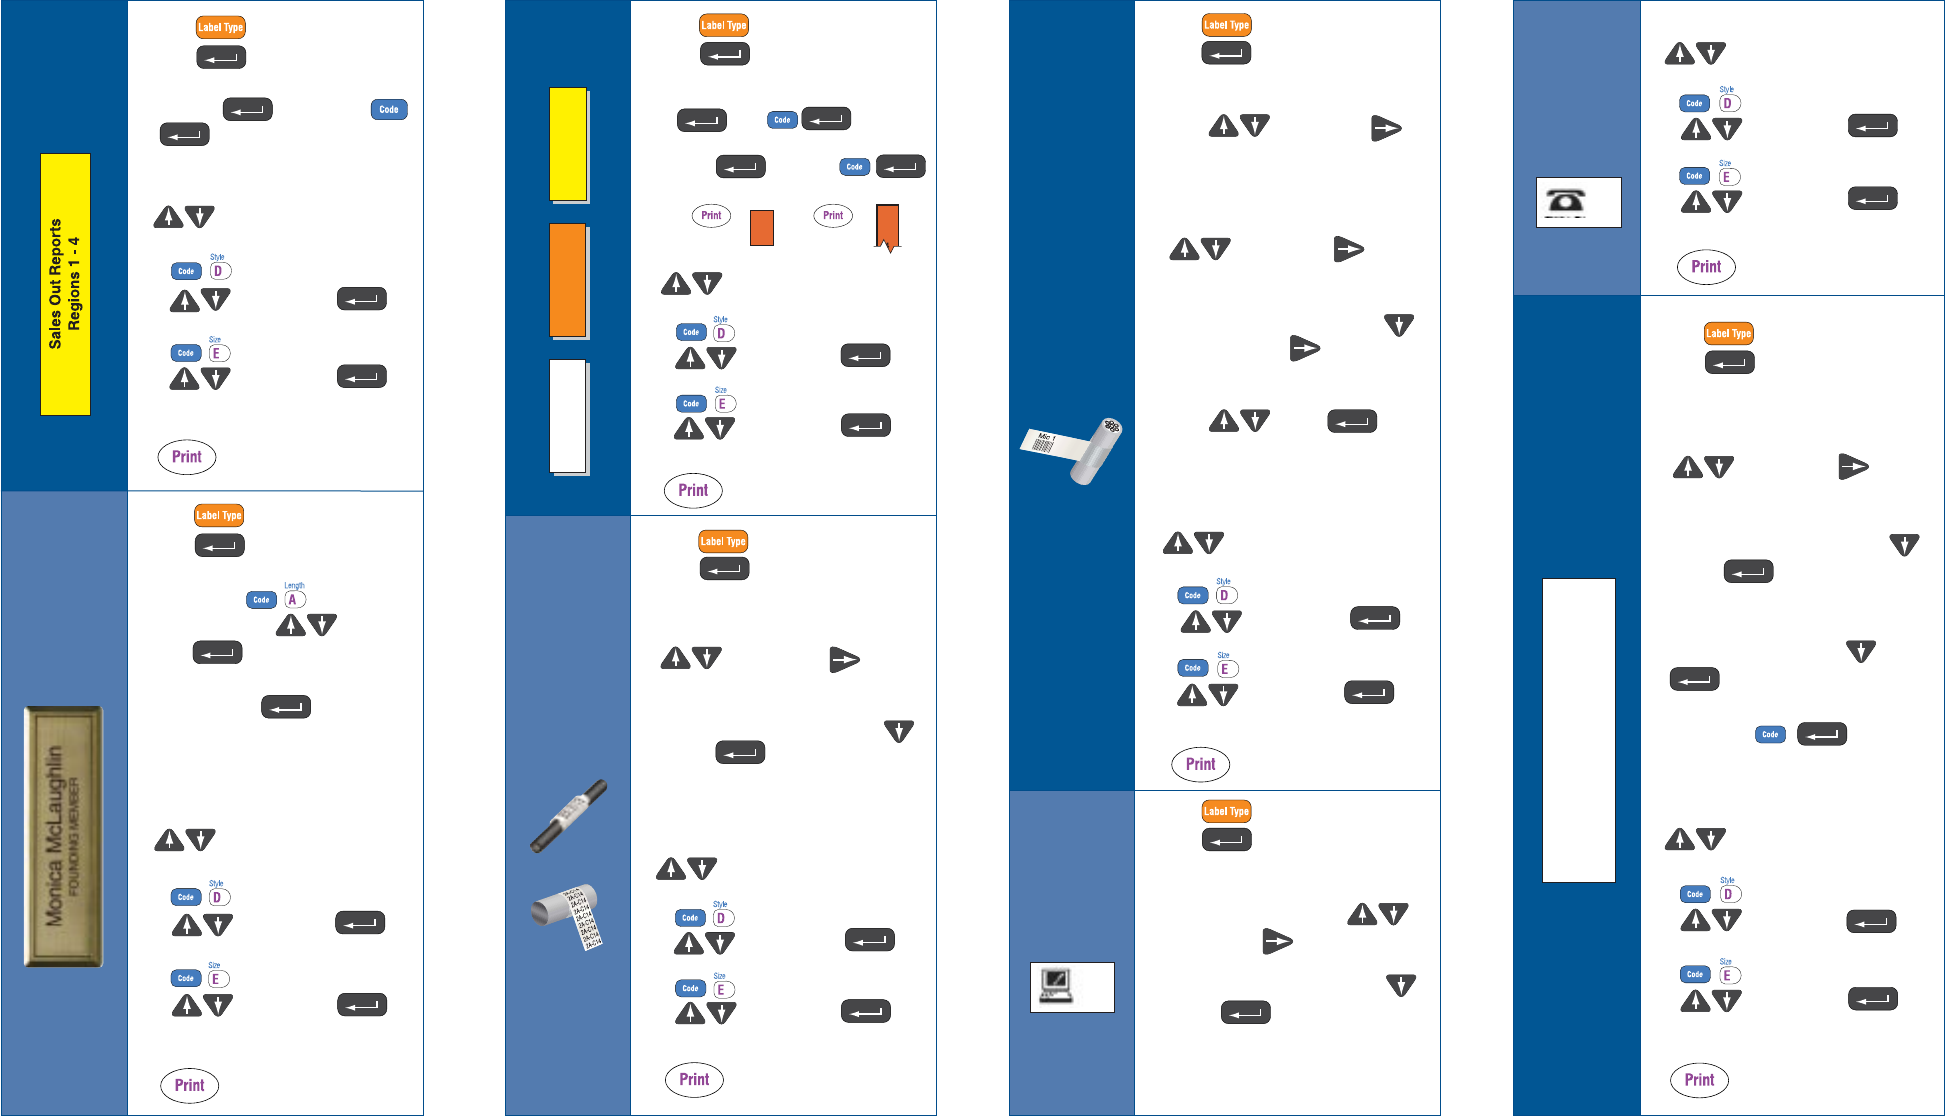
1. Press – until Vertical.
Press to select.
2. Type Text. Enter more than one line of text with
A) or B) . Text will
be added to previous text. Example by typing:
3. To change text style or size per specific line, use
to place cursor on line to be
changed. Use
– to specify different font types.
to choose. Press
to enter.
– to specify different font sizes.
to choose. Press
to enter.
4.
1. Press – until Rot-Rep.
Press to select.
2. Set the length of the label with (BLK LEN ), use
number pad to type length or arrows
to select, arrow to the
next option.
3. Choose frame (FRAME ) option - Arrow
to select, to end.
4. Type Text.
5. To change text style or size per specific line, use
to place cursor on line to be
changed. Use
– to specify different font types.
to choose. Press
to enter.
– to specify different font sizes.
to choose. Press
to enter.
6.
1. Press – until Normal.
Press to select.
2. Type Text ( for new line, or
to place a block of text to the right).
3. To change text style or size per specific line, use
to place cursor on line to be
changed. Use
– to specify different font types.
to choose. Press
to enter.
– to specify different font sizes.
to choose. Press
to enter.
4.
1. Press – until Normal.
Press to select.
2. Set label length – use number
pad to type length or to specify.
Press to enter.
3. Type Name. Press for new line.
4. Type Company.
5. To change text style or size per specific line, use
to place cursor on line to be
changed. Use
– to specify different font types.
to choose. Press
to enter.
– to specify different font sizes.
to choose. Press
to enter.
6.
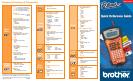
Creating & Printing Commonly Used Labels
General
Name
Badge
1. Press – until Flag.
Press to select.
2. Set the diameter of the cable/wire (FLAG O)
arrows to select, arrow
to next option.
3. Set the length of the label (FLAG LEN), use
number pad to type length or arrows
to select, arrow to the
next option.
4. Choose frame (FRAME) option - Arrow
to select frame, arrow to next option.
5. Choose to have text rotated or not (ROTATE),
arrows to select, to end.
6. Type text.
7. To change text style or size per specific line, use
to place cursor on line to be
changed. Use
– to specify different font types.
to choose. Press
to enter.
– to specify different font sizes.
to choose. Press
to enter.
8.
1. Press – until Port.
Press to select.
2. Set the length of the label (BLK LEN ),
use pad to type length or arrows
to select, arrow to the next option.
3. Choose frame (FRAME ) option - Arrow
to select, to end.
4. Type Text.
(continue to next column)
5. To change text style or size per specific line, use
to place cursor on line to be
changed. Use
– to specify different font types.
to choose. Press
to enter.
– to specify different font sizes.
to choose. Press
to enter.
6.
1. Press – until Panel.
Press to select.
2. Set the length of the label with (BLK LEN ), use
number pad to type length or arrows
to select, arrow to the
next option.
3. Choose frame (FRAME ) option - Arrow
to select, to end.
4. Choose print option - front of a panel or for
the reverse of a panel — arrow to select,
to end.
5. Type Text. Use to separate
port information.
6. To change text style or size per specific line, use
to place cursor on line to be
changed. Use
– to specify different font types.
to choose. Press
to enter.
– to specify different font sizes.
to choose. Press
to enter.
7.
Vertical
Cable/
Wire
Wrap
Cable/
Wire
Flag
Port
Label
Port
Label
(cont.)
Panel
Label
I
A)
1. 123 1. 123
2. 456 2. 456
3. 3.
B)
1
2
7C-A01 7C-A02
4 1
5 2
6 3
1
2
3
(Two Column)
(One Column)
Output: Output:
R
E
P
O
R
T
W
I
R
E
2
4 1
5 2
6 3