


2
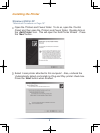
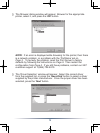
Insert the included CD into a CD-ROM Drive.
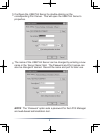
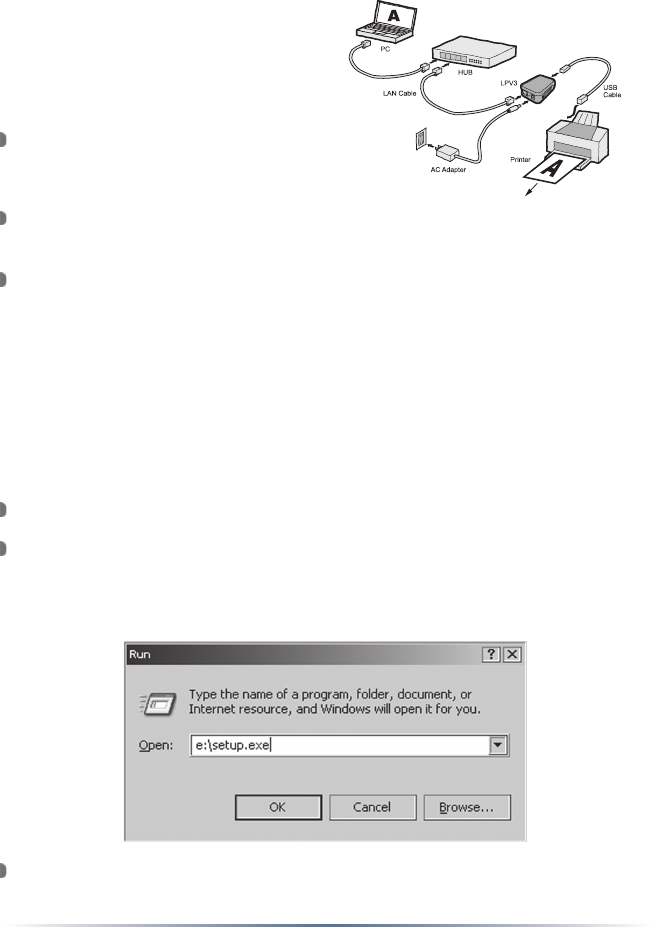
Run the setup.exe program found on the root of the CD. This can be
done by browsing to the CD or by going to the ‘Start Menu’, selecting
‘Run...’ , and typing x:\setup.exe (Where x is the drive letter of the
CD-ROM Drive), then press the ‘OK’ button.
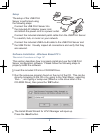
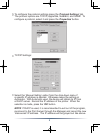
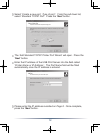
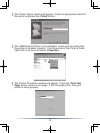
The Install Shield Wizard for LPV3 Manager will open up.
Press the ‘Next’ button.
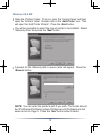
Connect the USB Print Server into
the included AC Adapter power cord,
and attach the power cord to a power outlet.
Connect the included standard patch cable from the USB Print Server
to a switch, hub, or router on your network.
Connect the included USB A-to-B cable to the USB Print Server and
the USB Printer. Visually inspect all connections and verify that they
are secured.
Setup
The setup of the USB Print
Server is performed using
the following steps:
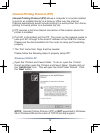
Software Installation - Windows Based PC’s
*Macintosh Procedure on Page 19*
This section describes how to properly install and use the USB Print
Server configuration software. Please follow the following steps to
properly install the software: