properly if the nozzles are previously clogged.
Most people get a perfect nozzle check the first time after installing the TL Continuous
Ink Supply system; others may need to run two or three cleaning cycles or let the
printer sit for a while before they get the perfect results.
II. Getting Started
1. Check the printer head before beginning the installation.
1) Open the window of the Computer and find the Control Panel. Then click
“Printer and Other Hardware”
2) Click the right button of mouse on Canon i950 Series. Then click the
Properties and choose the “Nozzle Check” as the below picture shown.
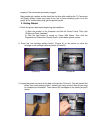
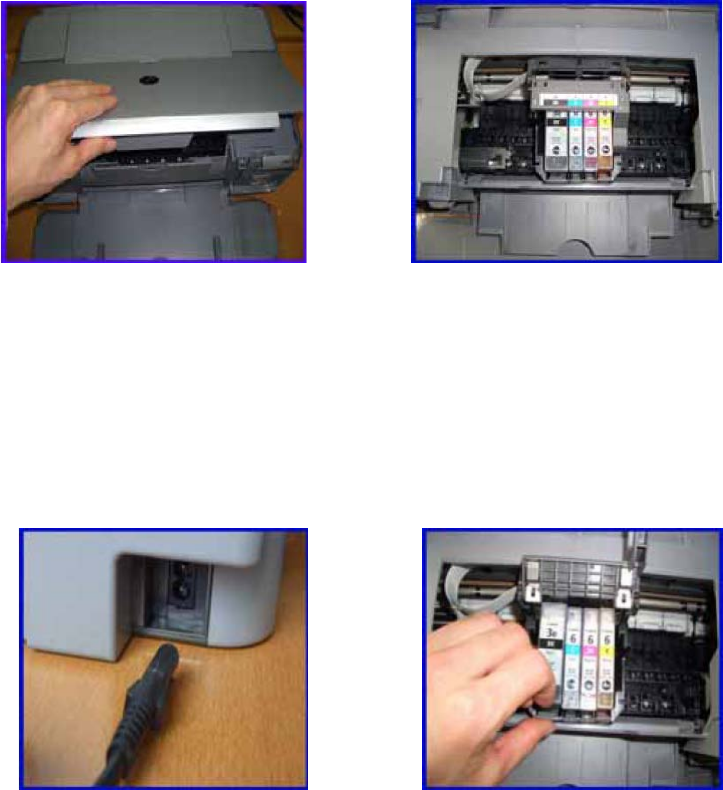
2. Press the “ink cartridge replace button” (Picture A) on the printer to move the
cartridge to the cartridge remove position (Picture B).
(Picture A) (Picture B)
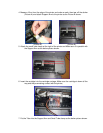
3. Unplug the power connector at the back of the printer (Picture A). This will prevent the
printer from “auto powering down”, allowing you have as much time as you need
to complete the installation. Then remove the cartridges as the below picture B
shown.
(Picture A). (Picture B)


