


4-6
Setting the Image Quality
You can adjust image quality to the appropriate level best suited for a document with text or photos. Three modes
are available for adjusting image quality.
Adjusting the Copy Exposure
You can adjust the copy exposure automatically or manually according to how light or dark your document is.
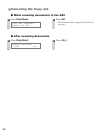
■ Adjusting Automatically
■ Adjusting Manually
1
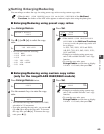
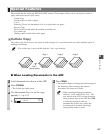
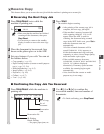
Press Image Quality to select the image
quality.
Ex:
Each time Image Quality is pressed, the image
quality mode changes as follows:
– TEXT
Suitable for making copies from text originals. Good
copies can be made from even blueprints or faint
pencil-drawn originals.
– TEXT/PHOTO
Suitable for making copies from originals containing
both text and photos, or photo originals containing
half-tones (i.e. printed photos).
– PHOTO
Suitable for making copies from photos printed on
photographic paper.
• Copy exposure automatically changes to
manual mode when TEXT/PHOTO or
PHOTO is set.
• To sharpen the black and white contrast of
an image, adjust the image as follows:
Press Additional Functions, then
select
COPY SETTINGS.
Then choose SHARPNESS. (→ p. 7-3)
NOTE
TEXT TEXT/PHOTO
PHOTO
100% LTR
TEXT
1
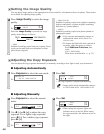
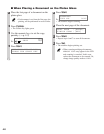
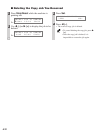
Press Exposure to select the auto mode.
Ex:
2
Press Set.
Ex:
• The copy exposure is adjusted automatically.
• Image quality mode automatically changes
to TEXT when AUTO EXPOSURE is set.
NOTE
100% LTR
A TEXT
DENSITY
AUTO EXPOSURE
1
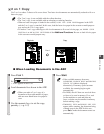
Press Exposure to select the manual
mode.
Ex:
2
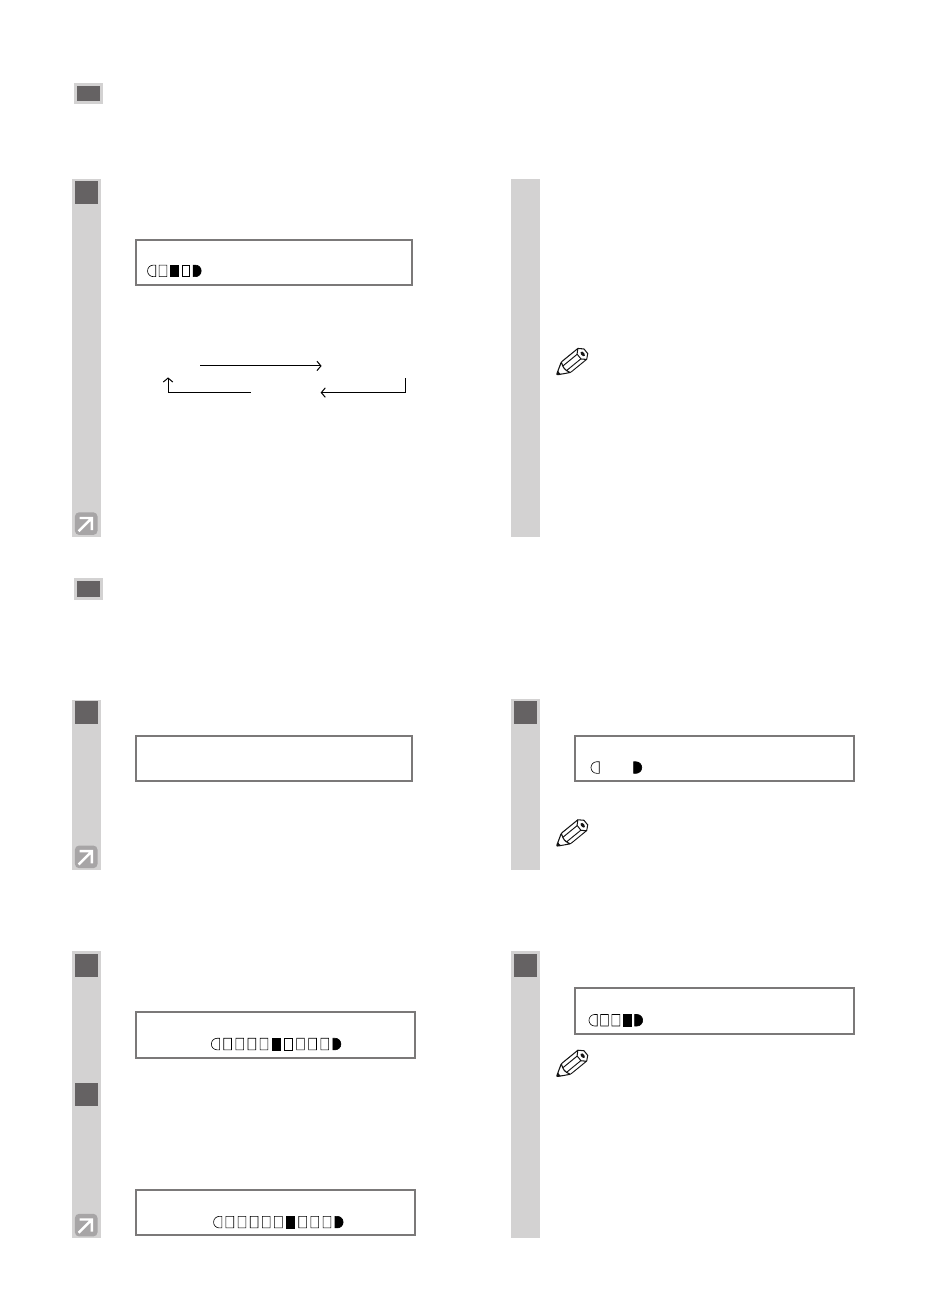
Use 4 (–) or e (+) to adjust the copy
exposure. For a lighter copy exposure,
press 4 (–). For a darker copy exposure,
press e (+).
Ex:
3
Press Set.
Ex:
• When setting the exposure lighter, the
indicator moves to the left. When setting
the exposure darker, the indicator moves to
the right.
NOTE
100% LTR
TEXT
DENSITY
-LT DK+
DENSITY
-LT DK+
01
01
01