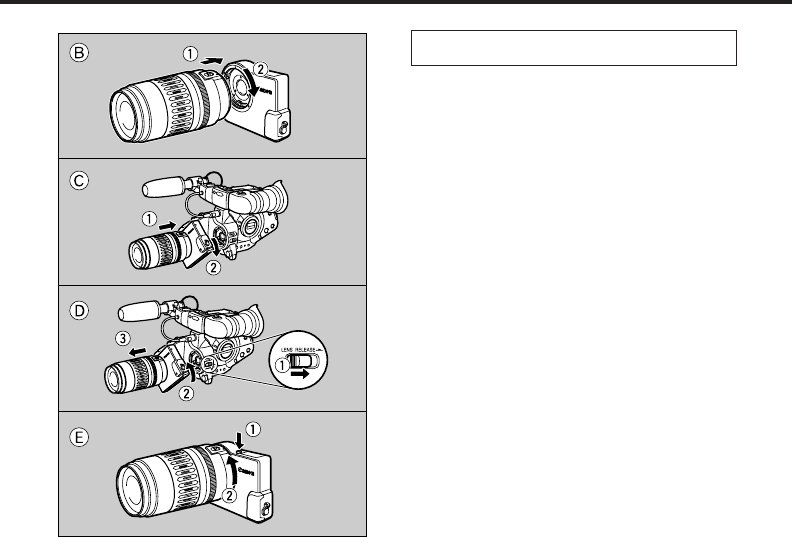
Mounting and Removing the Lens and
Adapter
A. Mounting
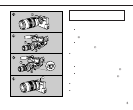
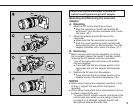
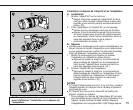
1. Attach an EF lens to the EF lens mount.
●
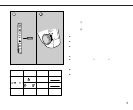
Align the red dots on the EF lens and the EF
lens mount. Turn the lens clockwise until it clicks
into place ( B ).
2. Attach the adapter and the EF lens to the
camcorder.
●
Make sure that the camcorder is turned off.
●
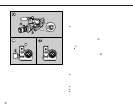
Align XL mount positioning point (red dot) with
the positioning point on the camcorder. Turn the
adapter clockwise until it clicks into place ( c ).
B. Removing
●
Make sure you open the iris completely, by turning
the iris wheel to select the lowest F number, before
removing the EF adapter from the camcorder.
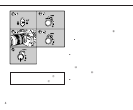
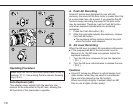
1. Turn off the camcorder and remove the adapter
and lens together:
●
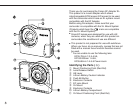
Press and hold the lens release switch on the
camcorder and turn the adapter anticlockwise
( D ).
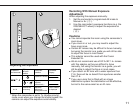
2. Remove the EF lens from the adapter.
●
Press and hold the lens release switch on the
adapter and turn the lens anticlockwise ( E ).
NOTES
●
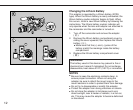
When using a heavy lens weighing more than 1.5 kg
(3.3 lbs.), support the lens while carrying and
recording.
●
When using a lens which has a tripod socket, be sure
to attach a tripod to the lens.
* To protect the EF adapter mounts (and those of the
camera and lens) when you are using a tripod, do
not attach (or if attached, remove) the MA-100
Microphone Adapter/Shoulder Pad.
9
• Make sure that the camcorder is turned off,
before mounting/removing the EF adapter.


