


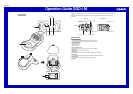
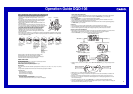
Operation Guide DQD-106
2
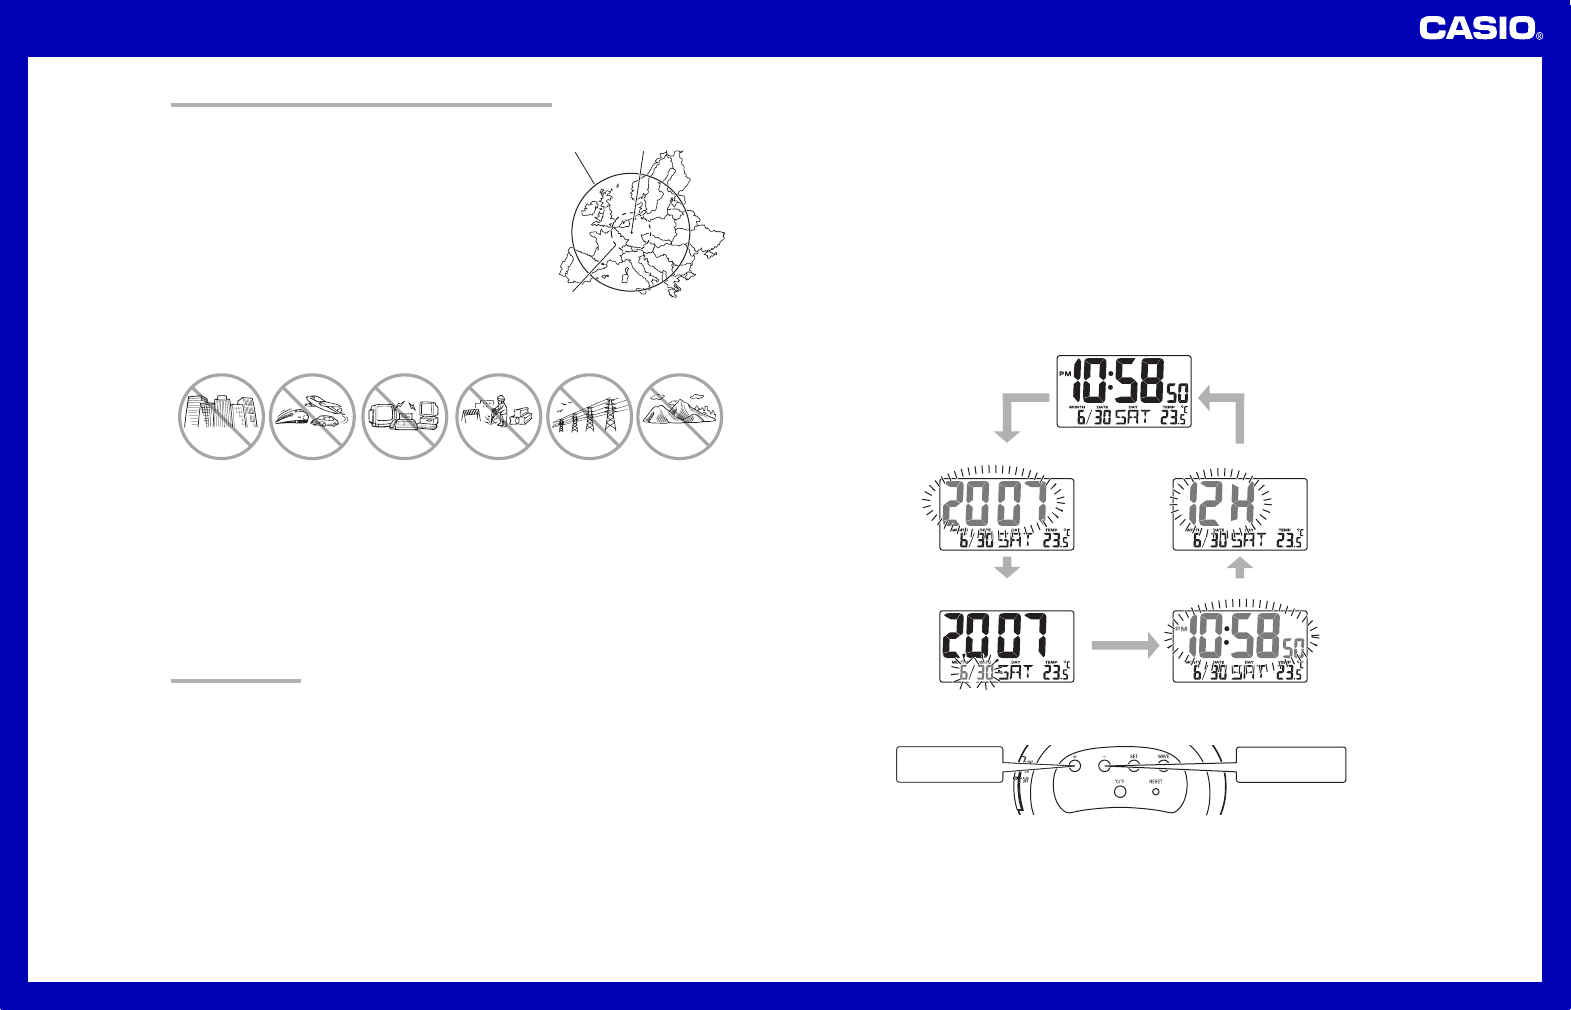
TIME CALIBRATION SIGNAL RECEPTION PRECAUTIONS
• This clock is able to receive the time calibration signal transmitted from
Mainflingen, Germany (located 25 kilometers southeast of Frankfurt).
Signal reception is possible within approximately 1,500 km of the
transmitter.
• Even when the clock is within the reception range, signal reception is
impossible if the signal is blocked by mountains or other geological
formations between the clock and signal source.
• Signal reception is affected by weather, atmospheric conditions, and
seasonal changes.
• The time calibration signal is bounced off the ionosphere. Because of
this, such factors as changes in the reflectivity of the ionosphere, as well
as movement of the ionosphere to higher altitudes due to seasonal
atmospheric changes or the time of day may change the reception
range of the signal and make reception temporarily impossible.
• Reception is best when the back of the clock is facing toward
Mainflingen. Note, however, that moving the clock while the time
calibration signal receive operation is taking place will make stable
reception impossible.
• Think of the clock as acting like a TV or radio when it is receiving the calibration signal.When receiving indoors,
move to a location as near as possible to a window. Proper signal reception can be difficult or even impossible
under the conditions listed below.
Inside, among
buildings, or near
neon signs
Inside a vehicle Near refrigerators
or other household
appliances, near
office equipment,
mobile phones or
wireless LAN
devices.
Near a
construction site,
airport, or other
sources of
electrical noise,
underground or in
tunnels, near
railroads,
highways, or radio
stations with
interfering
frequencies.
Near high-tension
power lines
Among or behind
mountains
1,500 km
500 km
Mainflingen
• Signal reception is normally better at night than during the day.
• Radio interference can make signal reception impossible.
• Strong electrostatic charge can result in the wrong time being set.
• The alarm does not operate during signal reception.
USING THE CLOCK
Any of the following procedures can be used to set current date and time.
• Auto receive of the time calibration signal
• Manual receive of the time calibration signal
• Manual setting without using the time calibration signal
Auto Receive
• The clock receives the time calibration signal eight times each day (2:00, 5:00, 8:00, 11:00, 14:00, 17:00, 20:00,
23:00).
• A signal receive operation takes from two to ten minutes under good signal conditions.
Antenna Icon
Receive in progress: Icon flashes
Receive failed: Icon not displayed
Receive successful: Icon displayed
Wave OK Indicator
Receive in progress: OK not displayed
All receives over the past 24 hours failed: OK not displayed
At least one successful receive over the past 24 hours: OK displayed
Unsuccessful Signal Reception
The antenna icon disappears from the display when a signal receive operation is unsuccessful. If this happens,
try changing the position or orientation of the clock, and press the WAVE button (5) to receive again.
Manual Receive
• Press the WAVE button (5) to start a calibration signal receive operation.
• Use the WAVE button (5) to perform a receive operation after replacing the clock’s batteries or if the auto
receive operation was not performed correctly for some reason.
• The clock beeps and display illumination flashes for about three seconds when a receive operation triggered by
the WAVE button (5) is successful.
Important!
• Do not perform any button or switch operation while a signal receive operation is in progress.
• The time calibration signal includes both Standard Time and Daylight Saving Time (summer time) data.
• The DST indicator appears on the display when Daylight Saving Time (summer time) data is received.
Setting the Time and Date Manually
• When using the clock in an area that is outside of the range of the transmitter in Mainflingen or in an area where
signal reception is impossible for some reason, you need to adjust the time manually as required.
1. Press the SET button (4) to cycle through the setting screens as shown below.
2. While the screen you want is on the display, use the Alarm Time Set buttons (3) to change the digits that are
flashing.
Press
—
to decrease
the flashing digits.
Press + to increase
the flashing digits.
• Holding down + or – changes the flashing digits at high speed.
• You can set the year in the range of 2000 to 2039. The day of the week is set automatically in accordance with
the date setting.
• Pressing + or – while the Time Setting Screen is on the display causes the seconds count to be reset to 00.
• Each press of + or – while the 12-hour/24-hour Timekeeping Screen is on the display toggles between 12-hour
and 24-hour timekeeping.
3. After making the settings you want, use the SET button (4) to display the Normal Timekeeping Screen.
• The clock automatically returns to the Normal Timekeeping Screen if you leave a setting screen on the display for
about three minutes without performing any operation.
Normal Timekeeping Screen
Year Setting Screen 12-hour/24-hour Timekeeping Screen
Month and Day Setting Screen Time Setting Screen
SET button (4)
SET button (4)
SET button (4)
SET button (4)
SET button (4)