Projector Basics
E-22
Auto Adjustment of an RGB Image
The projector automatically adjusts vertical and horizontal positioning, frequency, and phase whenever it
starts projecting an RGB signal (following input source selection, power up, etc.). You can also execute
an automatic adjustment operation by pressing the [AUTO] key when the input source is RGB.
NOTE
When you want to disable auto adjustment and maintain manual settings, you can turn off auto
adjustment by selecting “Off” for the “Option Settings 1 Auto Adjust” setting on the setup menu.
The projected image may become distorted while an auto adjustment operation is in progress.
If an image is unclear following the auto adjustment operation, you can use the menu to adjust items
manually.
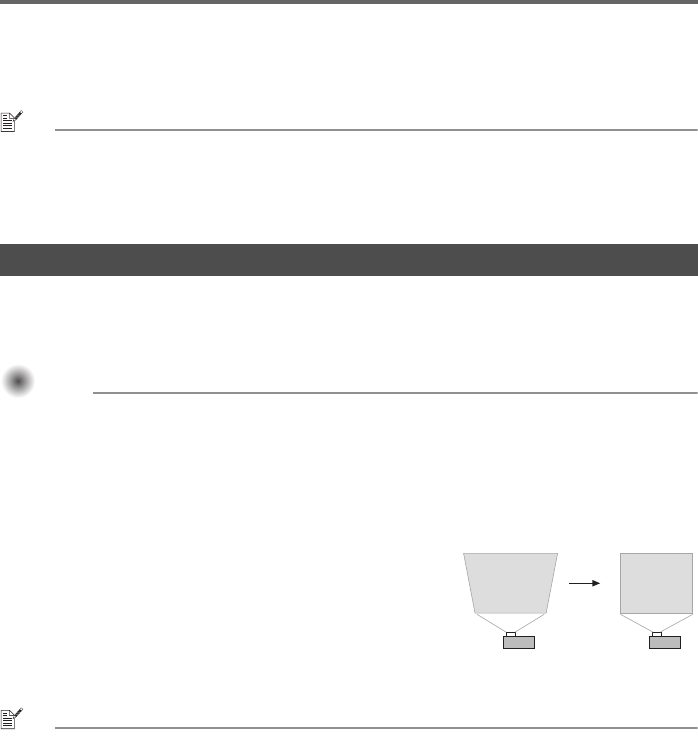
When the projector is at an angle to the screen it is projecting on, the projected image may have different
length top and bottom edges. This phenomenon is called, “keystoning”. This projector comes with
functions for automatic as well as manual keystone correction, which provides a regularly shaped
projected image.
Important!Important!Important!
Keystone correction can cause the corrected image to be smaller than the original
(uncorrected) image, or it can cause distortion of the image. If the projected image becomes
difficult to view, try moving the screen and/or projector so they are oriented close to the
configuration shown under “Setting Up the Projector” on page E-14.
The projector does not support horizontal keystone correction. The center of the projector’s
lens should be aligned with the horizontal center of the screen (page E-14).
Automatic Keystone Correction
When “On” is selected for the “Option Settings 1 Auto Keystone
Correction” setting on the setup menu, the projector will detect the
vertical orientation of the object in the image and adjust its shape
automatically so it appears as a rectangle. The message “Auto
Keystone Corrected.” appears in the center of the projected image
when the projector performs auto keystone correction.
The projector’s auto keystone correction range is 0 to +30
degrees. If the surface you are projecting onto is angled downwards from horizontal, use manual
keystone correction to correct the image.
NOTE
Auto keystone correction is performed by detecting the elevation angle of the projector. This means
that the surface you are projecting onto needs to be standing straight up. If the surface you are
projecting onto is not straight, use manual keystone correction to correct the image.
To use manual keystone correction
1.
Press the [KEYSTONE +] or [KEYSTONE –] key.
This causes the keystone correction screen to appear on the projected image.
2. Use the [KEYSTONE +] and [KEYSTONE –] keys to correct for keystoning.
Correction can be performed for keystoning within ±30°.
3. To close the setup screen, press the [ESC] key.
Keystone Correction (KEYSTONE)


