23
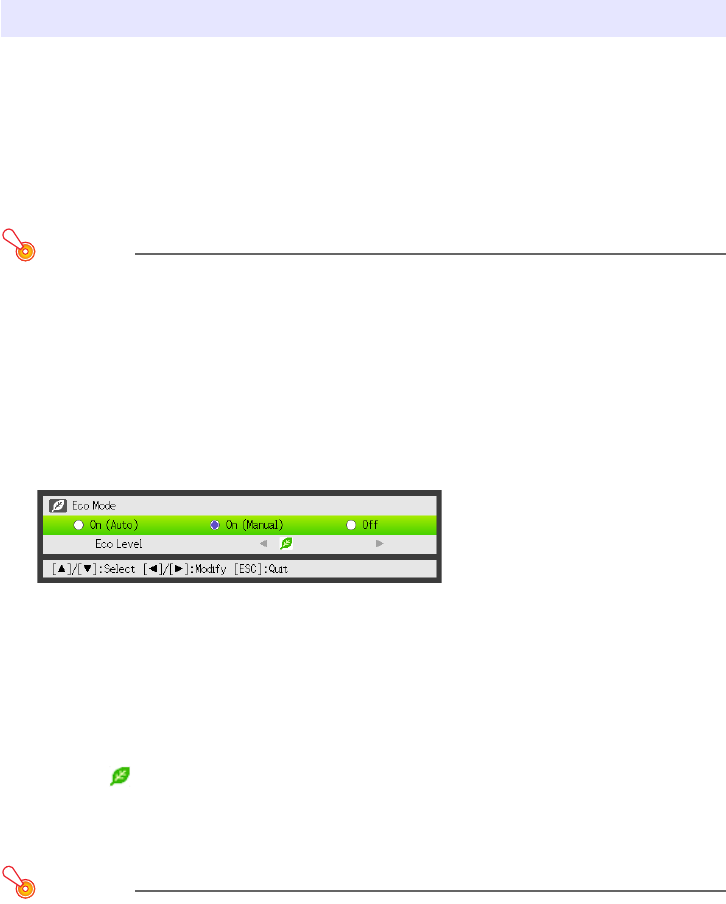
The following three Eco Mode settings are available to specify whether priority should be given to
low-power, low-noise operation or to projection brightness.
Important!
z While “On (Auto)” is selected as the Eco Mode setting, make sure that the brightness sensor
on the top of the projector is not blocked by anything.
z The local environment and setup conditions affect the brightness sensor, so operation when
“On (Auto)” is selected for the Eco Mode depends on these factors.
To select the Eco Mode
1.
Press the [ECO] key.
z This causes “Eco Mode” window to appear on the projection screen.
2.
Use the [W] and [X] keys to select the setting you want.
z If you select “On (Manual)” here, go to step 3. If you select another setting, jump to step 4.
3.
Perform the following steps to adjust the “Eco Level” (the balance between
low-power, quiet operation and projection brightness).
4.
To hide the window, press the [ESC] key.
Important!
The “On (Auto)” setting cannot be selected for the Eco Mode while “Rear” is selected for “Screen
Settings
J
Projection Mode” (page 37) on the setup menu. If the “Projection Mode” setting is
changed to “Rear” while “On (Auto)” is selected for the Eco Mode setting, the Eco Mode setting
will automatically change to “On (Manual)”.
Eco Mode (Power Saving, Low Noise)
On (Auto) : A brightness sensor on the top of the projector senses surrounding light, and
automatically adjusts projection brightness and color accordingly. Brightness is
reduced for darker surroundings, which saves power and reduces operation noise.
On (Manual): Enables manual adjustment to balance the needs of low-power, quiet operation and
projection brightness.
Off : Give top priority to projection brightness.
1 Press the [T] key to move the highlighting to the Eco Level.
2 Use the [W] and [X] keys to adjust the Eco Level to the setting you want.
Fewer marks gives higher priority to projection brightness. A greater number gives high
priority to low-power, quiet operation.


