


16
4.
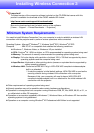
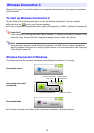
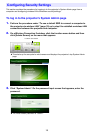
On the computer, start up Wireless Connection 3.
z If your computer is running Windows Vista
or Windows 7, starting up Wireless Connection 3
will cause the “User Account Control” message to appear. When it does, click [Allow].
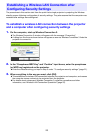
z The Wireless Connection 3 window will appear with the message “Connecting”.
z If your computer is running Windows Vista or Windows 7 and the “Set Network Location”
dialog box appears, click [Cancel] to close the dialog box.
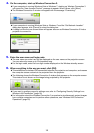
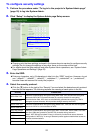
z A dialog box like the one shown below will appear as soon as Wireless Connection 3 finds a
projector to connect to.
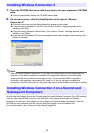
5.
Enter the user name and login code.
z The user name you enter here will be displayed as the user name on the projection screen.
You can enter any name up to 20 characters long.
z For the login code, enter the four-digit number displayed on the Wireless standby screen.
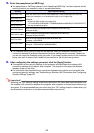
6.
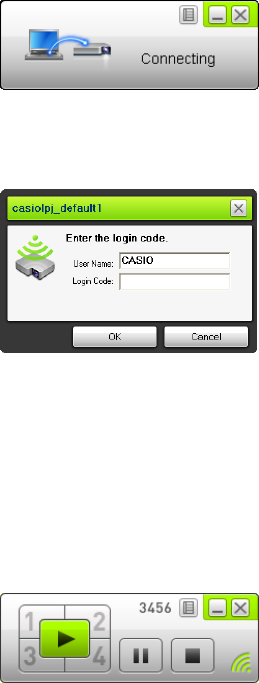
When everything is the way you want, click [OK].
z This establishes a wireless LAN connection between the projector and computer, and causes
the computer screen contents to be projected from the projector.
z The following shows the Wireless Connection 3 window that appears on the computer screen.
This window is not shown on the image being projected by the projector.
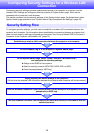
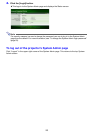
z If you want to configure security settings now, refer to “Configuring Security Settings for a
Wireless LAN Connection” (page 18).
z For information about the Wireless Connection 3 procedure to simultaneously project images
from multiple computers and to perform other operations, see “Wireless LAN Connection
Operations” (page 25).