9
To select the pointer type
1
Press the [POINTER] key to display the pointer.
2
Keep pressing the [POINTER] key until the pointer you want is displayed.
z Each press of the [POINTER] key cycles through the available pointer types.
To clear the pointer from the image
Press the [ESC] key.
Changing the aspect ratio of the projected image
Press the [ASPECT] key to change the aspect ratio of the projected image. How the
aspect ratio changes depends on the current input source.
Note
z For details about how the aspect ratio setting affects the projected image when the
input source is RGB, see “Aspect Ratio Setting and Projection Image during RGB
Input” (page 32).
z You also can change the aspect ratio setting using the setup menu. For details, see
“Aspect Ratio” under “Screen Settings Main Menu” on page 22.
Important!
Note that enlarging or reducing the size of an image using the [ASPECT] key for
commercial purposes or public presentation may infringe on the legally protected
copyright of the copyright holder of the original material.
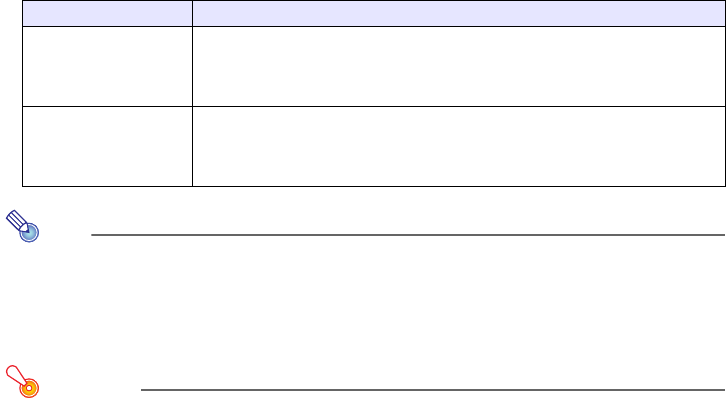
Input Source Pressing [ASPECT] will do this:
VIDEO or component Toggles the aspect ratio of the image between 4:3 and 16:9. When the
input source is a component signal with an aspect ratio of 16:9, the
projection aspect ratio also will become 16:9 automatically and pressing
the [ASPECT] key will not change it.
RGB Toggles the aspect ratio of the image between 4:3 and “Maintain”.
Selecting 4:3 will project with an aspect ratio of 4:3, regardless of the
input source aspect ratio. Selecting “Maintain” will project while maintaining
the aspect ratio of the input source.
