


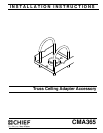

CMA365 Installation Instructions
4
ASSEMBLY AND INSTALLATION
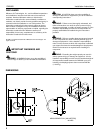
WARNING: Failure to provide adequate structural strength
for this component can result in serious personal injury or
damage to equipment! It is the installer’s responsibility to
make sure the structure to which this component is attached
can support five times the combined weight of all equipment.
Reinforce the structure as required before installing the
component.
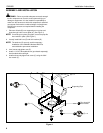
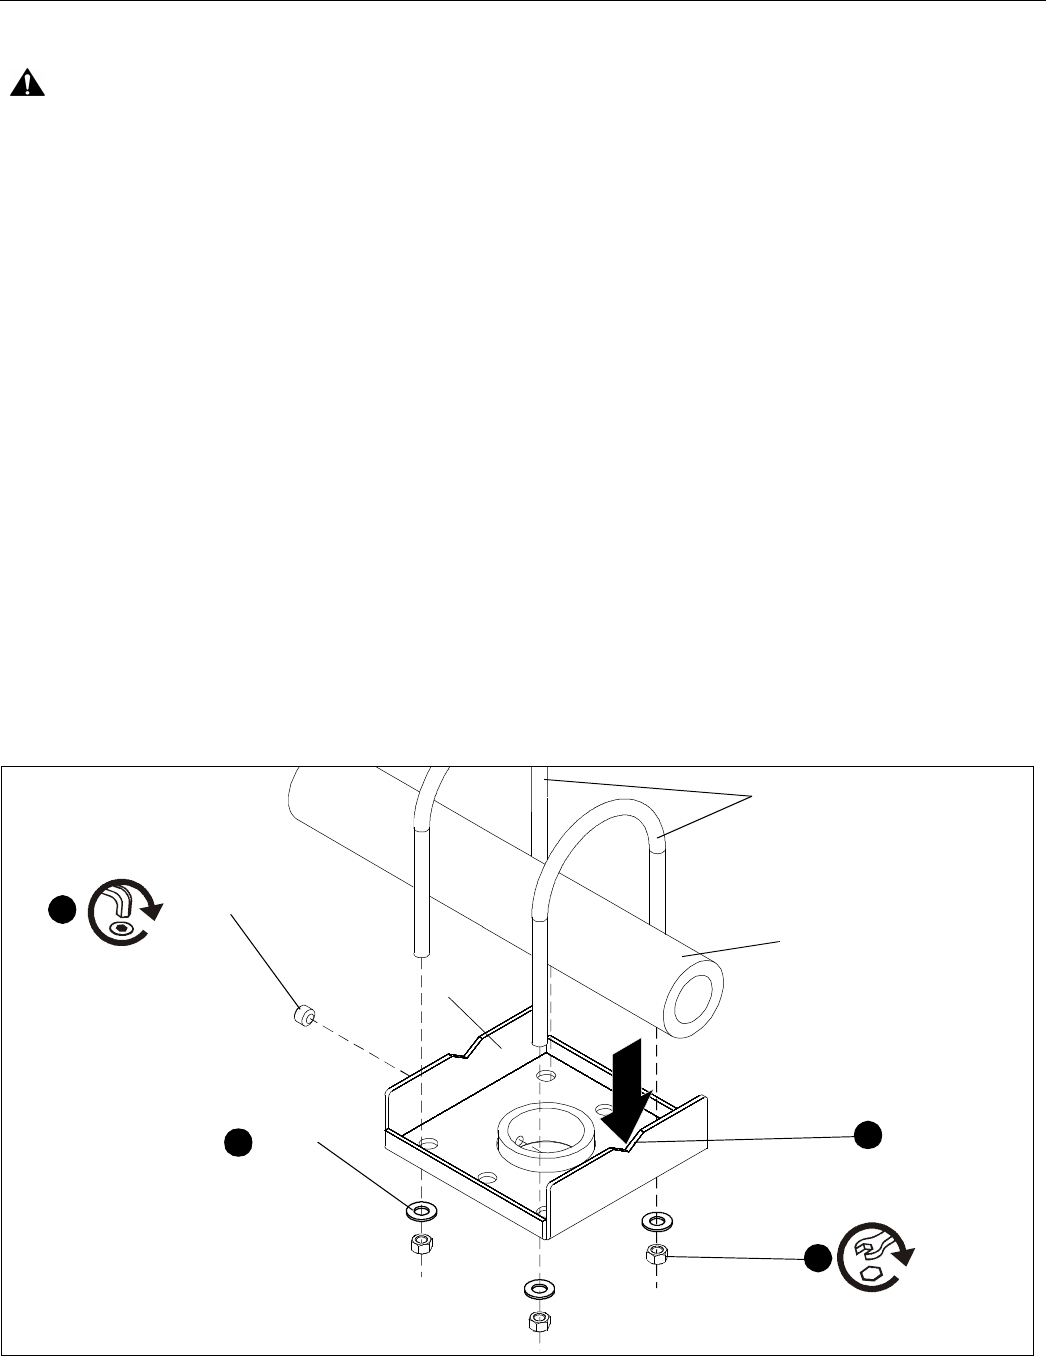
1. Place two U-bolts (B) over supporting truss or pipe and
insert through holes in truss plate (A). (See Figure 1)
NOTE: If mounting truss plate (A) to pipe, ensure that pipe fits
into notches in plate. (See Figure 1)
2. Loosely install 3/8" nuts (E) and 3/8" washers (D).
NOTE: The washers (D) are only used for temporary
installation of the CMA365. Washers MUST be
removed before permanent installation.
3. Level mount and tighten nuts (E).
4. Install 1-1/2" NPT threaded column (purchased separately)
into threaded collar until tight.
5. Install and securely tighten set screw (C) using the 5/32"
hex wrench (F).
Figure 1
1
2
3
(E) x 4
(D) x 4
Pipe should fit
into notches
5
(C) x 1
(A)
(B) x 2
Supporting Pipe