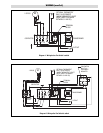
1. The element wiring is not affected by addition of the fan only
switch/ motor relay and therefore not shown. The after wiring dia-
gram supplements the wiring diagram mounted on the inside of
the terminal box cover.
2. Disconnect the red wire from the heater contact coil, cut off termi-
nal and strip back insulation 3/8”.
3. Disconnect wire from coil of heater contactor from “C3” post of
control circuit terminal block.
4. Connect loose wire provided with kit to terminal “A2” of motor
relay.
5. Using wire nut, connect the wires modified in steps 2, 3 and 4
together.
6. Connect the lead wire (12) from the fan switch assembly to the
open connection on the heater contactor coil.
7. Connect lead wire (11) from the fan switch assembly to the empty
“C3” post of the control circuit teminal block.
8. Connect lead wire (2) from the fan switch assembly to terminal
“A1” on the motor relay.
9. Connect lead wire (1) from the fan switch assembly to “C1” post
of the control circuit terminal block.
Heaters with single phase motors:
10. Remove the black and white fan motor lead wires from the termi-
nals T1 and T2 on the heater contactor and wire them to the motor
relay terminals 2T1 and 4T2. Wire the two loose jumper wires
(supplied) from the motor relay terminals 1L1 and 3L2 to contac-
tor terminals L1 and L2.
Heaters with three phase motors:
11. Remove the three motor wires from terminals T1, T2 and T3 of
the heater contactor. Connect one wire to 2T1, one to 4T2 and one
to 6T3 of the motor relay terminals. Wire the three loose jumper
wires from 1L1, 3L2 and 5L3 of the motor relay to L1, L2 and L3
of the heater contactor. After completion of the fan only switch/
motor relay installation, when the fan circuit is first turned on,
check the rotation of the fan blade to be sure the air is moving out
the front of the heater. If the air is moving in the opposite direc-
tion, interchange the motor lead connections on the motor relay.
WIRING
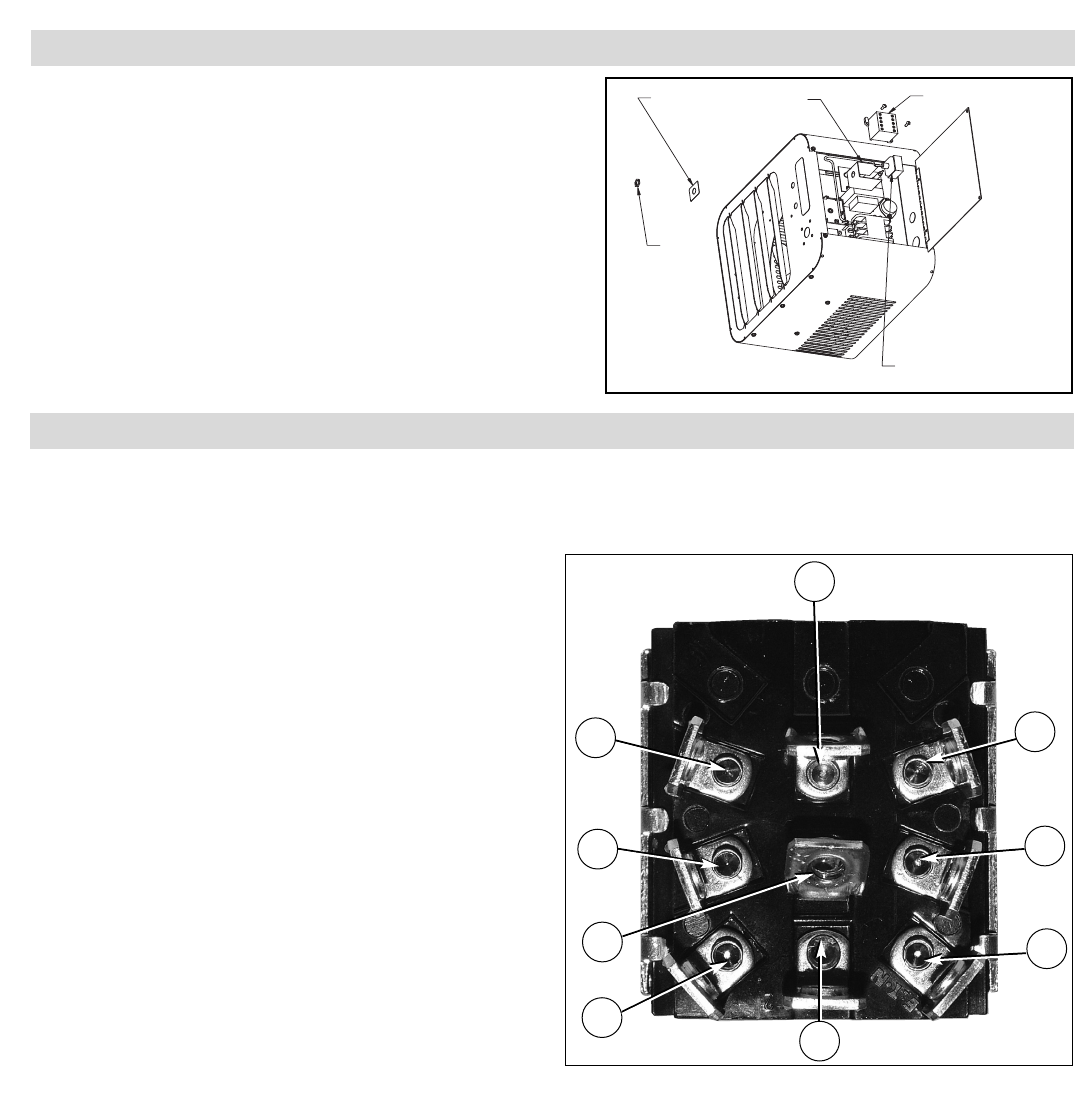
FIGURE 2
1. Remove back from the indicating label and place over the hole-
made in step 1B on the previous page, the word "winter" needs to
face towards the louvers.
2. Install the barrier over the threads of the switch and insert the 1/2"
hole from inside the terminal box. Secure switch in place with the
nut provided.
3. Wire switch into heater wiring (See Diagram 1).
4. Inspect wiring for loose connections and make sure it matches
Diagram 1 after wiring.
5. Close cover and reattach screws.
INSTALLATION (cont’d.)
BARRIER
WINTER/SUMMER
INDICATING LABEL
NUT
MOTOR RELAY
SWITCH WITH FACTORY
INSTALLED LEADWIRES
Figure 2
10
11
2
3
1
9
7
8
12
Fan Switch Assembly


