


3
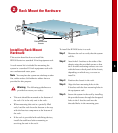
Rack Mount the Hardware
49336
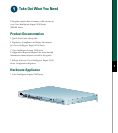
Intelligence Engine 2100 Series
L
IN
K
CO
NS
E
T
HE
RN
ET 0
E
TH
E
RN
E
T 1
100
M
b
ps LINK
100M
bp
s
D
R
IVE
0
D
RIVE
1
MODE
Phillips machine
screws
Installing Rack Mount
Hardware
This section describes how to install the
IE2100 Series in a standard 19-inch equipment rack.
A rack-mount kit is included for mounting the
system in a standard 19-inch equipment rack with
two unobstructed outer posts.
Note You can place the system on a desktop or other
flat, stable surface. Self-adhesive rubber feet are
provided for this purpose.
Warning The following guidelines are
provided to ensure your safety:
• This unit should be mounted at the bottom of
the rack if it is the only unit in the rack.
• When mounting this unit in a partially filled
rack, load the rack from the bottom to the top
with the heaviest component at the bottom of
the rack.
• If the rack is provided with stabilizing devices,
install the stabilizers before mounting or
servicing the unit in the rack.
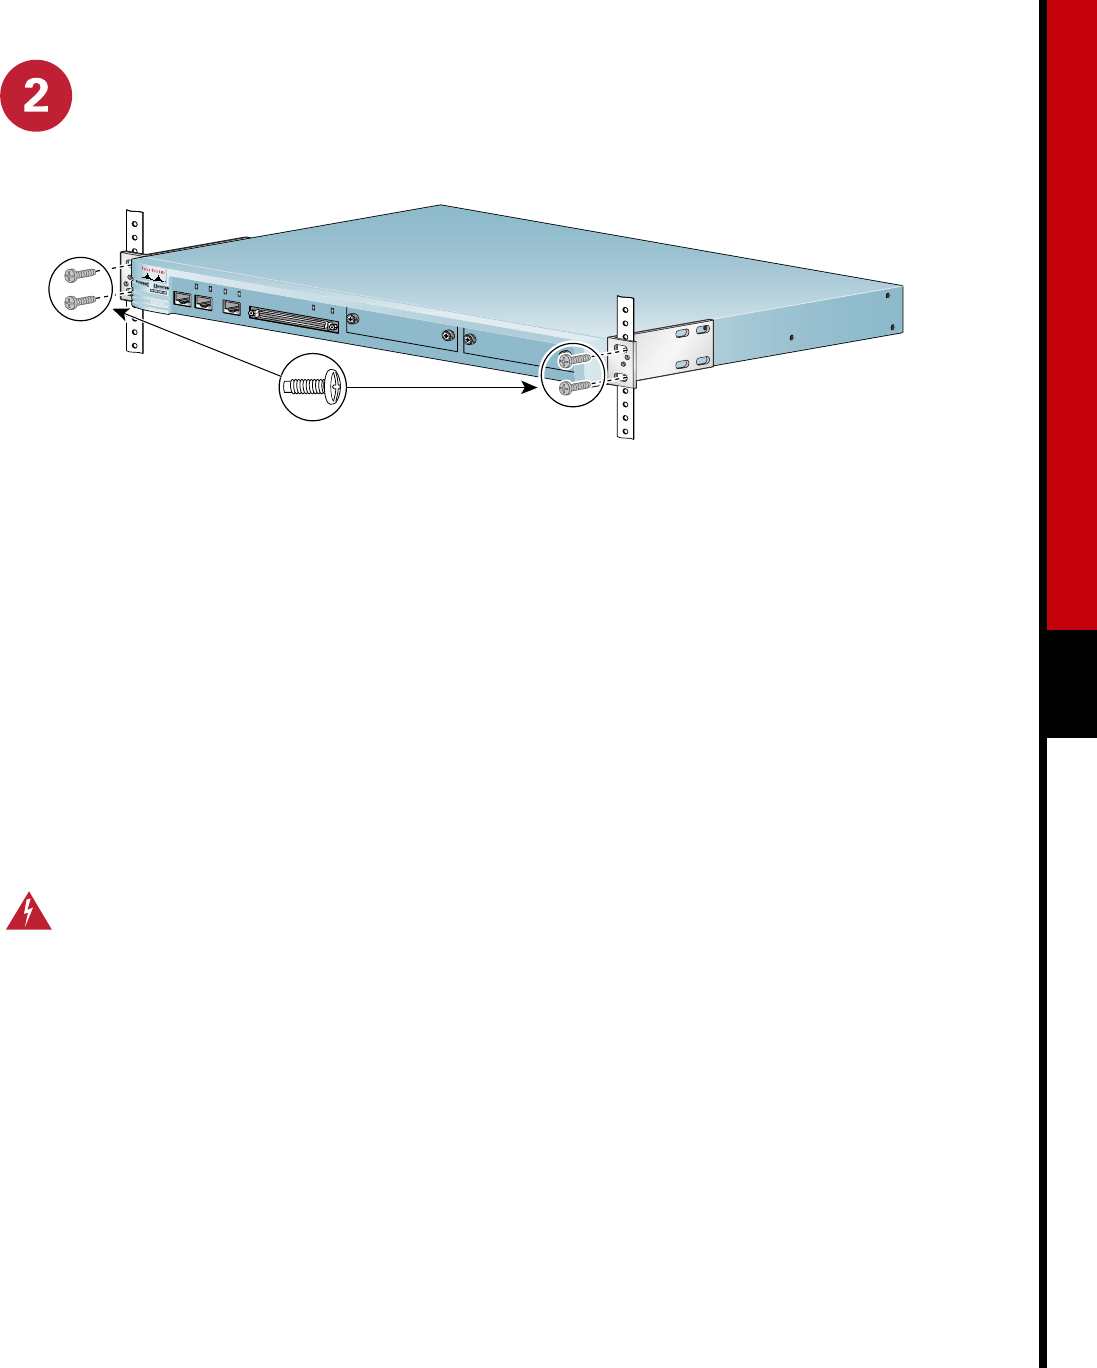
To install the IE2100 Series in a rack:
Step 1 Measure the rack to verify that the system
will fit.
Step 2 Attach the L brackets to the sides of the
chassis using the provided screws so that
the L-bracket mounting surfaces are even
with the front or back panel of the chassis,
depending on which way you want to
install it.
Step 3 Position the chassis in the rack.
Step 4 Align the four mounting holes in the
L bracket with the four mounting holes in
the equipment rack.
Step 5 Secure the system in the rack by installing
the provided screws through the elongated
holes in the L bracket and into the
threaded holes in the mounting post.