


10
Chapter 4: Setting up and Connecting the USB Adapter
Setting Up the Adapter with SecureEasySetup
Compact Wireless-G USB Network Adapter with SpeedBooster
Setting Up the Adapter with SecureEasySetup
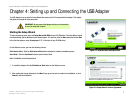
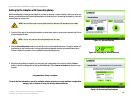
With SecureEasySetup, setting up the Adapter is as simple as pushing a couple of buttons. Before you press any
buttons, you should locate the SecureEasySetup button on the device you’re connecting the Adapter to, such as a
wireless router or access point.
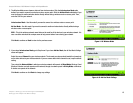
1. Press the Cisco logo or SecureEasySetup button on the wireless router or access point and wait until it turns
white and begins to flash.
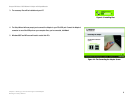
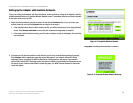
2. Click the SecureEasySetup button (circle with the lock) on the Setup Wizard screen. The logo or button will
stop flashing on the wireless router or access point when the Adapter has been successfully added to the
network. Repeat this procedure for any additional SecureEasySetup device.
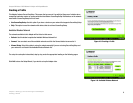
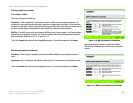
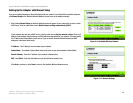
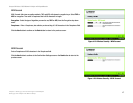
3. When SecureEasySetup is complete, you may save your configuration to a text file by clicking the Save
button, or print the configuration by clicking the Print button. Click Connect to Network to connect to your
network.
Congratulations! Setup is complete.
To check the link information, search for available wireless networks, or make additional configuration
changes, refer to Chapter 5: Using the Wireless Network Monitor.
Figure 4-7: SecureEasySetup
Figure 4-9: SecureEasySetup Complete
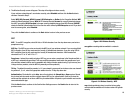
NOTE: Your wireless router or access point must have Wireless SSID broadcast set to enable.
Figure 4-8: Searching for Wireless Network
NOTE: You can only add one SecureEasySetup device at a time.