Back to Contents Page
Hard Drive
Dell™Inspiron™1300/B120/B130ServiceManual
Removing the Hard Drive
Installing the Hard Drive
Removing the Hard Drive
To replace the hard drive in the hard drive bay:
1. Follow the instructions in Before Working Inside Your Computer.
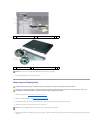
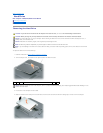
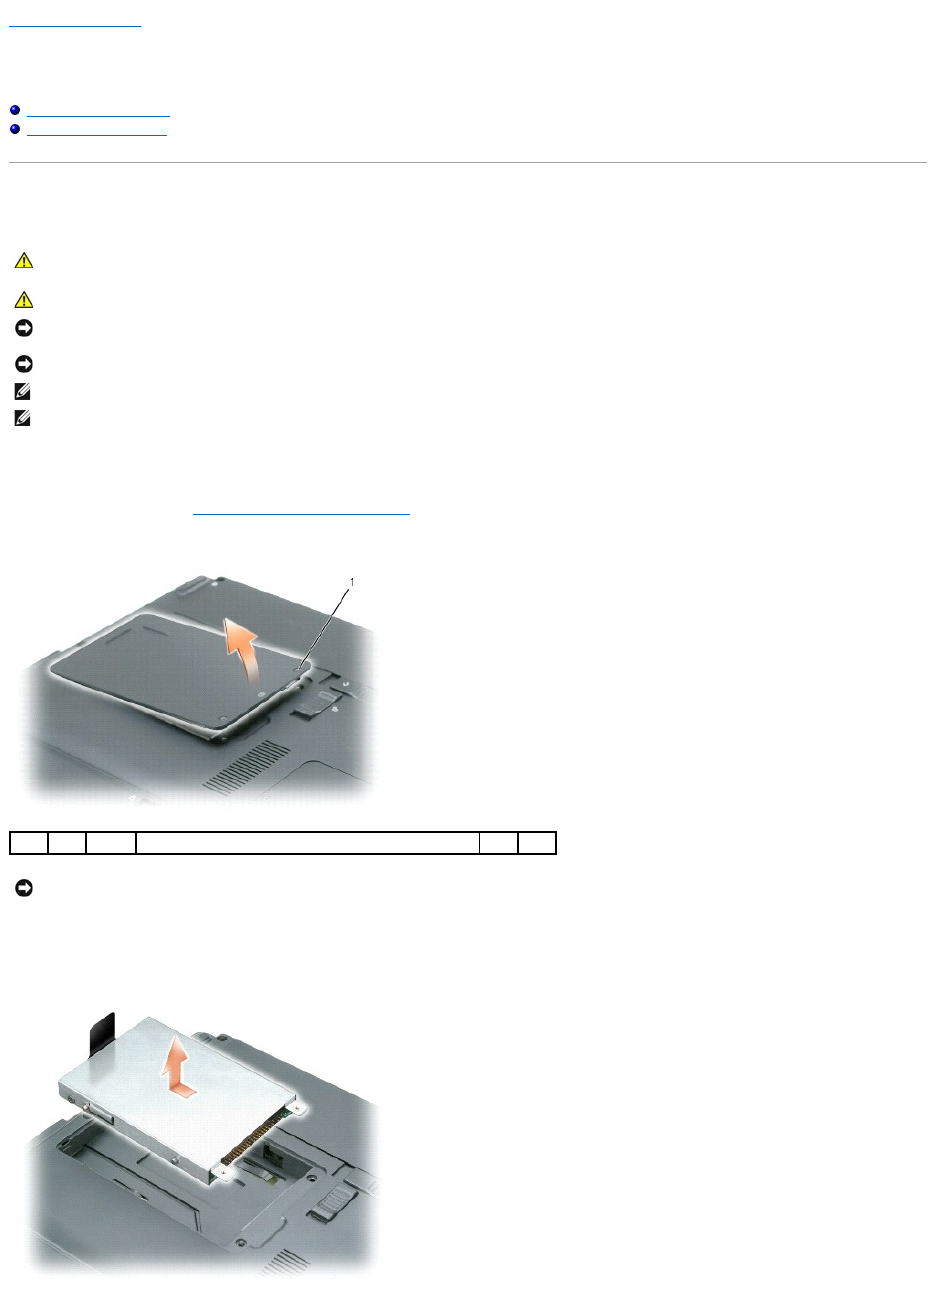
2. Turn the computer over, and loosen the two captive screws in the hard drive cover.
3. Lift the cover off the computer and set it aside.
4. Slide the hard drive carrier away from the screw holes, and then use the tab to lift the hard drive straight up to remove it from the computer.
CAUTION: If you remove the hard drive from the computer when the drive is hot, do not touch the metal housing of the hard drive.
CAUTION: Before you begin any of the procedures in this section, follow the safety instructions in the Product Information Guide.
NOTICE: To prevent data loss, turn off your computer before removing the hard drive. Do not remove the hard drive while the computer is on, in
standby mode, or in hibernate mode.
NOTICE: Hard drives are extremely fragile; even a slight bump can damage the drive.
NOTE: DelldoesnotguaranteecompatibilityorprovidesupportforharddrivesfromsourcesotherthanDell.
NOTE: If you are installing a hard drive from a source other than Dell, you need to install an operating system, drivers, and utilities on the new hard
drive.
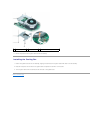
1
captive screws (2)
NOTICE: When the hard drive is not in the computer, store it in protective antistatic packaging. See "Protecting Against Electrostatic Discharge" in the
Product Information Guide.


