


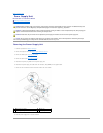


2. To replace the speaker, route the speaker cables back into position.
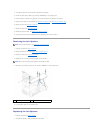
3. Connect the right speaker cable to the connector (SPEAKER_2) on the system board.
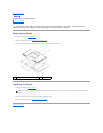
4. Place the speaker in position and replace the four screws that secure the speaker to the chassis.
5. Replace the processor fan and heat sink (see Replacing the Heat Sink and Replacing the Processor Fan).
6. Replace the stand (see Replacing the Stand).
7. Replace the shield (see Replacing the Shield).
8. Replace the computer cover (see Replacing the Computer Cover).
9. Connect your computer and all attached devices to electrical outlets, and turn them on.
Removing the Left Speaker
1. Follow the procedures in Before You Begin.
2. Remove the computer cover (see Removing the Computer Cover).
3. Remove the shield (see Removing the Shield).
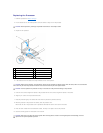
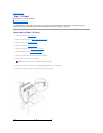
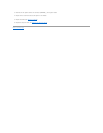
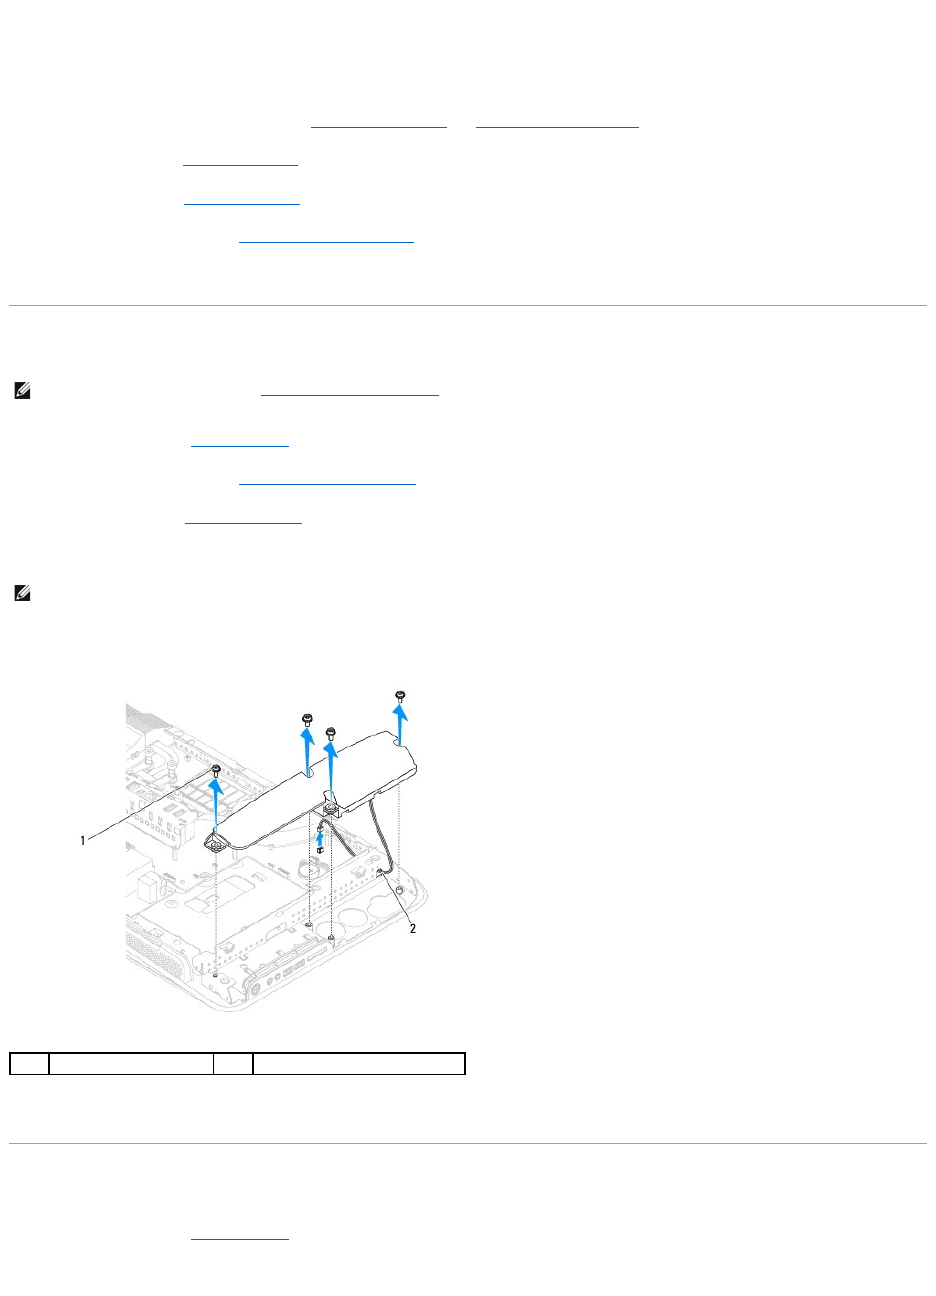
4. Remove the four screws that secure the speaker to the chassis.
5. Disconnect the left speaker cable from the connector (SPEAKER_1) on the system board.
6. Lift the speaker away from the system board.
Replacing the Left Speaker
1. Follow the procedures in Before You Begin.
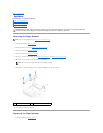
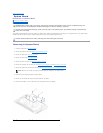
2. To replace the speaker, route the cables back into position.
NOTE: To locate the left speaker, see Inside View of Your Studio One.
NOTE: Make a note of the cable routing before you dislodge the cable.
1
screws (4)
2
speaker cable