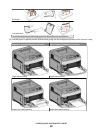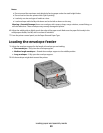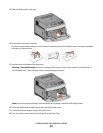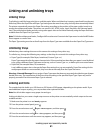
6 Press the arrow buttons until Configure Bins appears, and then press .
7 Press the arrow buttons until Link appears, and then press .
Changing a Custom Type <x> name
You can use the Embedded Web Server or MarkVision
TM
to define a name other than Custom Type <x> for each of
the custom paper types that are loaded. When a Custom Type <x> name is changed, the menus display the new
name instead of Custom Type <x>.
To change a Custom Type <x> name from the Embedded Web Server:
1 Type the printer IP address into the address field of your Web browser.
Note: If you do not know the IP address of the printer, then print a network setup page and locate the IP address
in the TCP/IP section.
2 Click Settings.
3 Under Default Settings, click Paper Menu.
4 Click Custom Names.
5 Type a name for the paper type in a Custom Name <x> box.
Note: This custom name will replace a custom type <x> name under the Custom Types and Paper Size/Type
menus.
6 Click Submit.
7 Click Custom Types.
Custom Types appears, followed by your custom name.
8 Select a Paper Type setting from the list next to your custom name.
9 Click Submit.
Loading paper and specialty media
62


