


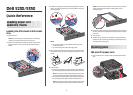
2 Push the release latch, and then open the front cover.
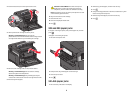
3 Lift and pull the toner cartridge out of the printer.
Warning—Potential Damage: Do not touch the
photoconductor drum on the underside of the cartridge. Use the
cartridge handle whenever you are holding the cartridge.
4 Place the toner cartridge aside on a flat, smooth surface.
Warning—Potential Damage: Do not leave the cartridge
exposed to light for extended periods.
Warning—Potential Damage: The jammed paper may be
covered with unfused toner which can stain garments and skin.
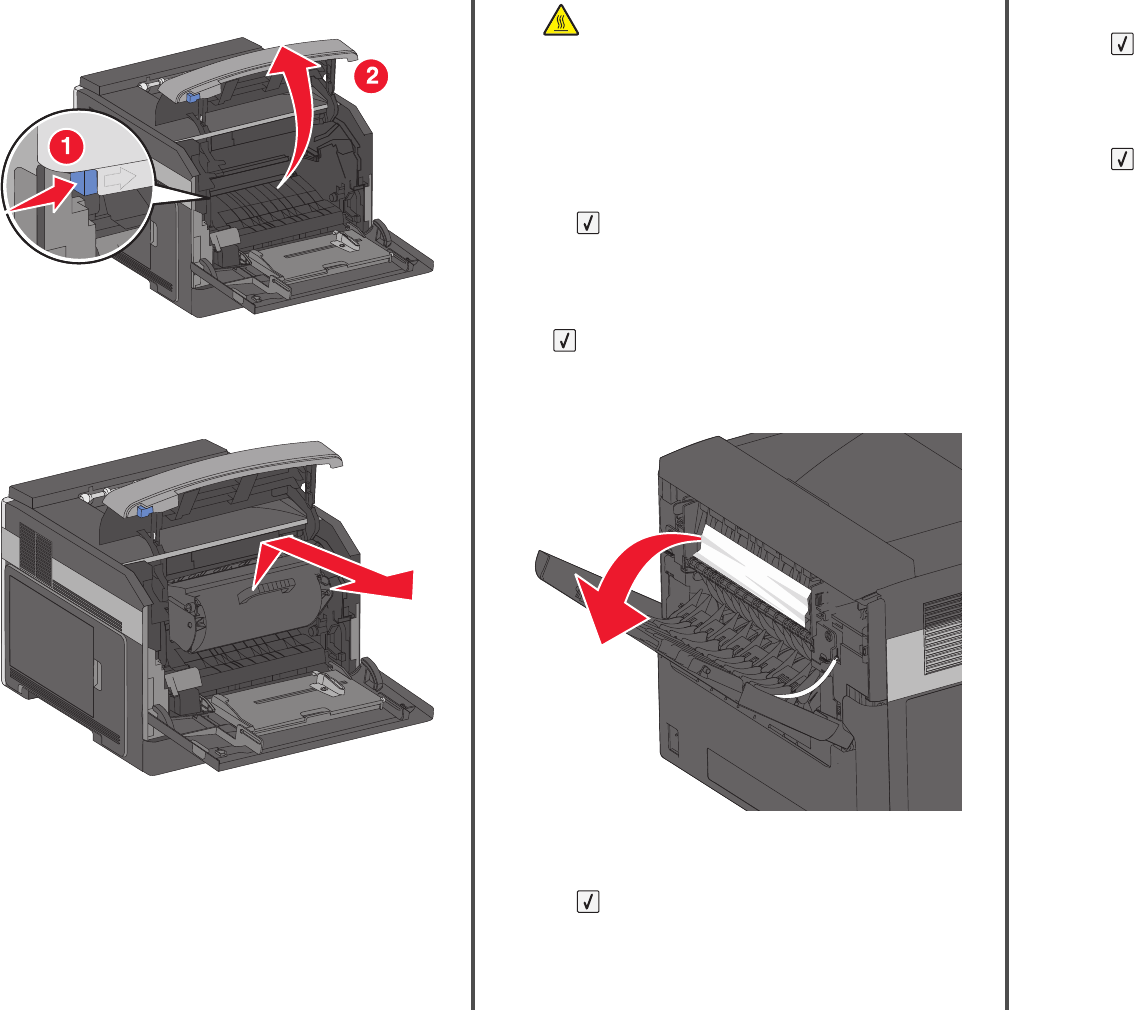
5 Remove the jammed paper.
CAUTION—HOT SURFACE: The inside of the printer
might be hot. To reduce the risk of injury from a hot
component, allow the surface to cool before touching.
Note: If the paper is not easy to remove, then open the rear door
and remove the paper from there.
6 Align and reinstall the toner cartridge.
7 Close the front cover.
8 Close the multipurpose feeder door.
9 Press .
202 and 203 paper jams
If the paper is exiting the printer, then pull the paper out, and then
press
.
If the paper is not exiting the printer:
1 Pull down the top rear door.
2 Slowly remove the jammed paper to avoid tearing it.
3 Close the top rear door.
4 Press .
241–245 paper jams
1 Pull out the tray indicated on the display.
2 Remove any jammed paper, and then insert the tray.
3 Press .
4 If the jam message persists for a 250-sheet or 550-sheet tray, then
remove the tray from the printer.
5 Remove the jammed paper, and then insert the tray.
6 Press .
2