For Macintosh users
1 Allow the network DHCP server to assign an IP address to the printer.
2 Print the network setup page from the printer. For information on printing a network setup page, see “Printing
a network setup page” on page 36.
3 Locate the printer IP address in the TCP/IP section of the network setup page. You will need the IP address if you
are configuring access for computers on a different subnet than the printer.
4 Install the drivers and add the printer.
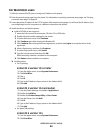
a Install a PPD file on the computer:
1 Insert the Software and Documentation CD in the CD or DVD drive.
2 Double-click the installer package for the printer.
3 From the Welcome screen, click Continue.
4 Click Continue again after viewing the Readme file.
5 Click Continue after viewing the license agreement, and then click Agree to accept the terms of the
agreement.
6 Select a Destination, and then click Continue.
7 From the Easy Install screen, click Install.
8 Type the user password, and then click OK.
All the necessary software is installed on the computer.
9 Click Restart when installation is complete.
b Add the printer:
• For IP printing:
In Mac OS X version 10.5 or later
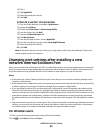
1 From the Apple menu, choose System Preferences.
2 Click Print & Fax.
3 Click +.
4 Click IP.
5 Type in the IP address of your printer in the Address field.
6 Click Add.
In Mac OS X version 10.4 and earlier
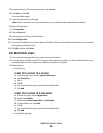
1 From the Finder desktop, choose Go > Applications.
2 Double-click Utilities.
3 Double-click Printer Setup Utility or Print Center.
4 From the Printer List, click Add.
5 Click IP.
6 Type in the IP address of your printer in the Address field.
7 Click Add.
• For AppleTalk printing:
In Mac OS X version 10.5
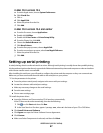
1 From the Apple menu, choose System Preferences.
2 Click Print & Fax.
Additional printer setup
44


