


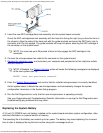

Installing System Board Options: Dell OptiPlex GX1 Low-Profile Managed PC Systems
file:///C|/infodev/2013/eDoc/OpGX1/SQRG/options.htm[2/21/2013 11:53:02 AM]
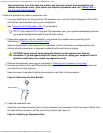
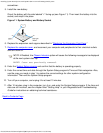
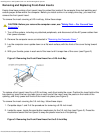
5. Insert the new SEC cartridge/heat sink assembly into the system board connector.
Orient the SEC cartridge/heat sink assembly with the heat sink facing the right (as you face the front of
the chassis). Align the sides of the heat sink with the guide brackets and press the SEC firmly into its
connector until it is fully seated. The guide brackets will snap into place, securing the SEC cartridge in
the connector on the system board.
NOTE: You must use up to 25 pounds of force to fully engage the SEC cartridge in the
connector.
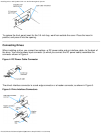
6. Connect the microprocessor fan cable to the connector on the system board.
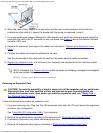
7. Replace the computer cover
, and reconnect your computer and peripherals to their electrical outlets
and turn them on.
NOTE: If Enabled, the Chassis Intrusion option will cause the following message to be displayed
at the next system start-up:
ALERT! Cover was previously removed.
8. Enter the System Setup program and confirm that the installed microprocessor is correctly identified.
As the system boots, it detects the new microprocessor and automatically changes the system
configuration information in the System Setup program.
9. Run the Dell Diagnostics to verify that the new microprocessor is operating correctly.
See your Diagnostics and Troubleshooting Guide for information on running the Dell Diagnostics and
troubleshooting any problems that may occur.
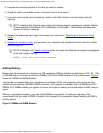
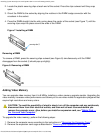
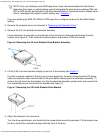
Replacing the System Battery
A 3.0-volt (V) CR2032 coin-cell battery installed on the system board maintains system configuration, date,
and time information in a special section of memory.
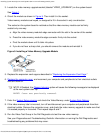
The operating life of the battery can extend up to ten years. The battery may need replacing if an incorrect
time or date is displayed during the boot routine along with a message such as: