


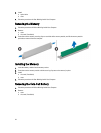
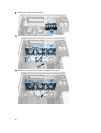
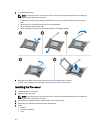
Installing the System Fan
1. Place the fans in the fan assembly and attach the grommets.
2. Place the fan assembly in the chassis.
3. Install the screws to secure the fan assembly to the chassis.
4. Connect the system-fan cables to their connectors on the system board.
5. Route the system-fan cables out of the opening in the system-fan module in the direction of the system board.
6. Place the air baffle in its slot in the computer and insert the latches.
7. Install the screws that secure the drive bay.
8. Replace the metal plate and install the screw that secures metal plate to the system fan.
9. Route and connect the system-board cable to its connector.
10. Install:
a. optical drive
b. hard drive
c. PCI card
d. intrusion switch
e. cover
11. Follow the procedures in
After Working Inside Your Computer
.
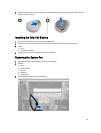
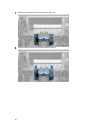
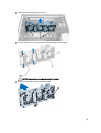
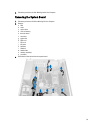
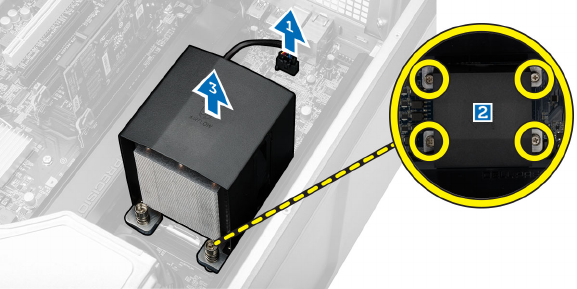
Removing the Heatsink
1. Follow the procedures in
Before Working Inside Your Computer
.
2. Remove the cover.
3. Perform the following steps:
a. Disconnect the heatsink cable from the system board [1].
b. Loosen the screws that secure the heat sink [2].
c. Lift up the heatsink and remove it from the computer [3].
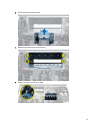
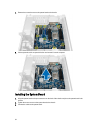
Installing the Heatsink
1. Place the heatsink inside the computer.
2. Tighten the captive screws to secure the heatsink to the system board.
3. Connect the heatsink cable to the system board.
30