


Install Guide
Model: MIL-5008H Fast Ethernet TX Hub 8
5. Connect the power cord into the receptacle of the power supply.
6. Plug the power cord into the power outlet.
7. Check the Power LED of the unit. If lit, the unit is ready.
8. The Link LED is on when signal detect is sensed indicating the port is active.
The partition LED for each port and the global collision LED should be off
during normal operation.
The MIL-5008H is ready for operation.
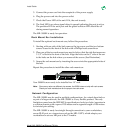
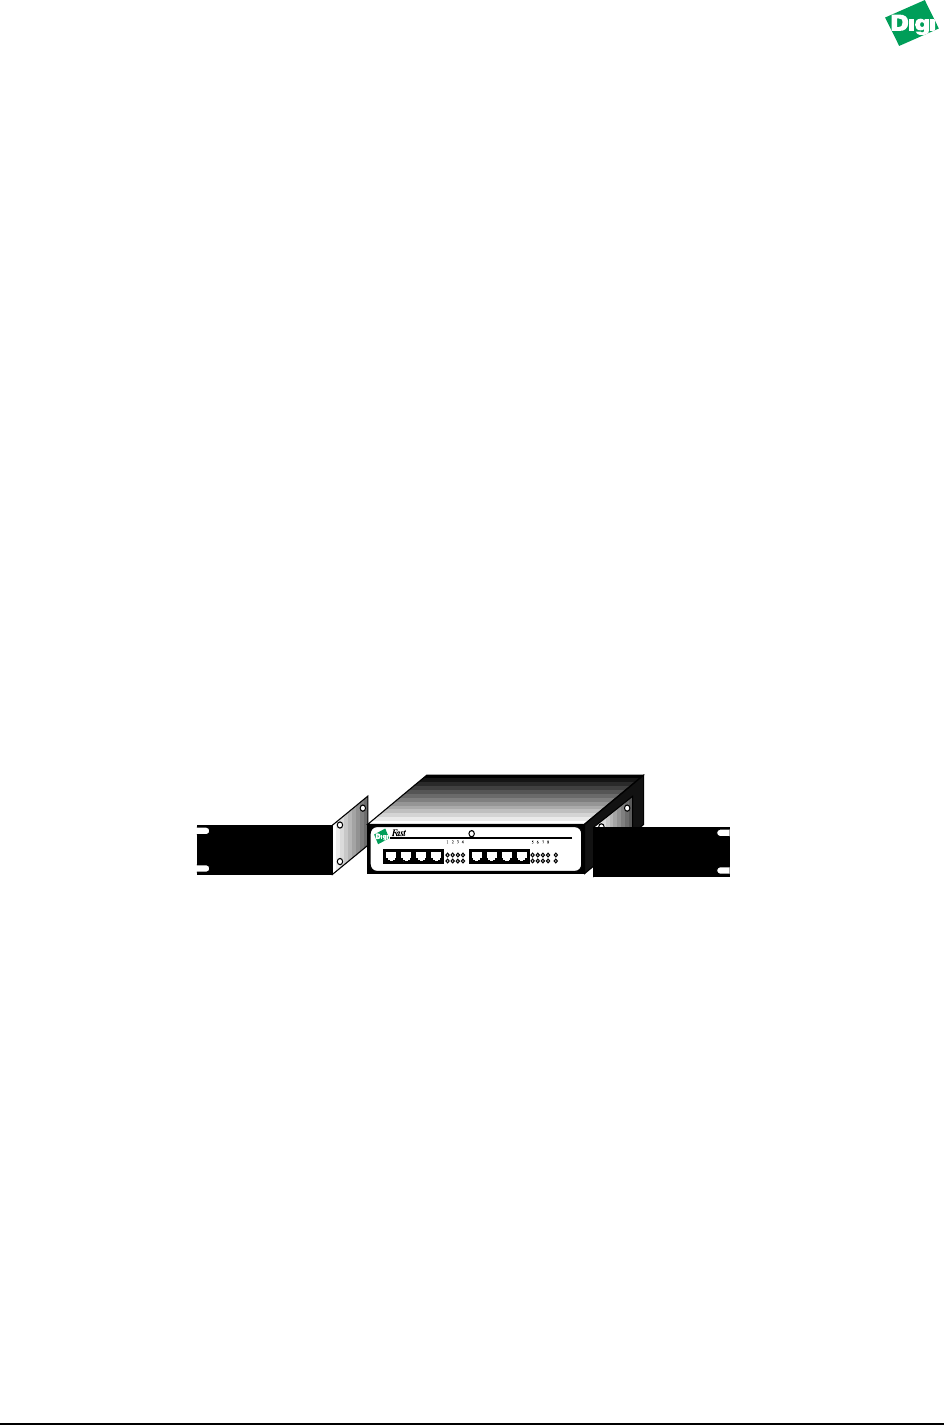
Rack Mount Ear Installation
To install the optional rack mount ears, follow this procedure:
1. Starting with one side of the hub, remove the top screw, and the two bottom
screws closest to the front of the hub with a Phillips head screwdriver
2. Place one of the two rack mount ears next to hub so that the side that measures
5 1/2” is flush to the front of the hub. Align the holes on the 3” side of the ear
to the holes on the hub where you removed the screws (See Illustration).
3. Secure the rack mount ear by inserting the screws into the appropriate holes of
the hub.
Repeat this procedure to install the other rack mount ear.
Your 5008H is now ready to be installed in a 19” rack.
Note:
Since many racks use different size screws, the 5008H does not ship with rack screws.
Check your rack manufacturer for the proper size rack screw.
Network Configuration
The MIL-5008H may be used in multiple configurations. As a stand alone hub or
as part of a larger network, the MIL-5008H is a very flexible product. The only
limitation comes from the IEEE 802.3u specification of only two hubs/repeaters in
a collision domain with a span of 205 meters and a segment length of 100 meters
for twisted pair cabling.
The MIL-5008H is ready for straight through connection to your workstation,
server RJ-45 port, or a transceiver such as the MIL-100TX, which adapts your
workstation or servers MII port to the TX media.
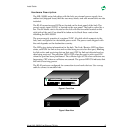
MIL•5008H
Link/Rx
12 43
56 87
Partition Partition Collision
Link/Rx
Power
Ethernet TX Hub
II
open 2.34 x .535