


13
Basic operations
To project
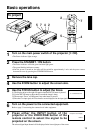
1
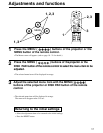
Turn on the main power switch of the projector [ I: ON].
• The Power indicator lights orange.
2
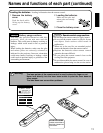
Press the STANDBY / ON button.
• The Power indicator will blink green and then light green.
• The green blinking indicates warmup.
• After the power is turned on, the lamp will be cooled for approximately 1 min. and the power cannot
be turned on even by pressing the STANDBY/ON button.
3
Remove the lens cap.
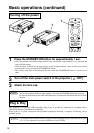
4
Use the ZOOM button to adjust the screen size.
5
Use the FOCUS button to adjust the focus.
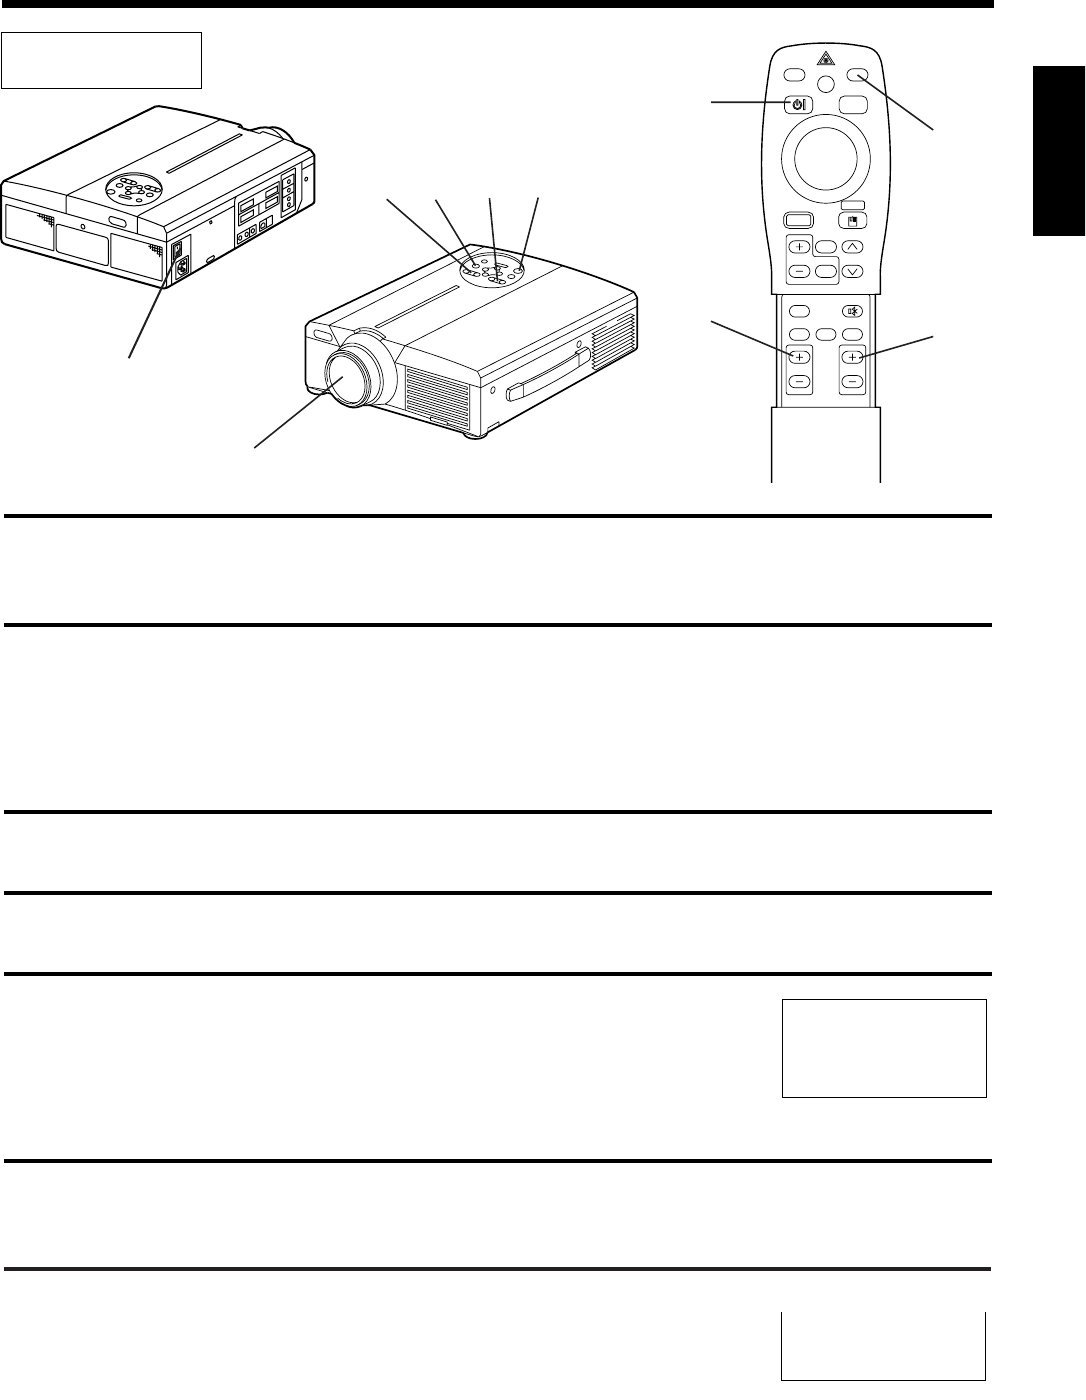
(1) The display shown to the right will appear when the FOCUS button is pressed.
(2) Use the FOCUS button to adjust the focus until the image is sharp.
(3) The message “Focus” will disappear if any other button is pressed.
• (
When there is no input signal, the Focus characters are not displayed when the input signal is outside the sync range.)
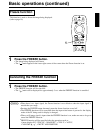
6
Turn on the power to the connected equipment.
Refer to page 31 concerning the connection of other equipment.
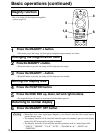
7
Press either the INPUT button of the
projector or the VIDEO/RGB button of the
remote control to select the signal to be
projected on the screen.
The selected signal input channel will be displayed in the lower right part of the screen.
RGB 1
Example on-screen display
+++FOCUS+++
2
4
5
7
VIDEO
STANDBY/ON
RGB
POSITION
LASER
MENU
RESET
MAGNIFY
FREEZE
OFF
VOLUME
P in P MUTE
AUTOBLANK TIMER
FOCUS ZOOM
2
3
5
4
7
1