


8
9
8
Printing Fixed Length Labels
Normally, the length of the label is determined by
the length of the text entered. However, you may
wish to make a label for a specific purpose that is a
fixed length regardless of the length of the text.
You can specify a fixed length for a label in 0.5 mm
(0.2”) increments between 10 mm (0.4”) and
999.9 mm (40.0”). The preset fixed length is 40 mm
(1.5”). Any change you make to the fixed length
setting remains in effect until you change it.
To set the label length
1. Press .
2. Use the arrow keys to increase or decrease the
label length.
3. Press .
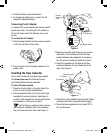
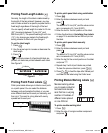
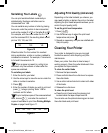
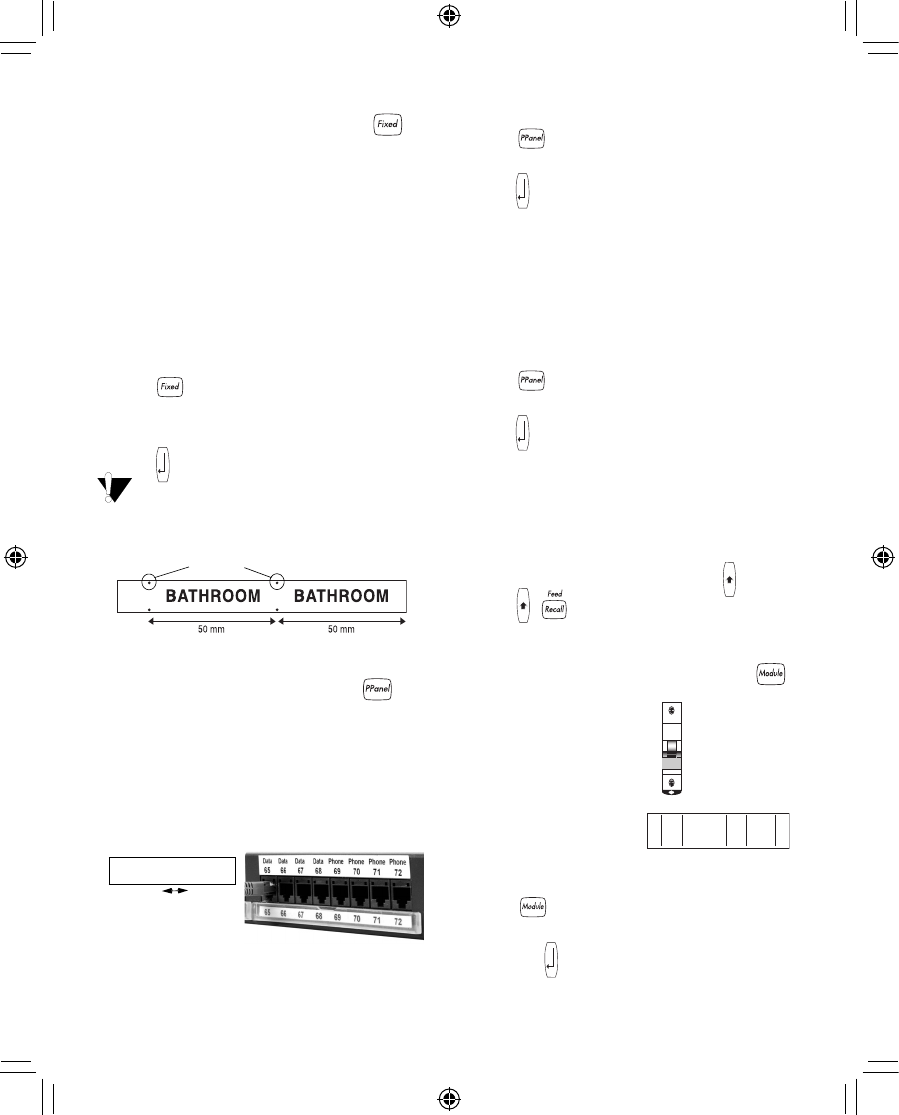
If multiple copies of a fixed-length label are
printed, cut marks are printed between each label.
See Figure 9.
Figure 9
Printing Patch Panel Labels
Patch panel mode allows you to label a row of ports
on a patch panel. You can select the distance
between ports and serialize the label, or you can
enter different label text for each port manually, and
then print. The result is a long label with evenly
spaced text for each port.
To print a patch panel label using serialization
1. Press .
2. Enter the distance between each port and
press .
The default is 12 mm (0.5”) and the value can be
set in increments of 0.1 mm (0.005”).
3. Enter the text for the first position on the label.
4. Follow the directions in Serializing Your Labels
on page 10 to serialize the text that will print on
the label.
To print a patch panel label manually
1. Press .
2. Enter the distance between each port and
press .
The default is 12 mm (0.5”) and the value can be
set in increments of 0.1 mm (0.005”).
3. Enter the text for the current position on the label
and press
G
.
4. Repeat step 3 until all port labels are printed.
To clear the previous label text, press +
0
.
5. Press + to feed the tape after the last port
and then cut the label using the Cutter lever.
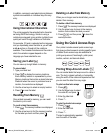
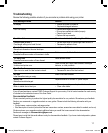
Printing Module Marking Labels
Module marking allows
you to create a label for
and electrical module
rack that has a varying
number of modules of
different sizes placed
on one DIN rail.
To print a module marking label
1. Press .
2. Enter the size of a single modular component
and press .
Cut Marks
01 02 03 04
�
HEATING
ROOM 1
ROOM 1
LIGHT
X=1
9
The default value is 17.5 mm (0.7”) and can be
set in increments of 0.1 mm (0.005”).
3. Enter the total number of module blocks on one
row and press .
4. Enter the size for each component (X=?) and
press after each module.
5. Enter text for the first module and press
G
.
6.
Press +
0
to clear the text.
7. Repeat steps 5 and 6 until all module labels are
printed.
8. Press + to feed the tape after the last
module and then cut the label using the Cutter
lever.
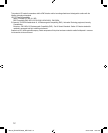
Printing Vertical Labels
Single-line labels can be printed with
the text running vertically.
To print vertically
1. Press .
2. Enter the text for your label and
press
G
.
Printing Barcode Labels
The printer can generate two types of barcodes:
CODE-39 and CODE-128. You can only print a
barcode on 19 mm (3/4”) label tape.
The barcode prints horizontally along the label with
the text in small print underneath the barcode. You
can optionally add text before and after the
barcode. Or, you can add text above and below the
barcode by creating a multi-line label. See
Creating Multi-Line Labels on page 6.
To create a barcode
1. Enter the text you wish to appear before the
barcode on the label. (Optional)
2. Press + .
3. Select CODE-39 or CODE-128, and press .
4. Enter the text for the barcode between the
barcode symbols ( ) and press .
5. Enter any text you wish to appear after the
barcode. (Optional)
6. Press
G
.
Printing Options
You can choose to print multiple copies of the same
label, print serialized labels, or print a combination
of both.
Printing Multiple Copies
You can print up to 99 copies of the same label at
one time. When printing multiple copies, a dotted
cut-line is printed between each label.
To print multiple copies
1. Press +
G
.
2. Press the
;
arrow to increase the number of
copies to print. The default is 2 copies.
3. Press the
:
arrow to decrease the number of
copies (maximum is 99).
4. Press or
G
to begin printing.
You may notice a brief pause in printing
between each label for more complex formats.
When printing is finished, the number of copies to
print returns to 2.
Advancing the Label Tape
The default leader space for all labels is
approximately 10 mm (0,4”). To add additional
blank space to the beginning or end of your label,
you can feed the tape in 6 mm (0.25”) increments.
➤ Press + .
Manual_RhinoPRO5000_WEU.indd 8 23-07-2004 10:51:34