DESIGN LED 36 Pro™
©Elation Professional, Los Angeles Ca. 18 www.ElationLighting.com
8. FIXTURE MENU
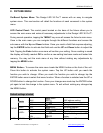
On-Board System Menu: The Design LED 36 Pro™ comes with an easy to navigate
system menu. This next section will detail the functions of each command in the system
menu.
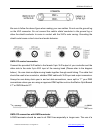
LED Control Panel: The control panel located on the base of the fixture allows you to
access the main menu and make all necessary adjustments to the Design LED 36 Pro™.
During normal operation, tapping the “MENU” key once will access the fixture’s main menu.
Once in the main menu you can navigate through the different functions and access the
sub-menus with the Up and Down buttons. Once you reach a field that requires adjusting,
tap the ENTER button to activate that field and use the UP and Down button to adjust the
field. Tapping the Enter button once more will confirm your setting. Once a setting is saved
the display will briefly readout OK to confirm a new setting has been made and locked into
memory. You may exit the main menu at any time without making any adjustments by
tapping the MENU button.
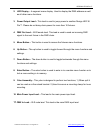
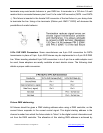
MENU Button - To access the main menu locate the MENU button on the front of the unit.
Press this button to activate the system menu. Tap the UP button until you reach the
function you wish to change. When you reach the function you wish to change tap the
ENTER button once to select that menu function. When a function is selected use the UP or
DOWN button to change the function. Once your changes are made tap the ENTER button
yet again to lock the change in the system menu. To exit without making any changes tap
the MENU button.
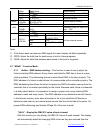
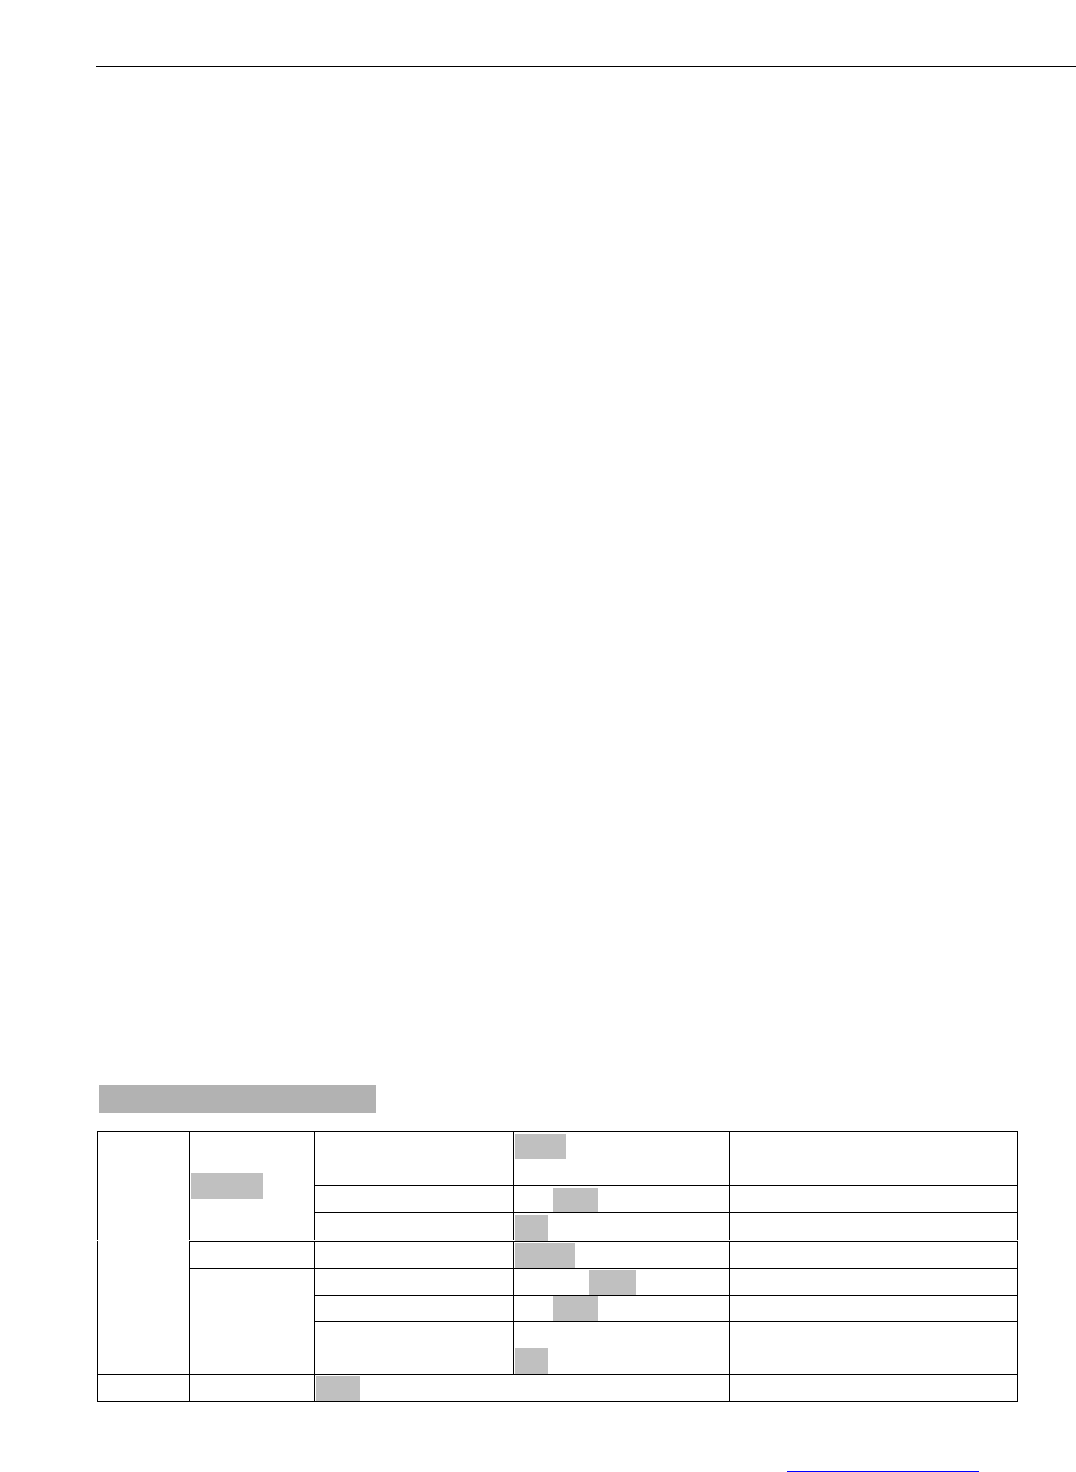
Default settings shaded.
VALU
A001~AXXX
(AXXX)
DMX address setting
SLAV
ON/OFF
Set as Slave
<Addr>
rdMX
ON/OFF
Change address via DMX
<rUN>
AUtO
ALON/MASt
Run Auto program
VALU
D-XX D-00(DXXX)
Display DMX value
FLIP
ON/OFF
Flip display
MOdE
<dISP>
d ON
ON/OFF
Delay shutting off LED
display
SEt
<CHAN>
3CH/4CH/6CH
DMX channel Mode


