


Elo LCD Touchmonitor User Guide- 11
User Controls (Continued)
Chapter 3 – Operation (Continued)
AUTO
AUTO
• To deactivate the LOCK OUT mode, simultaneously press the PROCEED
and button.
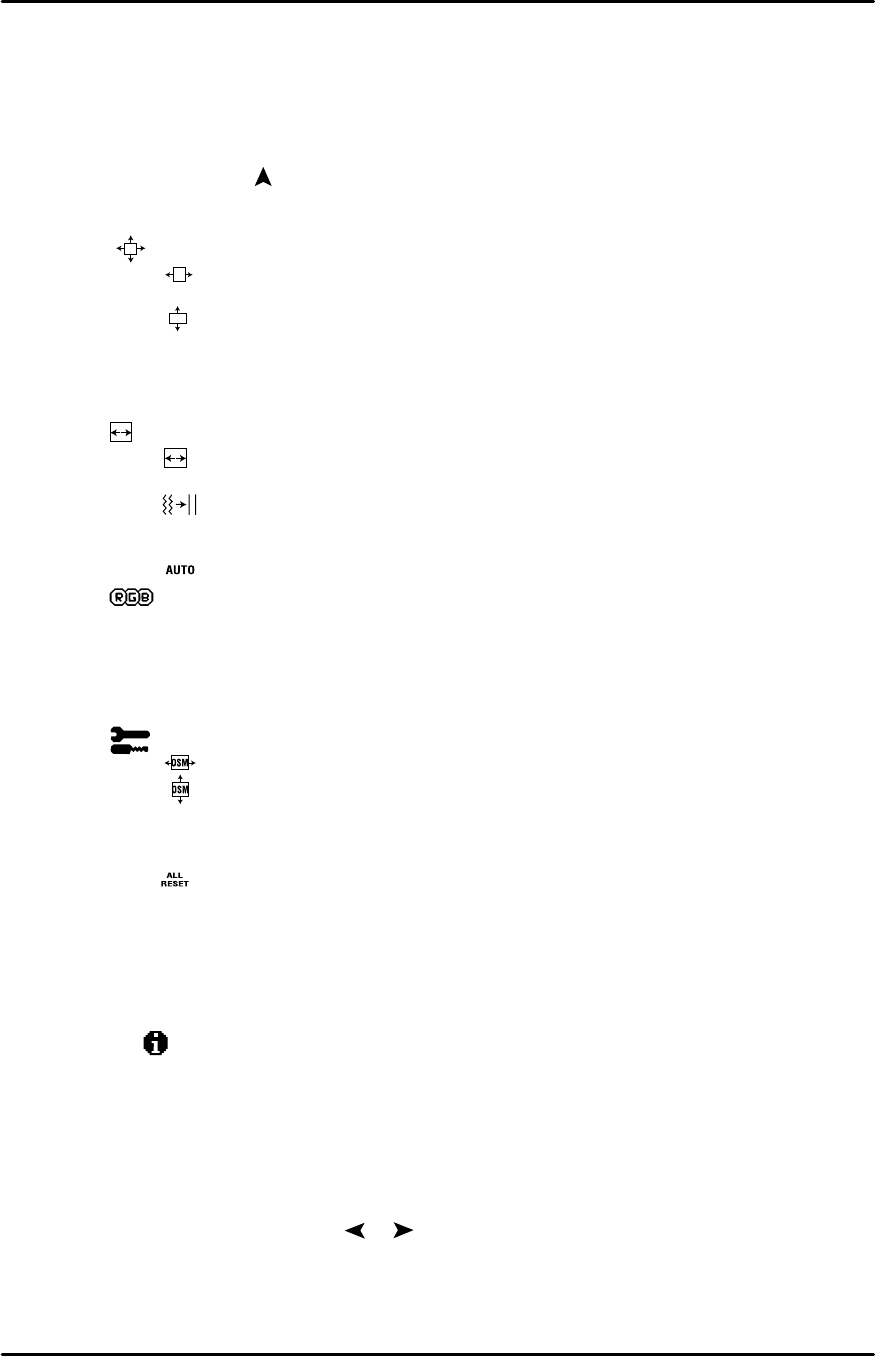
Auto Adjust
Automatically adjusts the Image Position, H. Size and Fine settings.
Position Controls
H. POSITION
Controls Horizontal Image Position within the display area of the LCD.
V. POSITION
Controls Vertical Image Position within the display area of the LCD.
AUTO
Automatically sets the Horizontal and Vertical Image Position within
the display area of the LCD.
Image Adjust Controls
H. SIZE
Adjusts the horizontal size by increasing or decreasing this setting.
FINE
Improves focus, clarity and image stability by increasing or decreas-
ing this setting.
Automatically adjusts the H Size settings.
AccuColor
´®
Control System
Five color presets select the desired color setting. Each color setting is
adjusted at the factory.
R,G,B: Increases or decreases Red, Green or Blue color depending
upon which is selected. The change in color will appear on screen
and the direction (increase or decrease) will be shown by the bars.
Tools
OSM H POS.
OSM V POS.
You can choose where you would like the OSM
™
control window to
appear on your screen. Selecting OSM Location allows you to manually
adjust the position of the OSM control menu left, right, up or down.
ALL RESET
Selecting ALL RESET when D-SUB input is selected allows you to reset all
OSM control settings for the D-SUB input back to the factory settings.
Selecting ALL RESET when BNC input is selected allows you to reset all
OSM control settings for the BNC input back to the factory settings.
Individual settings can be reset by highlighting the control to be used and
pressing the RESET button.
Information
Indicates the current display resolution, frequency setting and type of
Sync signal the monitor is using.
NOTE: Mode Change should only be used if a resolution is not
recognized by the monitor. The user can change to the
appropriate resolution by selecting the Mode information
and selecting (increase or decrease) the corresponding
option.
NOTE: If the or button is pressed while TYPE is highlighted,
then Sync Type is switched between Separate Sync and Sync
On Green.