


Epicenter, Inc.
Page 8
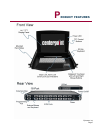
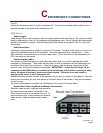
STANDARD 1U
INSTALLATION
Use the following procedure to
install Centerpoint 2x8 or 2x16 in
the rack.
Centerpoint 2x8 and 2x16 are
shipped with the side-mount rails
already installed on the unit.
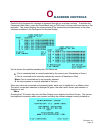
Insert a rack-mounting bracket
into the rack at a level that will be
comfortable for operating the keyboard, mouse and viewing the monitor. Align the screw holes at
the front and back of the rack on both side rails. Use one screw to at-
tach the mounting bracket to the front of the rack and two
screws to attach the slide to the rear of the rack.
Once the rack mounts are in place you can now place the Cen-
terpoint 2x8 or 2x16 unit in the rack.
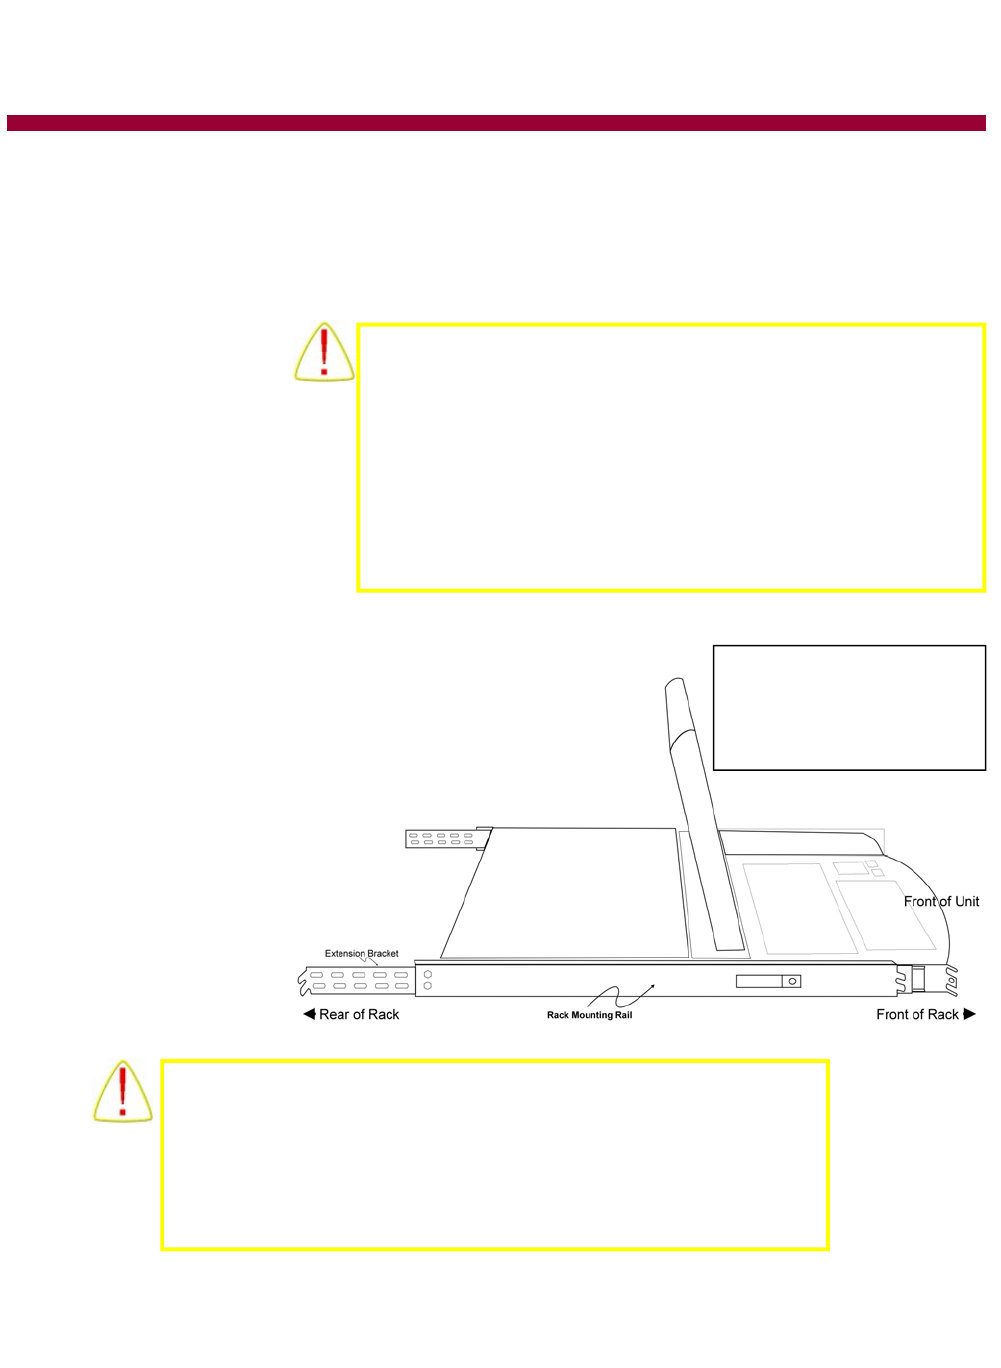
Leave the upper screen panel closed as you guide the rack-
mount slides into the rails mounted
upon the rack. Once the system is
in place depress the retaining but-
tons and slide the unit com-
pletely into the rack. Secure
the outer slides in place with
the included retention
screws.
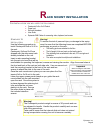
R
ACK MOUNT INSTALLATION
FOR INSTALLATION YOU WILL NEED THE FOLLOWING:
•
Centerpoint 2x8 or 2x16 Product
•
Power cord
•
Rails with hardware
•
User Guide
•
Epicenter KVM Cables for connecting video, keyboard, and mouse
Warning!
To reduce the risk of personal injury or damage to the equip-
ment, be sure that the following items are completed BEFORE
performing any work on the rack:
•
The leveling jacks are extended to the floor.
•
The full weight of the rack rests on the leveling jacks.
•
The stabilizing feet are attached to the rack, if it is a single-rack
installation.
•
The racks are coupled in multiple-rack installations.
Warning!
The Centerpoint products weigh in excess of 30 pounds and can
be awkward to handle. Handle the product carefully and use sen-
sible lifting procedures.
Take care to insure that the internal slide unit does not extend
during transportation causing the unit to become unwieldy.
Important
When mounting the rack slides
make sure that the end of the slides
with the extension brackets are
installed to the rear of the rack.