


6
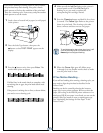
When one of the Ink Out lights stays on and INK OUT
is displayed on the control panel, the cartridge is empty.
To replace the cartridge, first make sure the printer is on.
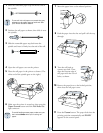
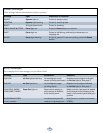
1 Open the ink compartment cover.
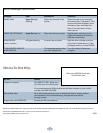
2 Raise the ink lever to the unlocked position.
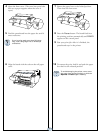
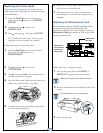
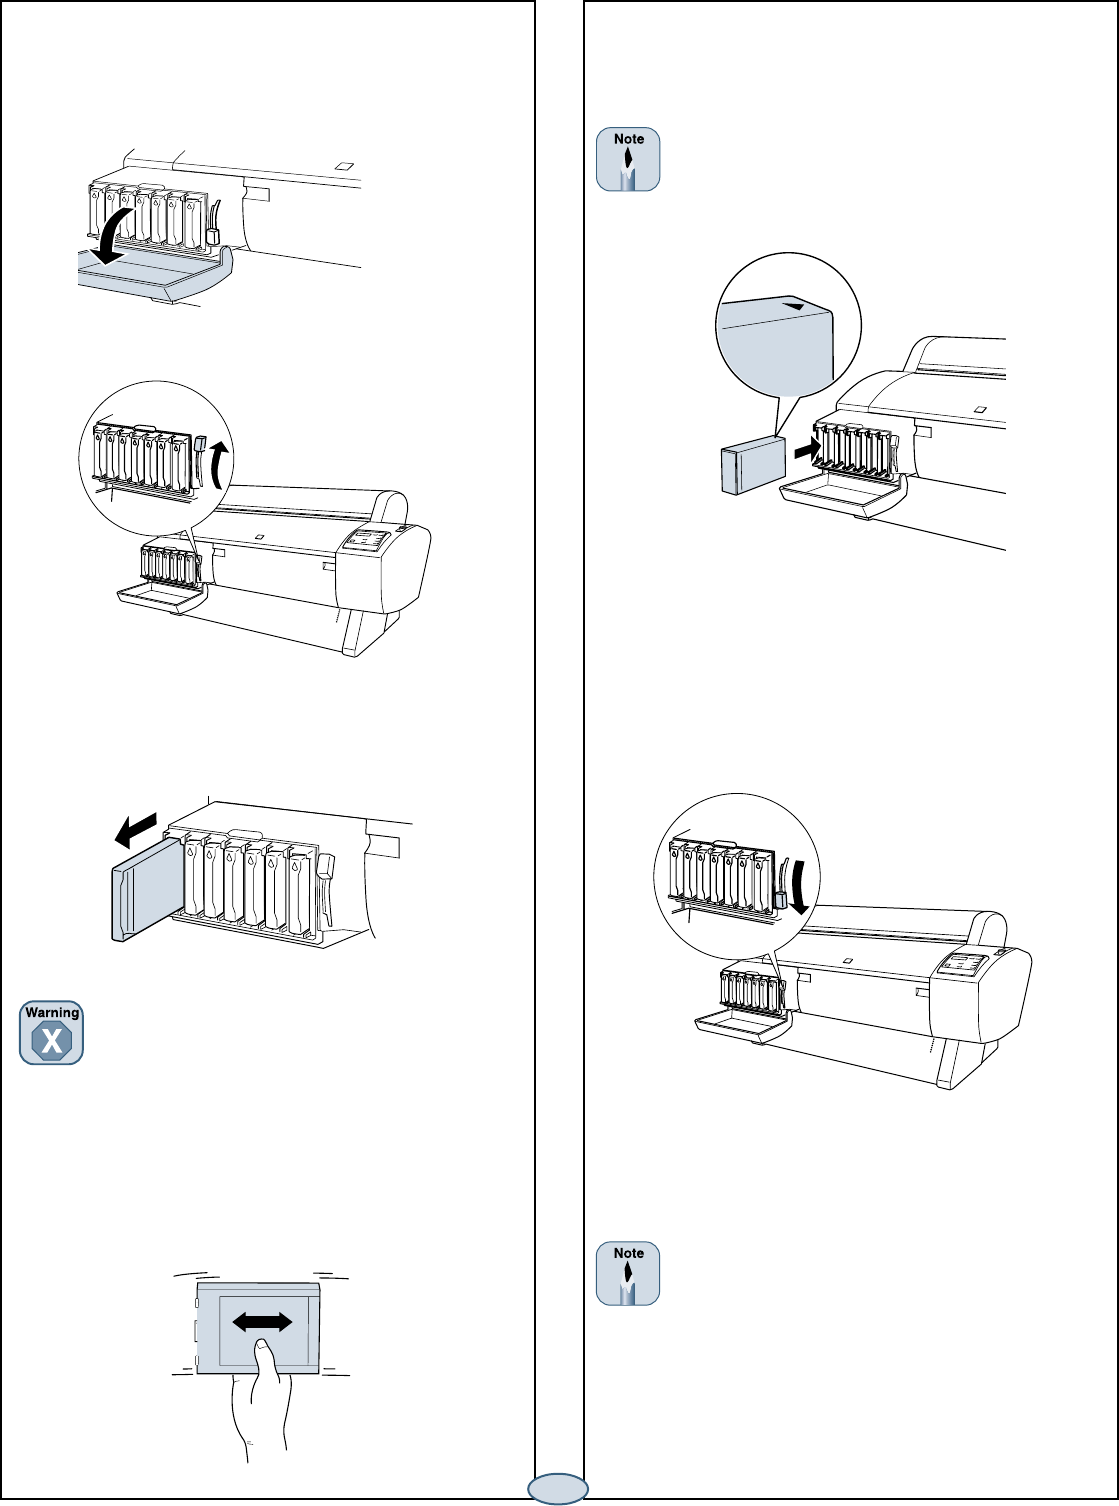
5 Hold the cartridge with the arrow mark pointing
toward the printer. Then insert the cartridge into
the slot. Don’t force it.
If you can’t insert the cartridge smoothly, you
may have the wrong cartridge. Check the
package and product code. If the Ink Out light
remains on after installing the cartridge, it may
not be inserted fully.
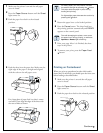
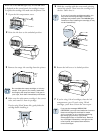
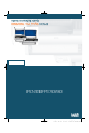
3 Remove the empty ink cartridge from the printer.
Do not shake the empty cartridge, or ink may
escape. If ink gets on your hands, wash them
thoroughly with soap and water. If ink gets in
your eyes, flush them immediately with water.
4 Make sure the replacement cartridge is the correct
color, and remove it from its package.
If you’re using UltraChrome Ink, gently shake the
cartridge before installing it.
6 Return the ink lever to its locked position.
7 If you’re using 110 ml cartridges, close the ink
compartment cover. If you’re using 220 ml
cartridges, you’ll have to leave the cover open.
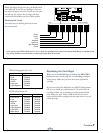
If you see the message WRONG INK
CARTRIDGE, you may have loaded an incorrect
black ink cartridge for the black ink mode
you’re currently in, or a cartridge containing
the wrong type of ink for your printer
(Photographic Dye or UltraChrome). Remove
any cartridges indicated by a red light on the
control panel, and replace them with the
correct cartridges.