


Your product scans your original and prompts you to place additional pages, if necessary.
After scanning your originals, your product dials the number and sends the fax.
Note: If the number is busy or there is a communication problem, your product displays a redialing
message and will redial the number in a few minutes.
Parent topic: Sending Faxes from the Product Control Panel
Selecting Fax Numbers From Speed or Group Dial Lists
You can send a fax from your product control panel by selecting a speed dial or group dial entry from the
list.
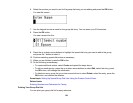
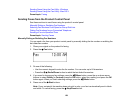
1. Place your original on the product for faxing.
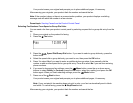
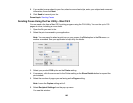
2. Press the Fax button.
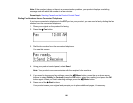
3. Press the Speed Dial/Group Dial button. If you want to select a group dial entry, press the
button twice.
4. Select the speed dial or group dial entry you want to use, then press the OK button.
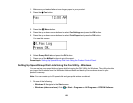
5. Press 1 to select Yes if you want to enter an additional phone number, then manually dial the
number or add another speed dial or group dial entry. Press 2 to select No if you are done entering
phone numbers.
6. If you need to change any fax settings, press the Menu button, press the up or down arrow
buttons to select Quality or Contrast, press the OK button, select your setting, and press the OK
button again. When you finish selecting settings, press the Menu button.
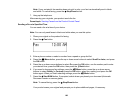
7. Press one of the Start buttons.
Your product scans your original and prompts you to place additional pages, if necessary.
Note: If your recipient's fax machine does not print in color, your fax is automatically sent in black-
and-white. To cancel faxing, press the Stop/Reset button.
After scanning your originals, your product dials the number and sends the fax.
160