


Maintenance 19
English
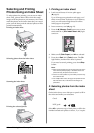
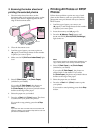
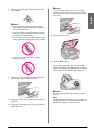
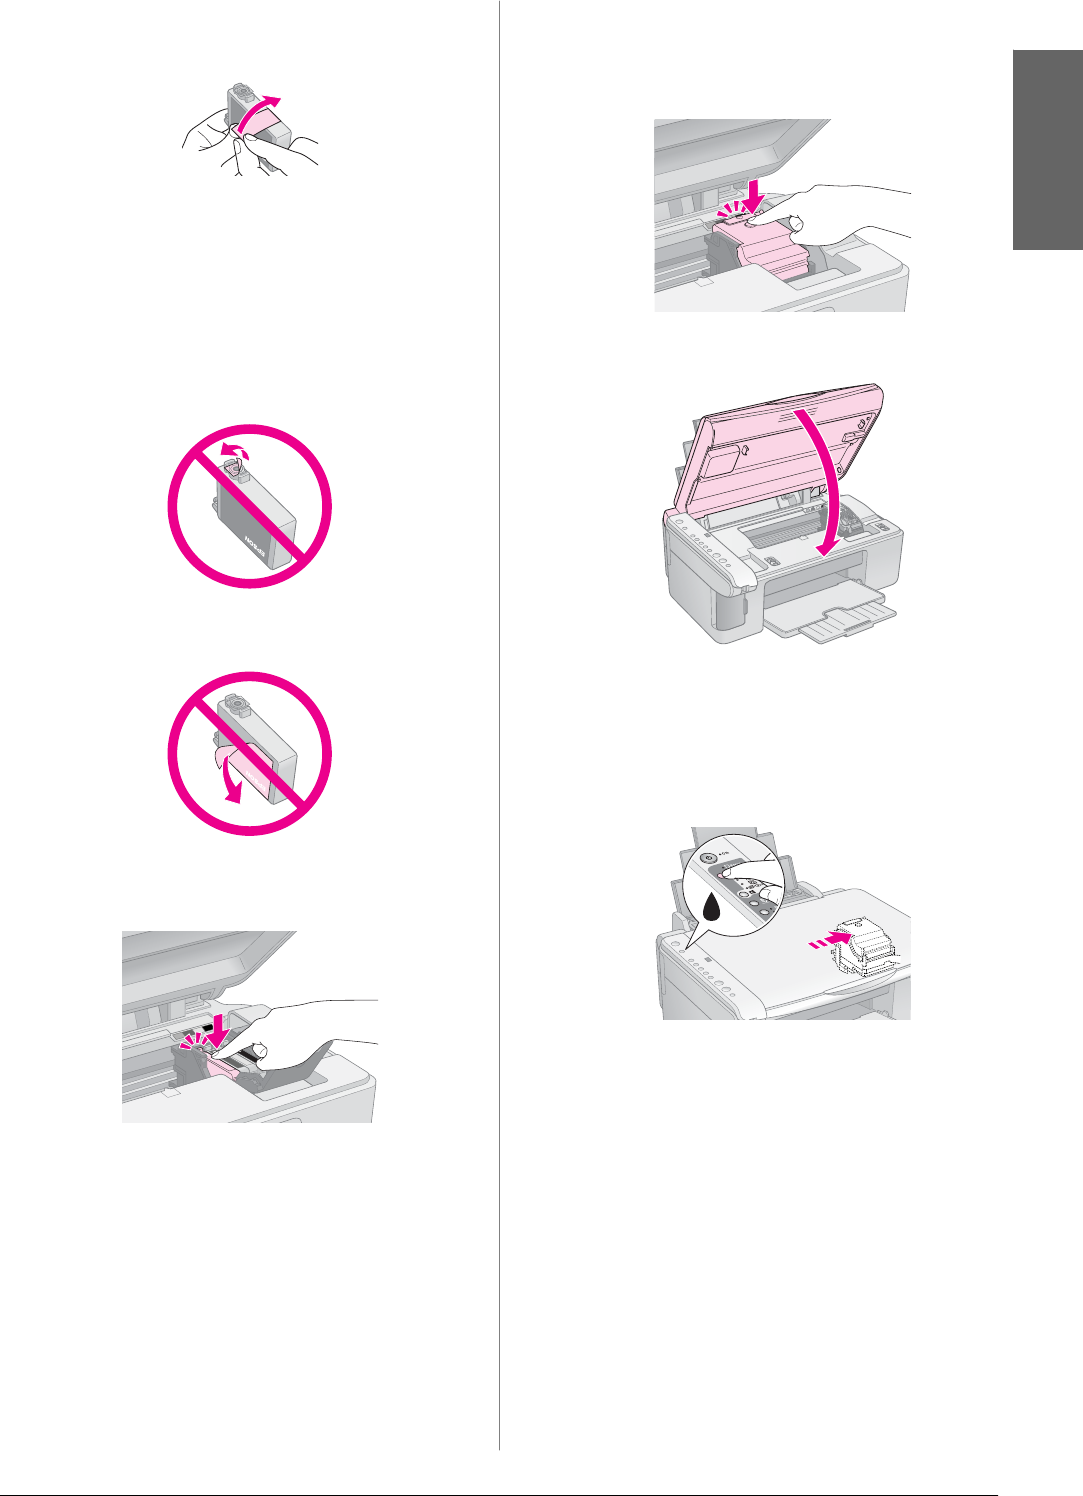
8. Remove the yellow tape from the bottom of the
ink cartridge.
c Caution:
❏ You must remove the yellow tape from the cartridge
before installing it; otherwise, print quality may decline or
you may not be able to print.
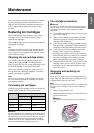
❏ If you have installed an ink cartridge without removing the
yellow tape, take the cartridge out of the printer, remove
the yellow tape, and then reinstall it.
❏ Do not remove the transparent seal from the bottom of the
cartridge; otherwise, the cartridge may become unusable.
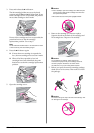
❏ Do not remove or tear the label on the cartridge;
otherwise, ink will leak.
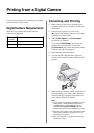
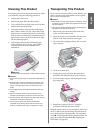
9. Place the new ink cartridge into the holder and
push it down until it clicks into place.
10. Replace any other ink cartridges that need to be
replaced.
11. Close the ink cartridge cover and press it until it
clicks into place.
c Caution:
If you find it difficult to close the cover, make sure all the
cartridges are firmly seated. Press down on each cartridge
until you hear it click into place. Do not attempt to force the
cover closed.
12. Close the scanner unit.
13. Press the B ink button.
The product begins charging ink and the On
light starts flashing. This takes about one minute.
When it has finished, the On light stops flashing
and remains on, and the B ink light goes out.
c Caution:
Do not turn off the product during ink charging as this will
waste ink.
Note:
If the B ink light stays on (not flashing), the ink cartridge may
not be installed correctly. Press the B ink button again and
reinstall the ink cartridge until it clicks into place.