


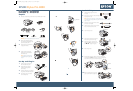
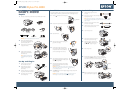
Connect to Your System
You can use either of the following connections. Make sure your system has the appropriate
port, and you have a standard, shielded cable 10 feet long or less:
If you have the optional EpsonNet Ethernet card,
you can connect the printer directly to your
network. You’ll need a standard RJ-45 network
cable.
1 Make sure that both the printer and the
computer are off.
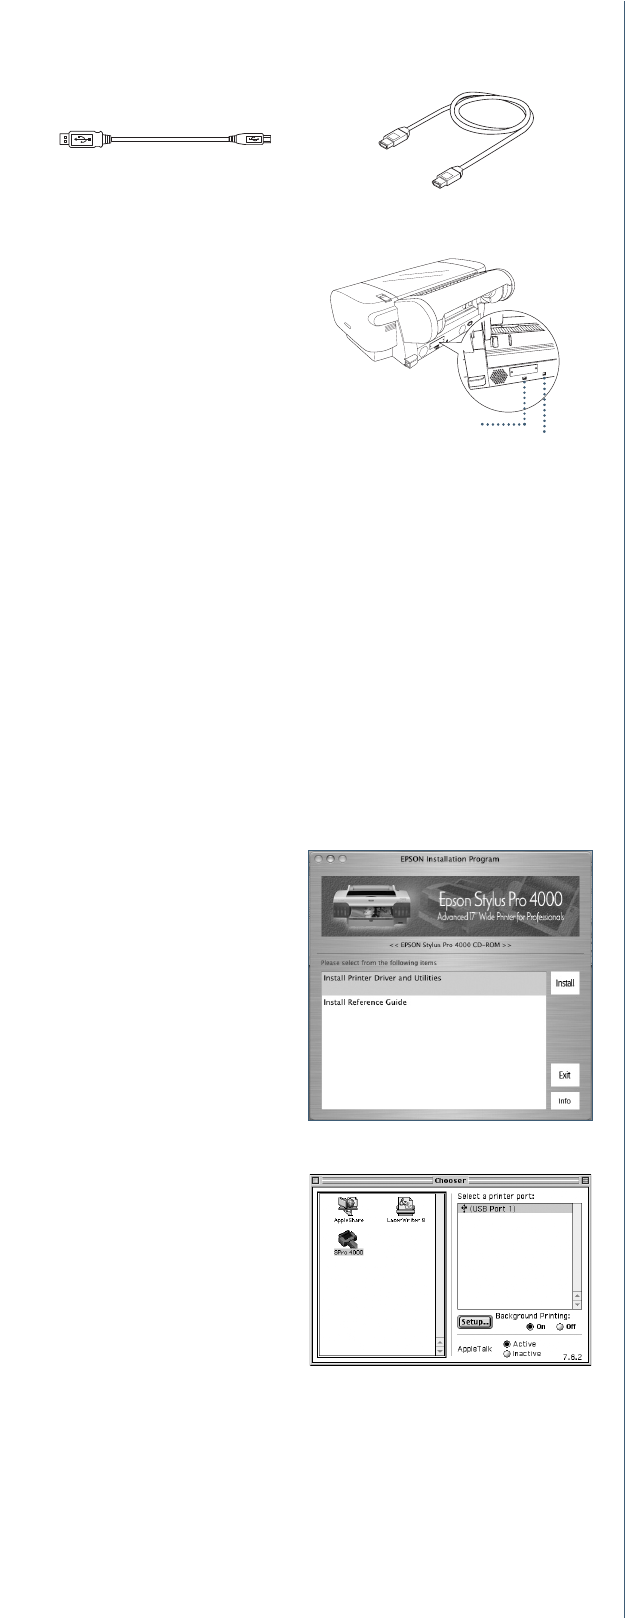
2 Plug the interface cable into the
appropriate port on the printer.
3 Plug the other end of the cable into the appropriate connector on your
computer or network hub.
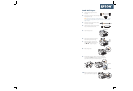
Install the Software
Follow the steps below for Macintosh
®
or Windows.
®
Macintosh
1
Turn on your Macintosh and your printer.
2 Insert the printer software CD-ROM. If necessary, double-click the EPSON
CD-ROM to open its window.
3 Double-click the EPSON OS X Installer.
If you are using Mac
®
OS 9, double-click the EPSON OS 9 Installer.
4 Double-click Install Reference
Guide and wait while the guide
is installed.
5 Double-click Install Printer Driver
and Utilities. Enter your password
if necessary.
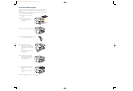
6 Follow the on-screen instructions to
install your software. When you see a
message informing you that installation
was successful, click Restart to restart
your Macintosh.
7 If you’re using OS X, continue with step 8.
If you’re using OS 9, open the
Chooser from the Apple
®
menu.
Select SPro 4000, then select your
port and turn on background printing.
Your installation is complete.
8 Open the Applications folder, then
open the Utilities folder and open the
Print Center or Printer Setup utility.
9 Click the Add icon at the top of the Printer List window.
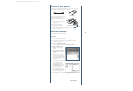
USB cable
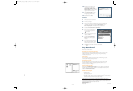
IEEE FireWire
®
cable
IEEE FireWire connector
USB connector
CPD17011R1_Isa_SH_E.qxd 9/21/04 5:13 PM Page 2
Continue
▲