


The Following Resolutions
are Supported:
Resolutions may vary depending on your displays capabilities.
• 800x600, 1024x768, 1280x768, 1366x768,
1280x1024, 1440x900, 1400x1050
Supported on UV 12, UV 16, and UV 19
• 1680x1050, 1600x1200
Supported by UV 16 and UV 19 models only
• 1920x1200, 2048x1152
Supported by UV 19 model only
Hardware and Driver Setup:
1 – Power on your Laptop or your monitor and PC to begin the installation.
2 – Once in Windows, install the UV Plus
+
drivers from the provided
installation CD. After the installation process has finished reboot your
computer.
3 – Attach your monitor’s DVI connector to UV Plus
+
(a DVI to VGA connector
is provided if needed)
4 – Plug in the provided USB cable to UV Plus
+
and the other end to your
Notebook or PC’s USB port. The UV Plus
+
software will now detect your
attached display.
5 – Right-click the EVGA icon in the Windows System Tray to configure how the attached monitor should display.
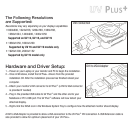
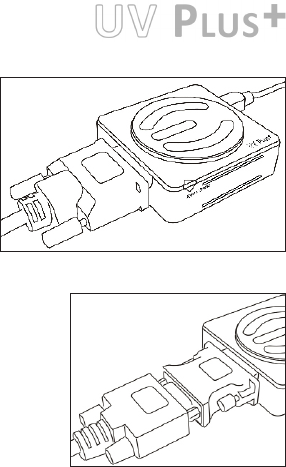
A DVI to VGA Adapter is provided to allow a VGA connection to the UV Plus
+
DVI connection. A USB Extension cable is
also provided to allow for optimum placement of your UV Plus
+
.
DVI to VGA Adapter
DVI connection