


CHAPTER
CHAPTER
2
2
SG RACKMOUNT INSTALLATION INSTRUCTIONS
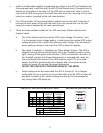
1. Verify the following is included in the UPS shipping carton:
* UPS
* Software Diskette(s) & Manual *Power Cord
* Owners Manual
* UPS/Computer Cable
* Box containing mounting brackets, handles & mounting hardware
* SG2KRM-1TU, SG2KRM-2TU, SG3KRM-1TU & SG3KRM-2TU do not have batteries
inside the UPS enclosure and are shipped with an additional rackmount battery module.
Verify the battery interconnect cable and another small box containing mounting brackets,
handles and mounting hardware are present inside the battery module shipping carton..
2. Verify the UPS unit is configured for the proper input/output voltage and frequency. This
information is stated on the nameplate label located on the rear or the side panel of the
unit. If any special input plug and output receptacle configurations were specified at the
time of order, verify for proper configuration
3. RACKMOUNT UPS MOUNTING INSTRUCTIONS --- IMPORTANT---
a. NEVER MOUNT THE UPS OR ANY ASSOCIATED BATTERY BANKS USING ONL
Y
THE FRONT PANEL MOUNTING EARS AS DAMAGE WILL RESULT! All Falcon
rackmount UPS and battery modules are designed to be supported by a shelf mounted to
both front and rear rails of the rack. Shelves are available from the manufacturer of your
particular rack enclosure. Select a shelf that can support 150 pounds of weight, minimum.
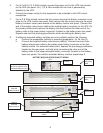
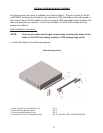
b. Use the following instructions to assemble the supplied mounting brackets and handles,
and to install the bracket assemblies to the UPS, and battery module (if supplied).
4
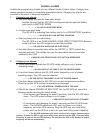
Step 1.
Locate the mounting
hardware kit(s)
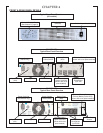
Step 2.
Remove the screws from
their plastic bag and identify.
Flat Head Pan Head
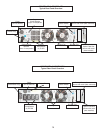
Step 3.
Using two Flat Head
screws, fasten the
chrome handles to
each bracket
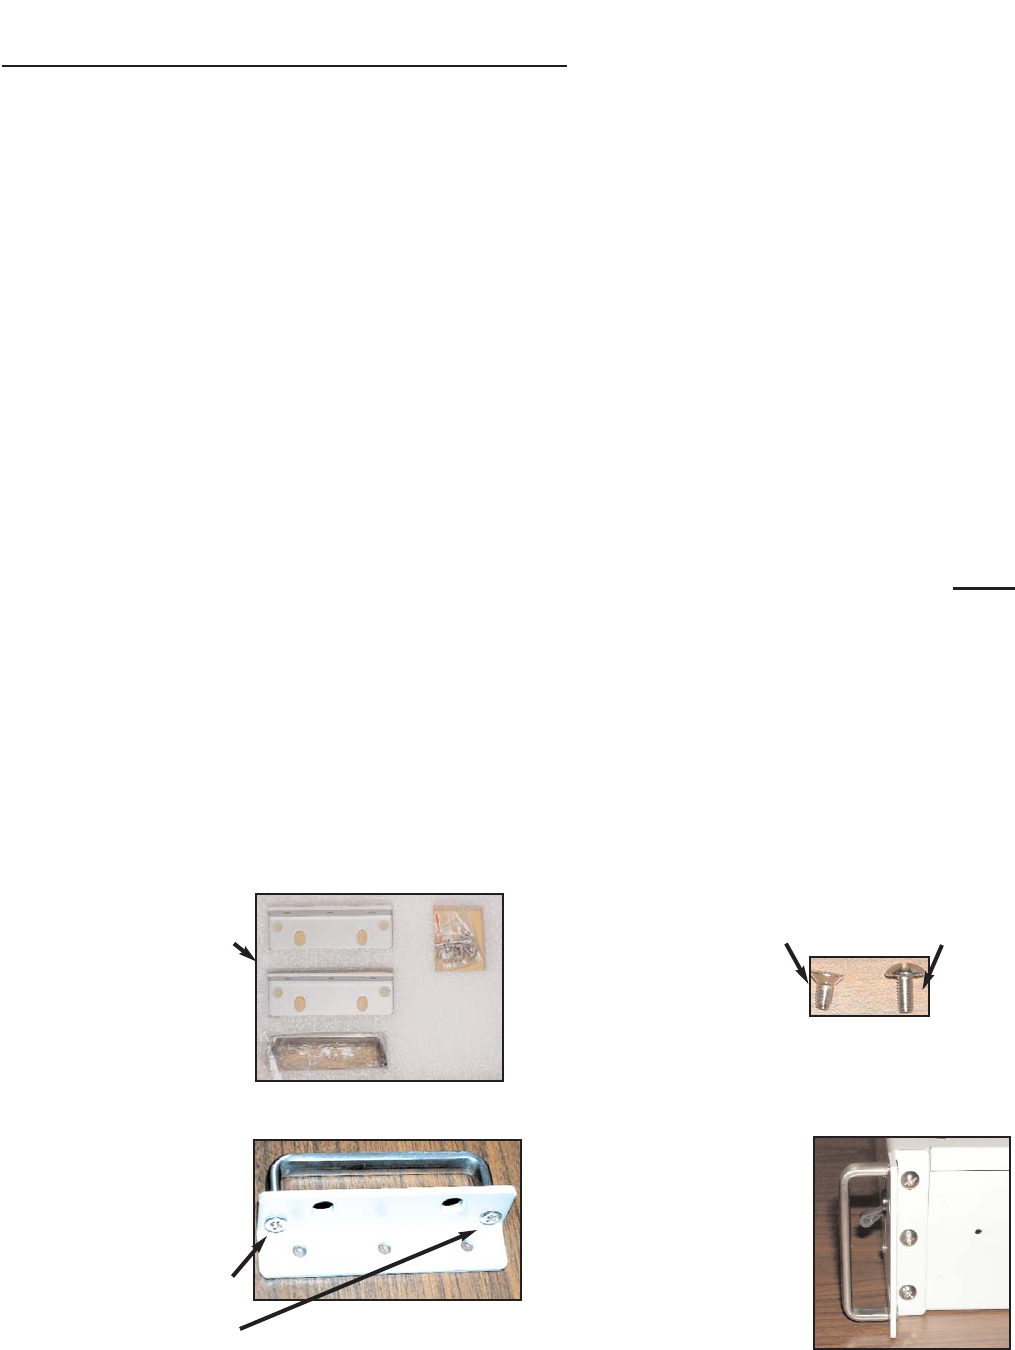
Step 4.
Using the remaining Pan
Head screws, fasten the
bracket assembly to both
sides of the UPS and
battery banks (if supplied).