3
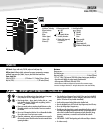
*100% Jam Proof when used in accordance with user manual
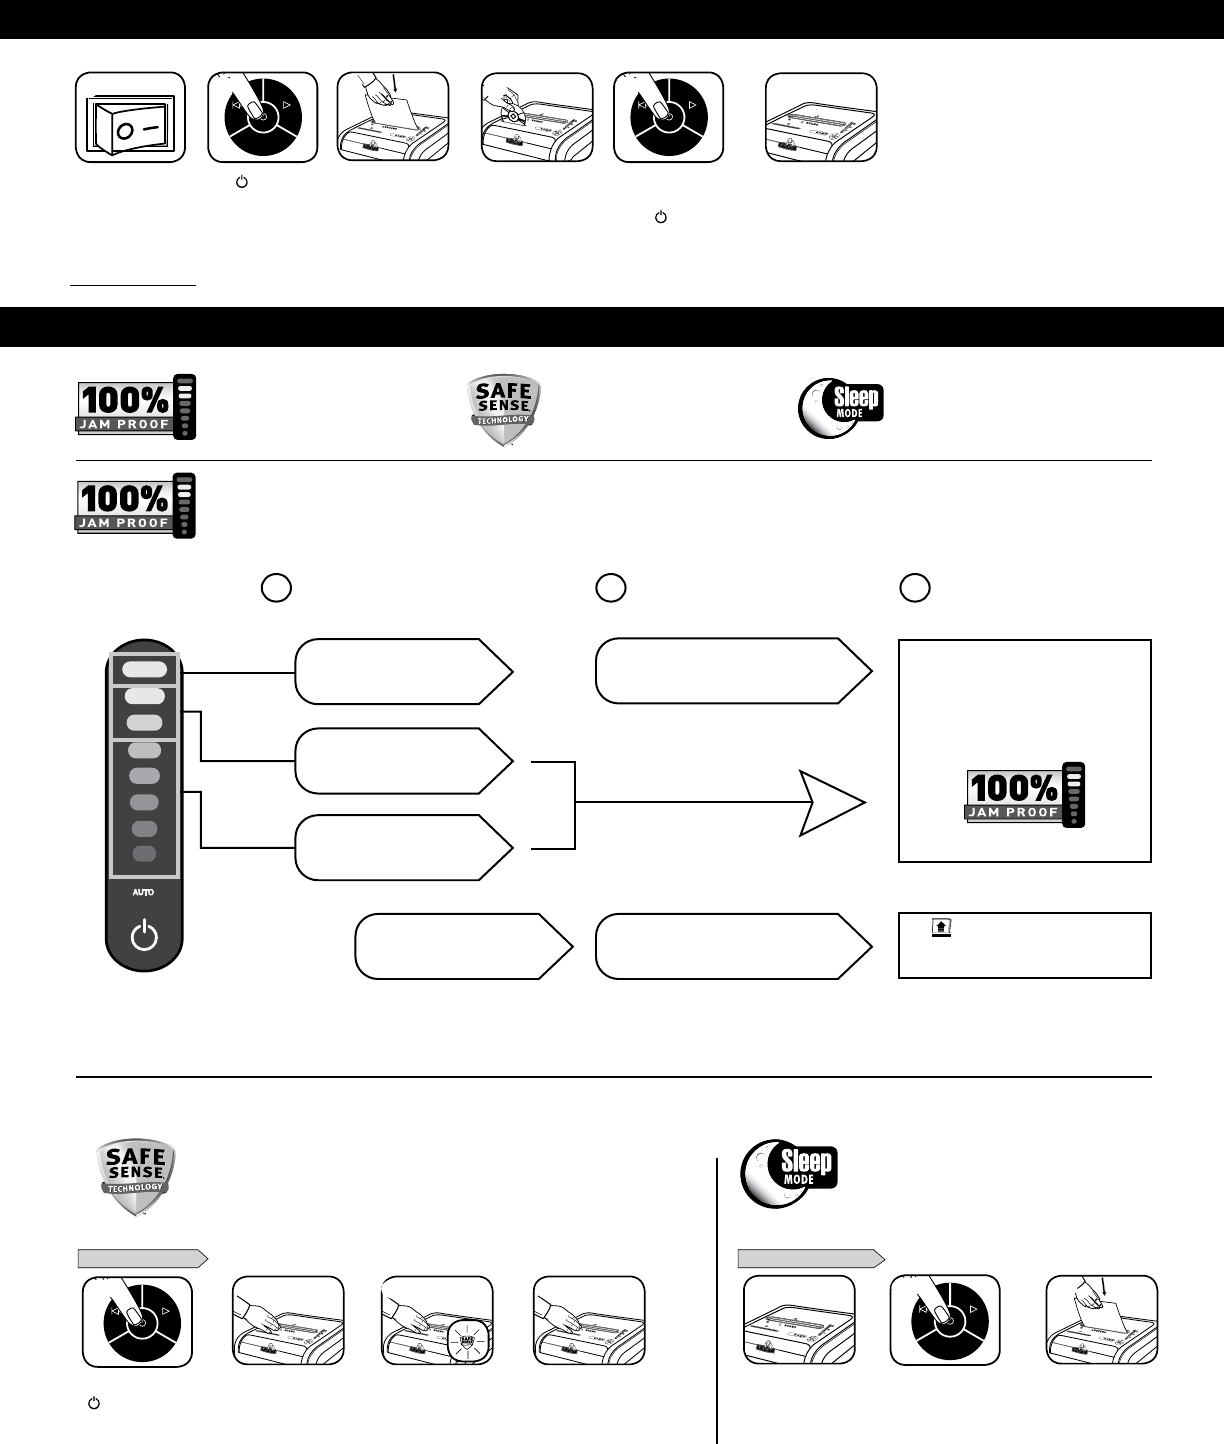
BASIC SHREDDING OPERATION
www.fellowes.com features an extensive on-line support section with a number of self-service options
Eliminatespaperjamsandpowersthroughtoughjobs.
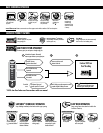
JAM PROOF SYSTEM OPERATION*
AdvancedJamPrevention-Electronically
measurespaperthicknesstopreventpaperjams:
Remove several sheets until
indicator is below red.
Continue 100% Jam
Proof Shredding
If a misfeed
occurs:
If
illuminates after paper has been
reversed, press reverse and remove paper.
Otherwise,regularshreddingwillresume.
1 2 3
UptoRED:Toomany
sheets have been inserted.
UptoGREEN:Moresheets
can be added.
UptoYELLOW:Productivity
is optimized.
All indicators light up and
shredder pauses for 3-6 seconds
Waitforflashingtostopafterautomaticcorrection
is complete. Regular shredding will resume.
ADVANCED PRODUCT FEATURES
Jam Proof System
Eliminatespaperjamsandpowers
throughtoughjobs
Patented SafeSense
®
Technology
Stops shredding immediately when hands
touch the paper entry
Sleep Mode
Energysavingfeatureshutsdownautomatically
after 2 minutes of no shredding activity
SAFESENSE
®
TECHNOLOGY OPERATION
SLEEP MODE OPERATION
Stops shredding immediately when hands touch the paper opening.
Energysavingfeatureshutsdowntheshredderafter
2 minutes of inactivity
WHEN IN SLEEP MODE
In sleep mode
Togetoutofsleepmode
touch control panel
insert paper
or
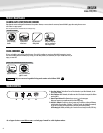
SET-UP AND TESTING
TurntheshredderON
( ) to activate SafeSense
®
Touchtestareaand
look for the SafeSense
®
indicator to illuminate
SafeSense
®
is active and
working properly
If hand is held on SafeSense
®
area more than 2 seconds
shredder will shut off
AUTO
1
Do nothing and
shredder will go
automatically to sleep
mode after 2 minutes
of inactivity
Press()ONtoactivate
1
Feed paper/card straight
into paper entry and
release
Plug in and put disconnect
powerswitchinON
(I) position
Whenfinished
shredding set to
OFF(
)
or or
AUTO
5
AUTO
2
Hold CD/card at edge,
and feed into center of
entry and release
C-225
6
C-225
4
C-225
3
C-225
C-225
1
3
AUTO AUTO AUTO
2
C-225
C-225
3 4
C-225
2


