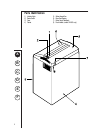
A
B
C
D
E
F
Installation
• Plug one end of the enclosed power cord (inside the
waste box) into the power supply receptacle in the
back of the shredder.
• Screw casters into the nuts provided on the underside
of the shredder.
• Operate this product only from the type of power
source indicated on the marking label.
• Install the paper shredder so that the plug is easily
accessible.
• Operate shredder only in the upright position.
• Set up paper shredder so that the ventilation slots are
unobstructed. To ensure sufficient ventilation of the
shredder, maintain a minimum distance of 4” (10
cm) from walls or furniture on each side of the
shredder.
Caution
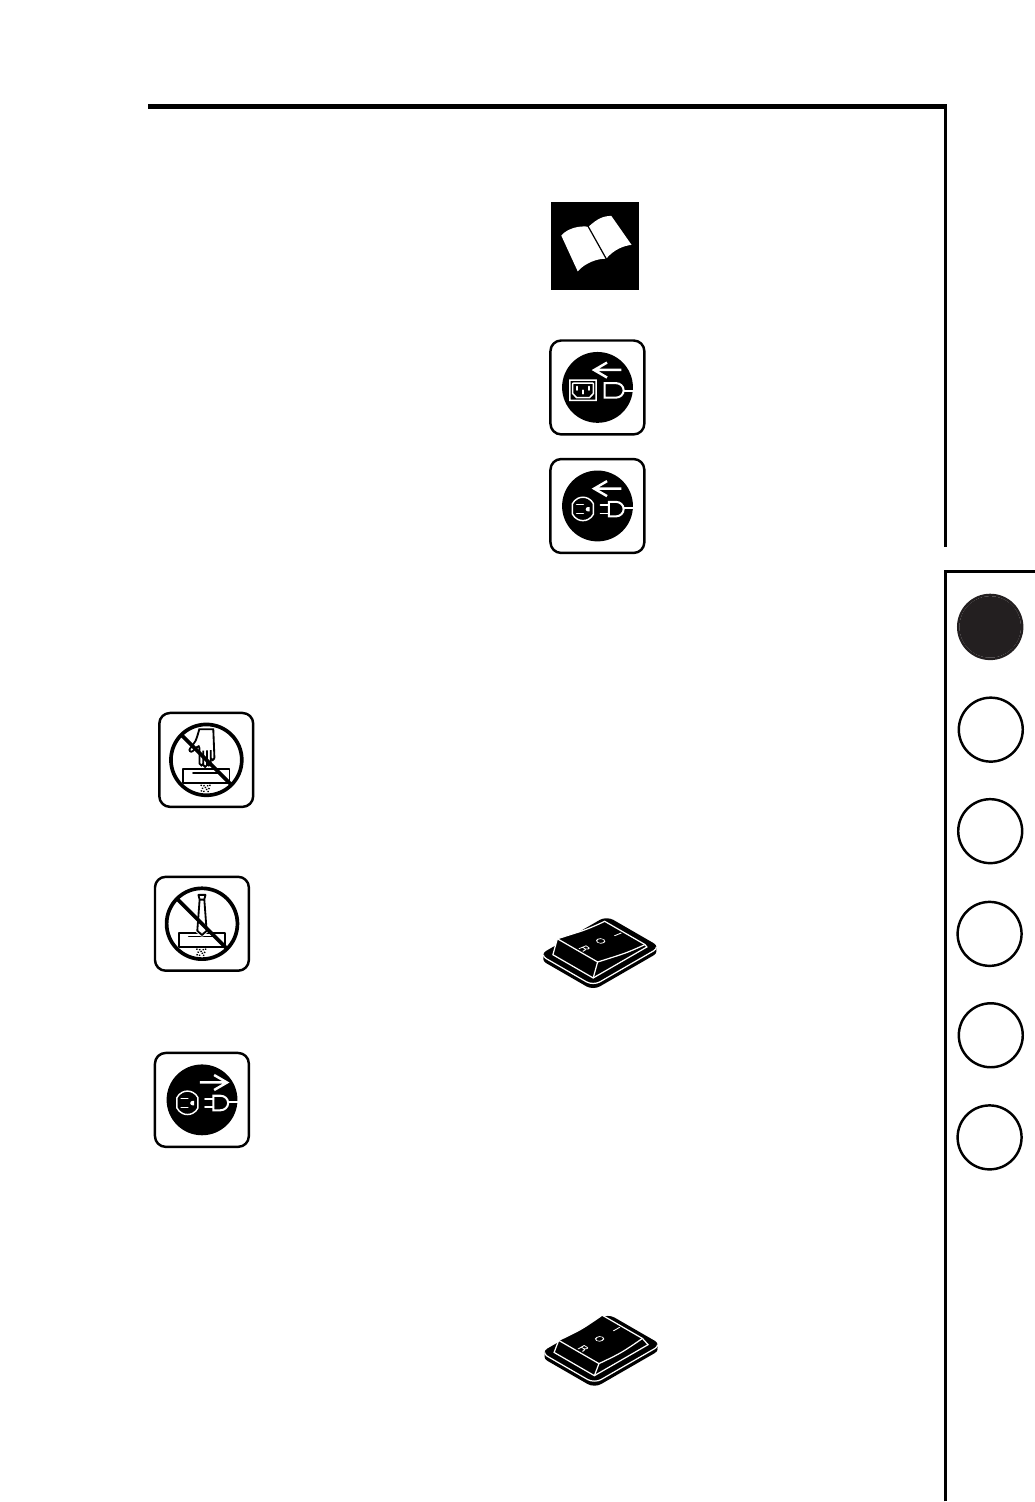
Never insert hand, fingers or any
foreign objects into the feed
opening.
Serious injury may
result.
Keep all loose articles of
clothing, ties, jewelry, long hair
or other loose objects away from
feed opening.
Injury may result.
Always turn off and unplug the
machine before moving,
servicing, cleaning or any other
conduct other than normal
operation.
Serious injury may
result.
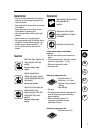
Operation
Read operating instructions before
putting shredder into
operation.
Insert power cord into power
supply receptacle on the back of
the shredder.
Insert plug into power outlet.
Install waste bag for shredded
material
• Open door and completely remove wastebox from
cabinet.
• Fold new bag around frame. Allow bag to overhang
waste box by approximately 7” (20 cm).
• Slide box with bag back into cabinet.
• Close cabinet door.
Switching equipment On
• Press rocker switch to (I)
• Switch locks in “on” position
• Equipment is ready for operation
(stand by)
• Green LED lights
• Feed paper
• The shredding process is started by photo-cells in the
paper feed opening. Insert paper and shredding
begins automatically.
• When the shredding is complete, the
cutting system automatically stops after
approximately 3 seconds.
Switching equipment Off
• Press rocker switch to (O)
7


