


4
S e t- u p
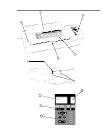
Using the illustration on the inside of the manual cover as a reference, attach the support tray
ቢ
to the back of the machine with the two screws included in the package
O p e r a t i o n
To begin laminating, plug in the machine and press the power button
ባ
. On the control panel
ቤ
, then press start , which will cause the orange standby light
D
to go on.
Hot Lamination
Using the guidelines
ብ
printed on the top of the machine:
•
Set temperature
by pressing , which will cause the temperature light to go on.
The digital temperature display
A
will show 110° C if this is the first use, but otherwise will
show the last temperature used. Press plus or minus until you see the temperature you
want. Note: Because even standard paper may vary in weight and some inks are heat sensitive,
you may have to use a somewhat higher or lower temperature – roughly 5° more or less – to
get optimum results.
•
Set speed
by pressing a second time, which will cause the speed light to go on.
The digital speed display
B
will show “4” if this is the first use, but otherwise will show the last
speed used. Press plus or minus until you see the speed you want.
Then press forward
▲ to start the rollers turning. Although the
laminator will warm up without the rollers in motion, this ensures
that the heat will be evenly distributed. As soon as the selected
temperature has been reached, the green ready light
C
will go
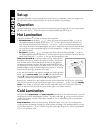
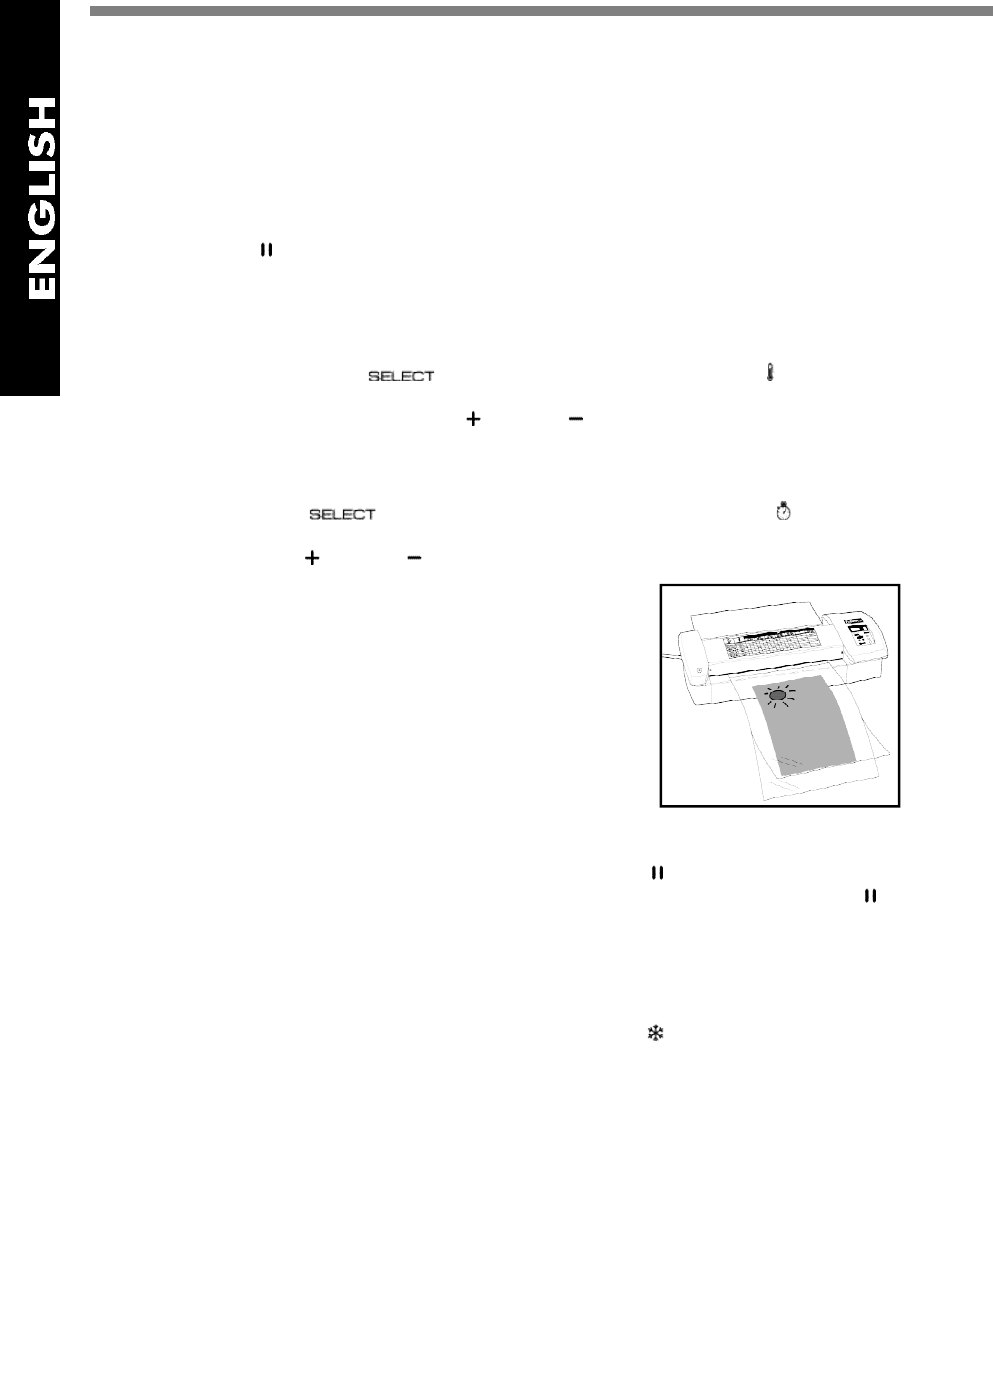
on. Allowing for a free margin of at least 3 mm (1/8 inch), on the
unsealed edges, insert the sealed edge of the pouch or mounting
board into the entry
ቦ
, as shown at the right.
If you see the material is not going in straight and might get dam-
aged, use the
reverse mode
: Press stop ■, then press and hold
reverse ▼ until you have backed the material out of the entry
completely. Realign and press forward ▲ to begin again.
Remove your material from the support tray after it has cleared the exit
ቧ
. If you are finished
with the job, but plan to use the laminator again soon, press start to put it into the
s t a n d b y
m o d e
. If you forget, it will switch itself into this mode after one hour of inactivity. Press start
again to resume work, or press the power button
ባ
to turn off the machine.
Cold Lamination
Using the same
t e m p e r a t u r e
and
speed selection
procedure as with hot lamination, lower the
temperature until the digital display is blank. The cold mode light will go on at this point to
confirm the change in mode. Then select a speed of 5 or 6, depending on the contents and
pouch thickness.
Press forward
▲ to start the rollers turning. (If the laminator is hot, you can accelerate the
cooling process by passing through the cleaning sheet included in the package and/or turning
up the roller speed to 7, 8 or 9.) When the green ready light
C
goes on, turn the speed back
to 5 or 6 if necessary, then: