


24
Basic Operation
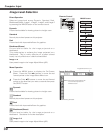
Remote Control
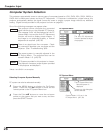
D.ZOOM
buttons
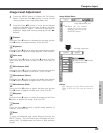
NO SHOW
button
AUTO PC
button
✔Note:
•
See the previous page for the other buttons.
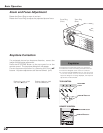
KEYSTONE button
(See p22)
POINT ed
buttons
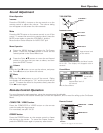
black out ➜ the captured image ➜ normal ➜
• • • • •
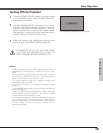
Press the NO SHOW button on the remote control to black
out the image. To restore to normal, press the NO SHOW
button again or press any other button. When a projected
image is captured and set as “User” in the Logo selection
(p42), the screen changes each time you press the NO
SHOW button as follows.
The message will disappear after 4 seconds.
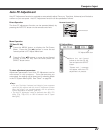
NO SHOW button
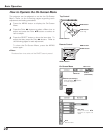
Press the AUTO PC button on the remote control to operate
the Auto PC function.
For more detail, see 27.
AUTO PC button
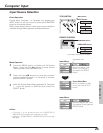
Press the D.ZOOM buttons on the remote control to zoom
in and zoom out the images.
For more detail, see 33.
D.ZOOM buttons
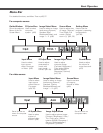
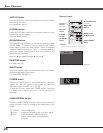
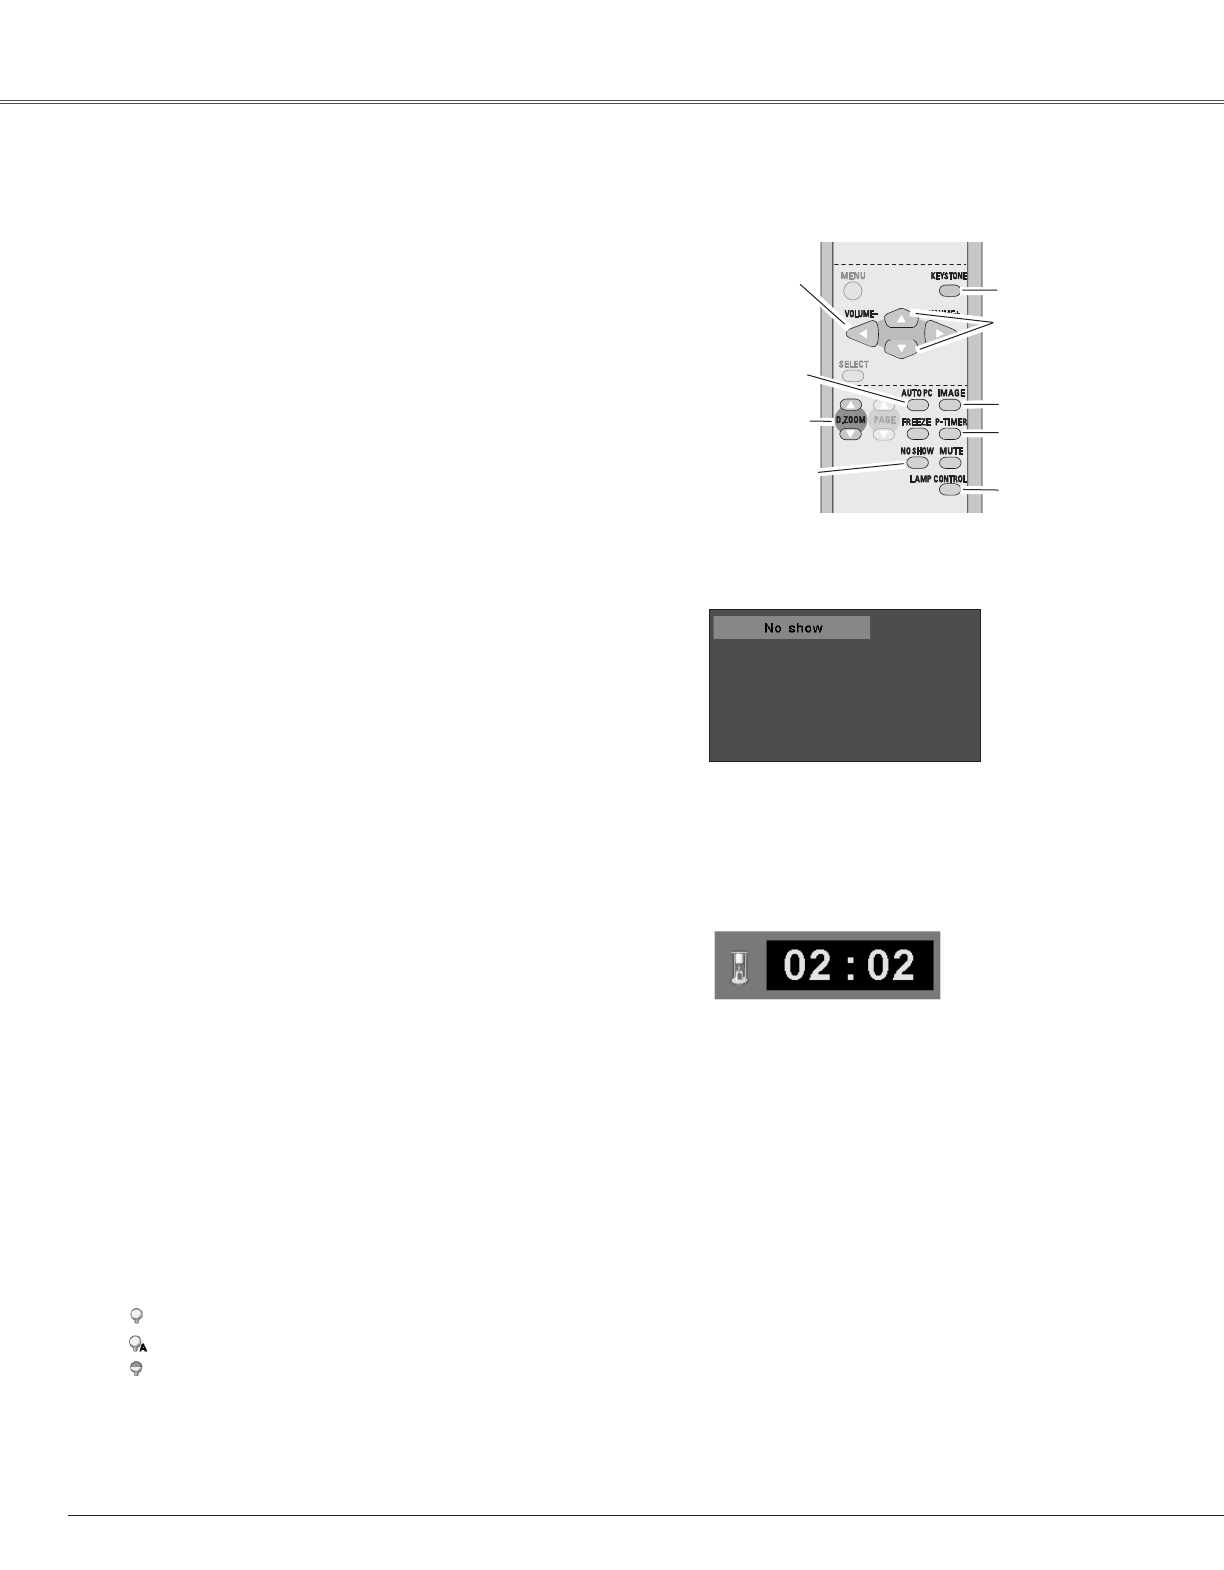
Press the P-TIMER button on the remote control. The timer
display “00 : 00” will appear on the screen and the timer
will start to count time (00 : 00 ~ 59 : 59).
To stop the P-Timer, press the P-TIMER button. Press the
P-TIMER button again, then the P-timer display will
disappear.
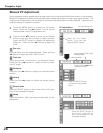
P-TIMER button
LAMP CONTROL button
P-Timer display
Press the IMAGE button on the remote control to select a
desired image level of the screen.
For more detail, see p30, 37.
IMAGE button
LAMP CONTROL
button
P-TIMER button
IMAGE button
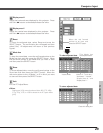
Volume +/-
buttons
(See p23)
Press the LAMP CONTROL button on the remote control to
select the lamp mode for changing the brightness of the
screen.
Normal ....normal brightness
Auto ........brightness according with the input signal
Eco ..........lower brightness reduces the lamp
power consumption and extends the
lamp life.
For detail, see p22.
KEYSTONE button