


Completing the Configuration
7
Congratulations!
You have nished conguring the basic settings. Your network is now protected from Internet-
based threats. To explore the full range of conguration options, see the online help or the
Documentation CD-ROM.
Visit these links for more information and documentation for your Fortinet product.
Technical Documentation - http://docs.forticare.com
Fortinet Knowledge Center - http://kc.forticare.com
Fortinet Technical Support - http://support.fortinet.com
•
•
•
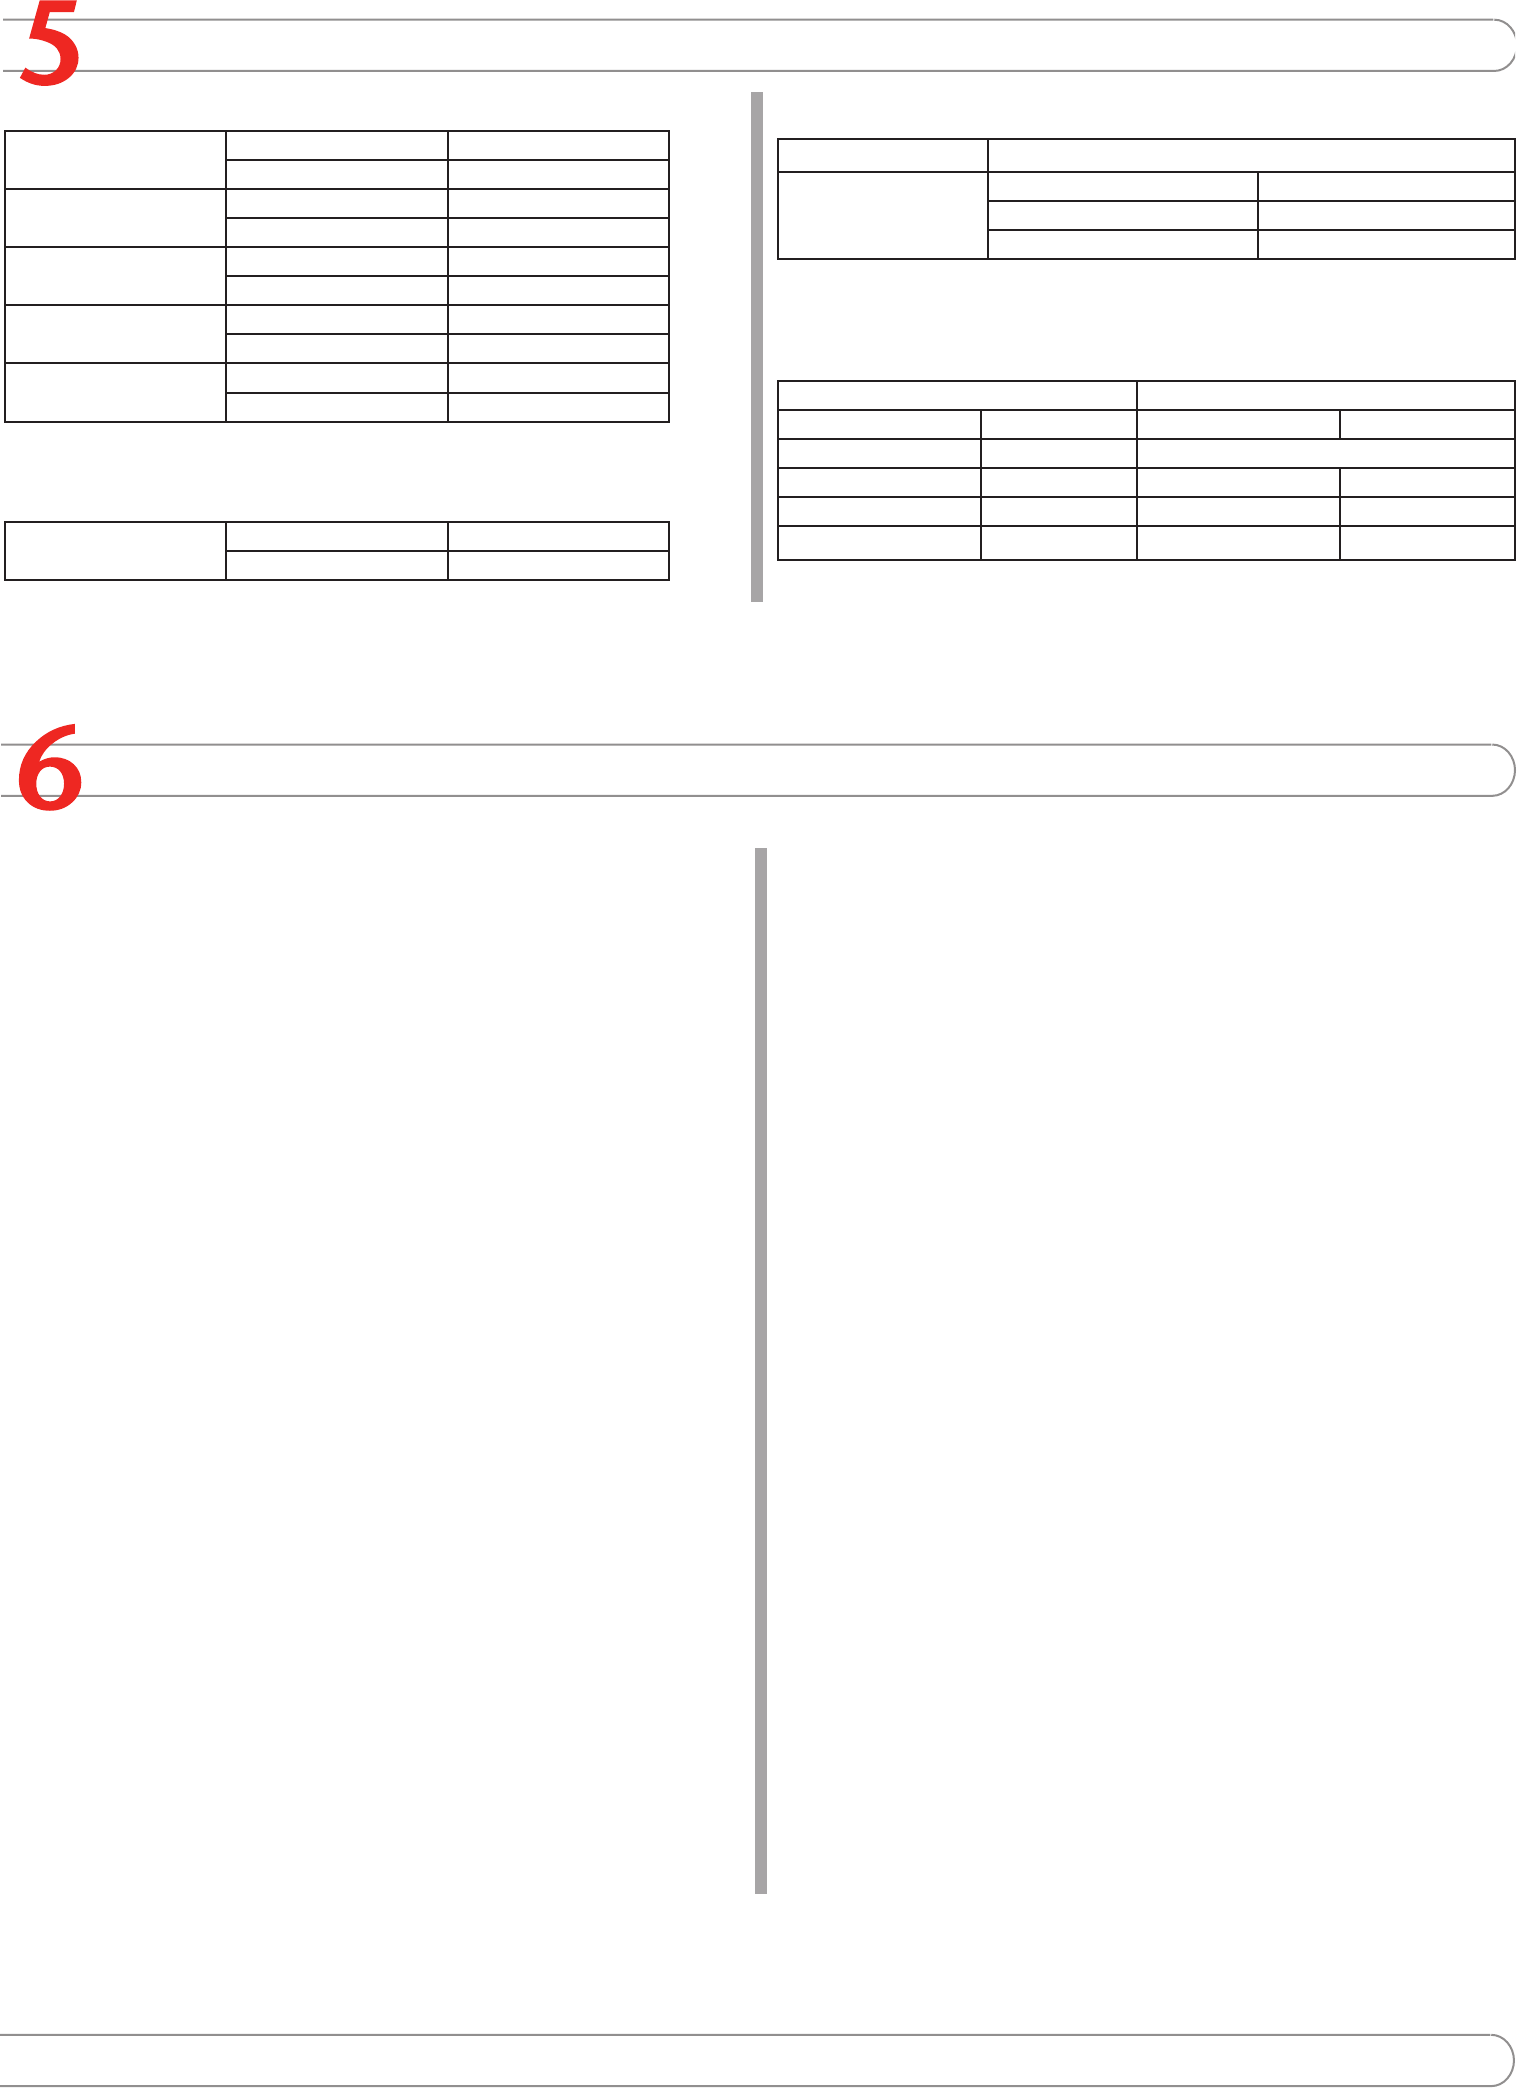
NAT/Route Mode
Internal Interface IP: ____.____.____.____
Netmask: ____.____.____.____
WAN1 IP: ____.____.____.____
Netmask: ____.____.____.____
WAN2 IP: ____.____.____.____
Netmask: ____.____.____.____
DMZ1 IP: ____.____.____.____
Netmask: ____.____.____.____
DMZ2 IP: ____.____.____.____
Netmask: ____.____.____.____
The internal interface IP address and netmask must be valid for the internal network.
Transparent mode
Management IP IP: ____.____.____.____
Netmask: ____.____.____.____
The management IP address and netmask must be valid for the network you will be
managing the FortiGate unit from.
General settings
Administrator password:
Network Settings: Default Gateway:
____.____.____.____
Primary DNS Server: ____.____.____.____
Secondary DNS Server: ____.____.____.____
A default gateway is required for the FortiGate unit to route connections to the Internet.
Factory default settings
NAT/Route mode Transparent mode
Internal interface 192.168.1.99 Management IP 0.0.0.0
WAN1 192.168.100.99 Administrative account settings
WAN2 192.168.101.99 User name admin
DMZ1 10.10.10.1 Password (none)
DMZ2 0.0.0.0.
Configuring the FortiGate Unit
Web-based Manager
Connect the FortiGate internal interface to a management computer Ethernet interface.
Use a cross-over Ethernet cable to connect the devices directly. Use straight-through
Ethernet cables to connect the devices through a hub or switch.
Congure the management computer to be on the same subnet as the internal
interface of the FortiGate unit. To do this, change the IP address of the management
computer to 192.168.1.2 and the netmask to 255.255.255.0.
To access the FortiGate web-based manager, start Internet Explorer and browse to
https://192.168.1.99 (remember to include the “s” in https://).
Type admin in the Name eld and select Login.
NAT/Route mode
To change the administrator password
Go to System > Admin > Administrators.
Select Change Password for the admin administrator and enter a new password.
To congure interfaces
Go to System > Network > Interface.
Select the edit icon for each interface to congure.
Set the addressing mode for the interface. (See the online help for information.)
For manual addressing, enter the IP address and netmask for the interface.
For DHCP addressing, select DHCP and any required settings.
For PPPoE addressing, select PPPoE, and enter the username and password
and any other required settings.
To congure the Primary and Secondary DNS server IP addresses
Go to System > Network > Options, enter the Primary and Secondary DNS IP
addresses that you recorded above and select Apply.
To congure a Default Gateway
Go to Router > Static and select Edit icon for the static route.
Set Gateway to the Default Gateway IP address you recorded above and select OK.
Transparent mode
To switch from NAT/route mode to transparent mode
Go to System > Status, select Transparent.
Set the Management IP/Netmask to 192.168.1.99/24.
Set a default gateway and select apply.
To change the administrator password
Go to System > Admin > Administrators.
Select Change Password for the admin administrator and enter a new password.
To change the management interface
Go to System > Cong > Operation Mode.
Enter the Management IP address and netmask that you recorded above and select
Apply.
To congure the Primary and Secondary DNS server IP addresses
Go to System > Network > Options, enter the Primary and Secondary DNS IP
addresses that you recorded in step 5 and select Apply.
1.
2.
3.
4.
1.
2.
1.
2.
3.
•
•
•
1.
1.
2.
1.
2.
3.
1.
2.
1.
2.
1.
Command Line Interface
Use the RJ-45 to DB9 to connect the FortiGate Console port to the management com-
puter serial port.
Start a terminal emulation program (HyperTerminal) on the management computer.
Use these settings: Baud Rate (bps) 9600, Data bits 8, Parity None, Stop bits 1, and
Flow Control None.
At the Login: prompt, type admin and press Enter twice (no password required).
NAT/Rout mode
Congure the FortiGate internal interface.
config system interface
edit internal
set ip <intf_ip>/<netmask>
end
Congure the FortiGate external interface.
config system interface
edit wan1
set ip <intf_ip>/<netmask>
Congure the primary and secondary DNS server IP addresses.
config system dns
set primary <dns-server_ip>
set secondary <dns-server_ip>
end
Congure the default gateway.
config router static
edit 1
set gateway <gateway_ip>
end
Transparent Mode
Change from NAT/Route mode to Transparent mode and congure the Management IP
address.
config system settings
set opmode transparent
set manageip <mng_ip>/<netmask>
set gateway <gateway_ip>
end
Congure the DNS server IP address.
config system dns
set primary <dns-server_ip>
set secondary <dns-server_ip>
end
1.
2.
3.
1.
2.
3.
4.
1.
2.
Collecting Information