4
Installation and Setup for Broadband2Go (Windows)
This section will guide you through the installation and setup process for the Broadband2Go
software on Windows 7, Vista and XP.
Note: If you have inserted the device properly, Windows will inform you that it has found new
hardware. Wait until Windows completes the “Found New Hardware” task. It is normal to
hear a short beep each time you insert or remove the device. It is an audible notification
that your computer recognizes the new hardware.
Important: Make sure to complete the ejection process before removing the device. If you
remove the device improperly, the modem may be damaged.
1. Turn on your computer and close all applications.
2. Ensure that you have administration rights on your computer to install the device
drivers and software.
3. Close or disable any virus protection software to allow installation of the drivers and
software.
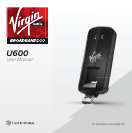
4. Insert the Broadband2Go device into an available USB port.
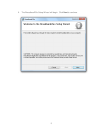
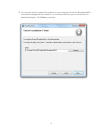
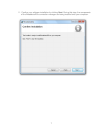
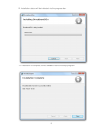
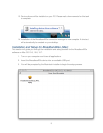
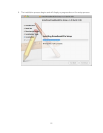
5. Follow the on-screen instructions to install the Connection Manager software and
device drivers:
6. Click Install/Run Broadband2Go if prompted by Windows.
7. At the User Account Control screen, select Allow on (Windows Vista) or Yes on
(Windows 7).
8. If the Broadband2Go installation wizard doesn’t launch automatically, try this:
• Double-click on My Computer.
• Broadband2Go should appear as a separate drive. (If it does not appear,
try re-inserting the device into a different USB port.)
• Right-click the Broadband2Go icon and choose Open or Explore.
• Double-click on start.exe.
• The Windows Installer should launch and begin the installation process.


