E-15
• FEATURES setup screen has the following 4 options.
Adjustment : Can make a fine adjustment of pictures such as Dot Clock, Clamp Position.
On Screen Menu : Can make a display setting such as OSD, Language. (See P. E-16.)
Input Terminal : Can make an input terminal setting such as D-SUB Input. (See P. E-16.)
Others : Can make other settings. (See P. E-17–E-20.)
• Adjusting Dot Clock (Dot Clock)
You may find the vertically-striped pattern in pictures, depending on the clock frequency of your
PC’s processor.
If you experience blurring, you can obtain a clearer picture by adjusting the “Dot Clock”.
Press to adjust to minimize vertically-striped pattern in pictures.
Press to store.
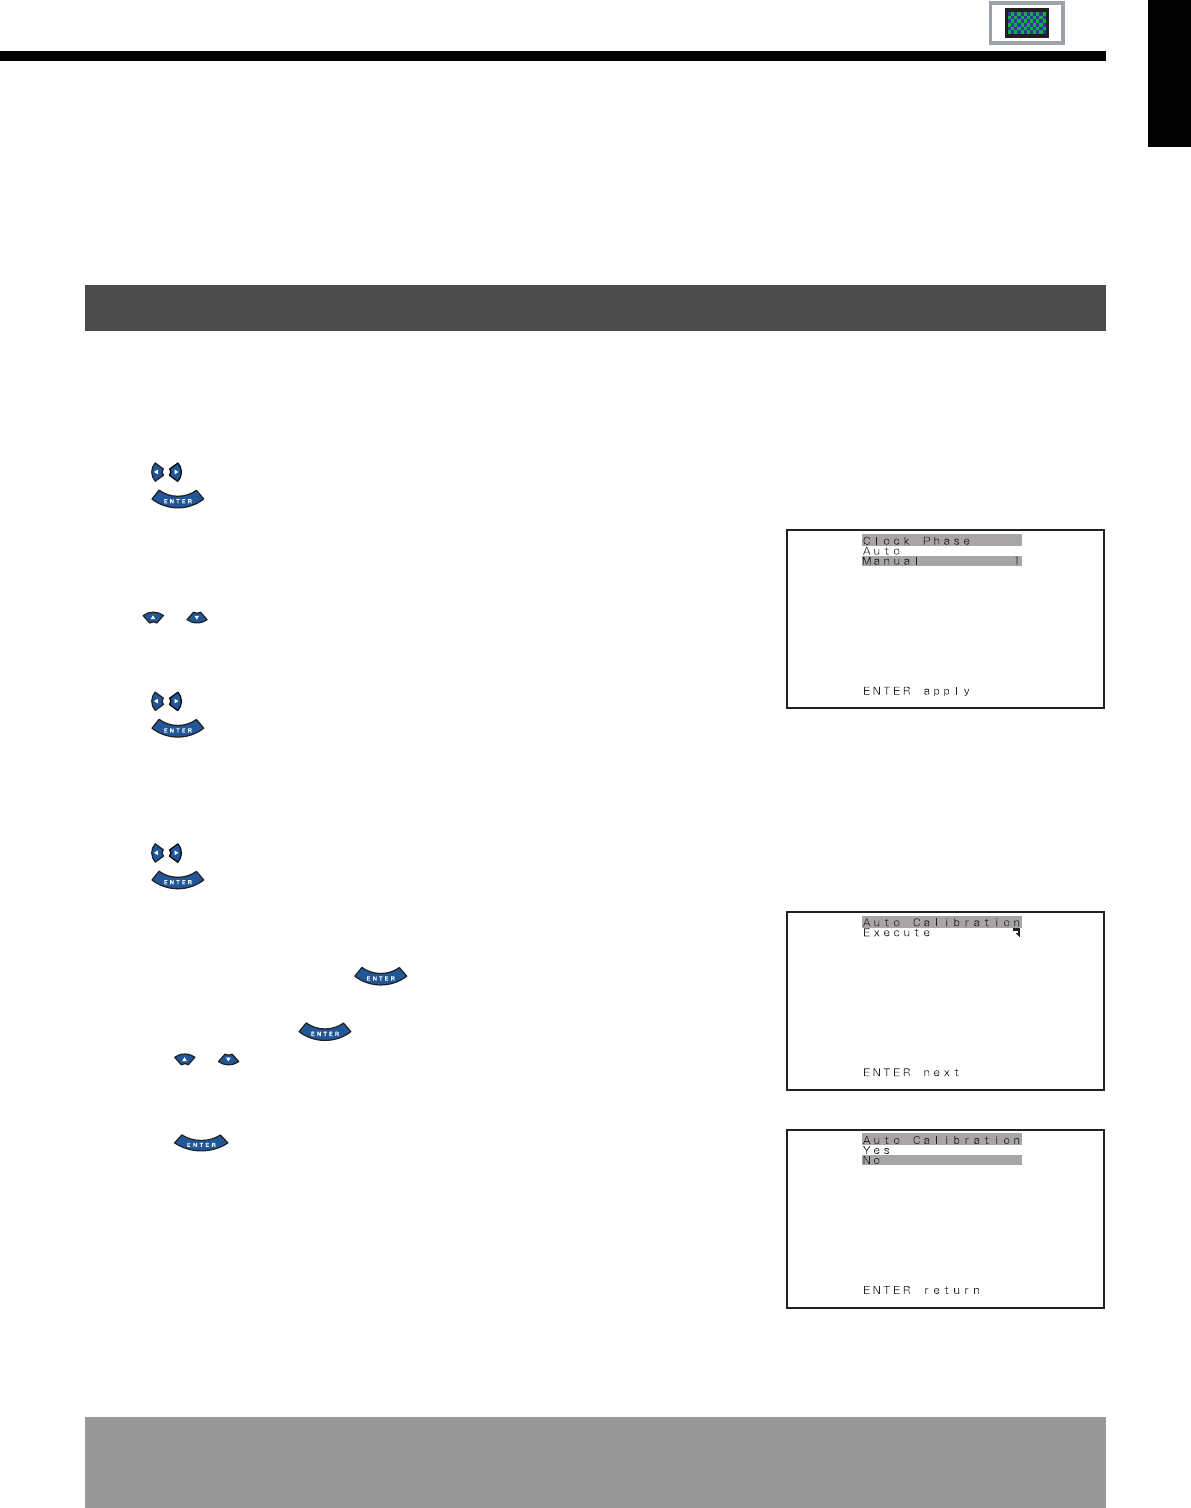
• Adjusting Clock Phase (Clock Phase)
Pictures and the outline of letters may blur or flicker as the clock phase of your PC may be different.
If you experience blurring, you can obtain a clearer picture by adjusting the “Clock Phase”.
Use
or to select “Auto” or “Manual”.
Auto: Makes automatic adjustment.
Manual: Makes manual adjustment.
Press
to adjust to minimize pictures blur.
Press
to store.
• Adjusting Clamp Position (Clamp Position)
Normally, the automatic setting ensures the optimal value.
Adjusts the extremely dark or bright pictures.
Press to adjust pictures optimally.
Press to store.
• Selecting the Optimum Dynamic Range of Images (Auto Calibration)
Receives a white screen signal and adjusts the dynamic range of images to the optimum.
(1) Select Auto Calibration and press .
Auto Calibration screen appears.
(2) Select Execute and press .
Press or to select Yes or No.
Yes: Stores the data of Auto Calibration.
No: Disables the execution result of Auto Calibration.
(3) Press to execute.
When selecting Manual by Clock Phase
* On-screen information disappears if you do not take any action for about 60 seconds.
* Functions may not be available with some models and some device options.
* The adjustment range varies with the display signal. You can adjust the display quality to the value you want within the adjustable range.
"Auto Calibration" setting screen
"Yes/No" screen to select
ADJUSTMENT
English
03.11.12, 0:59 PMPage 15
