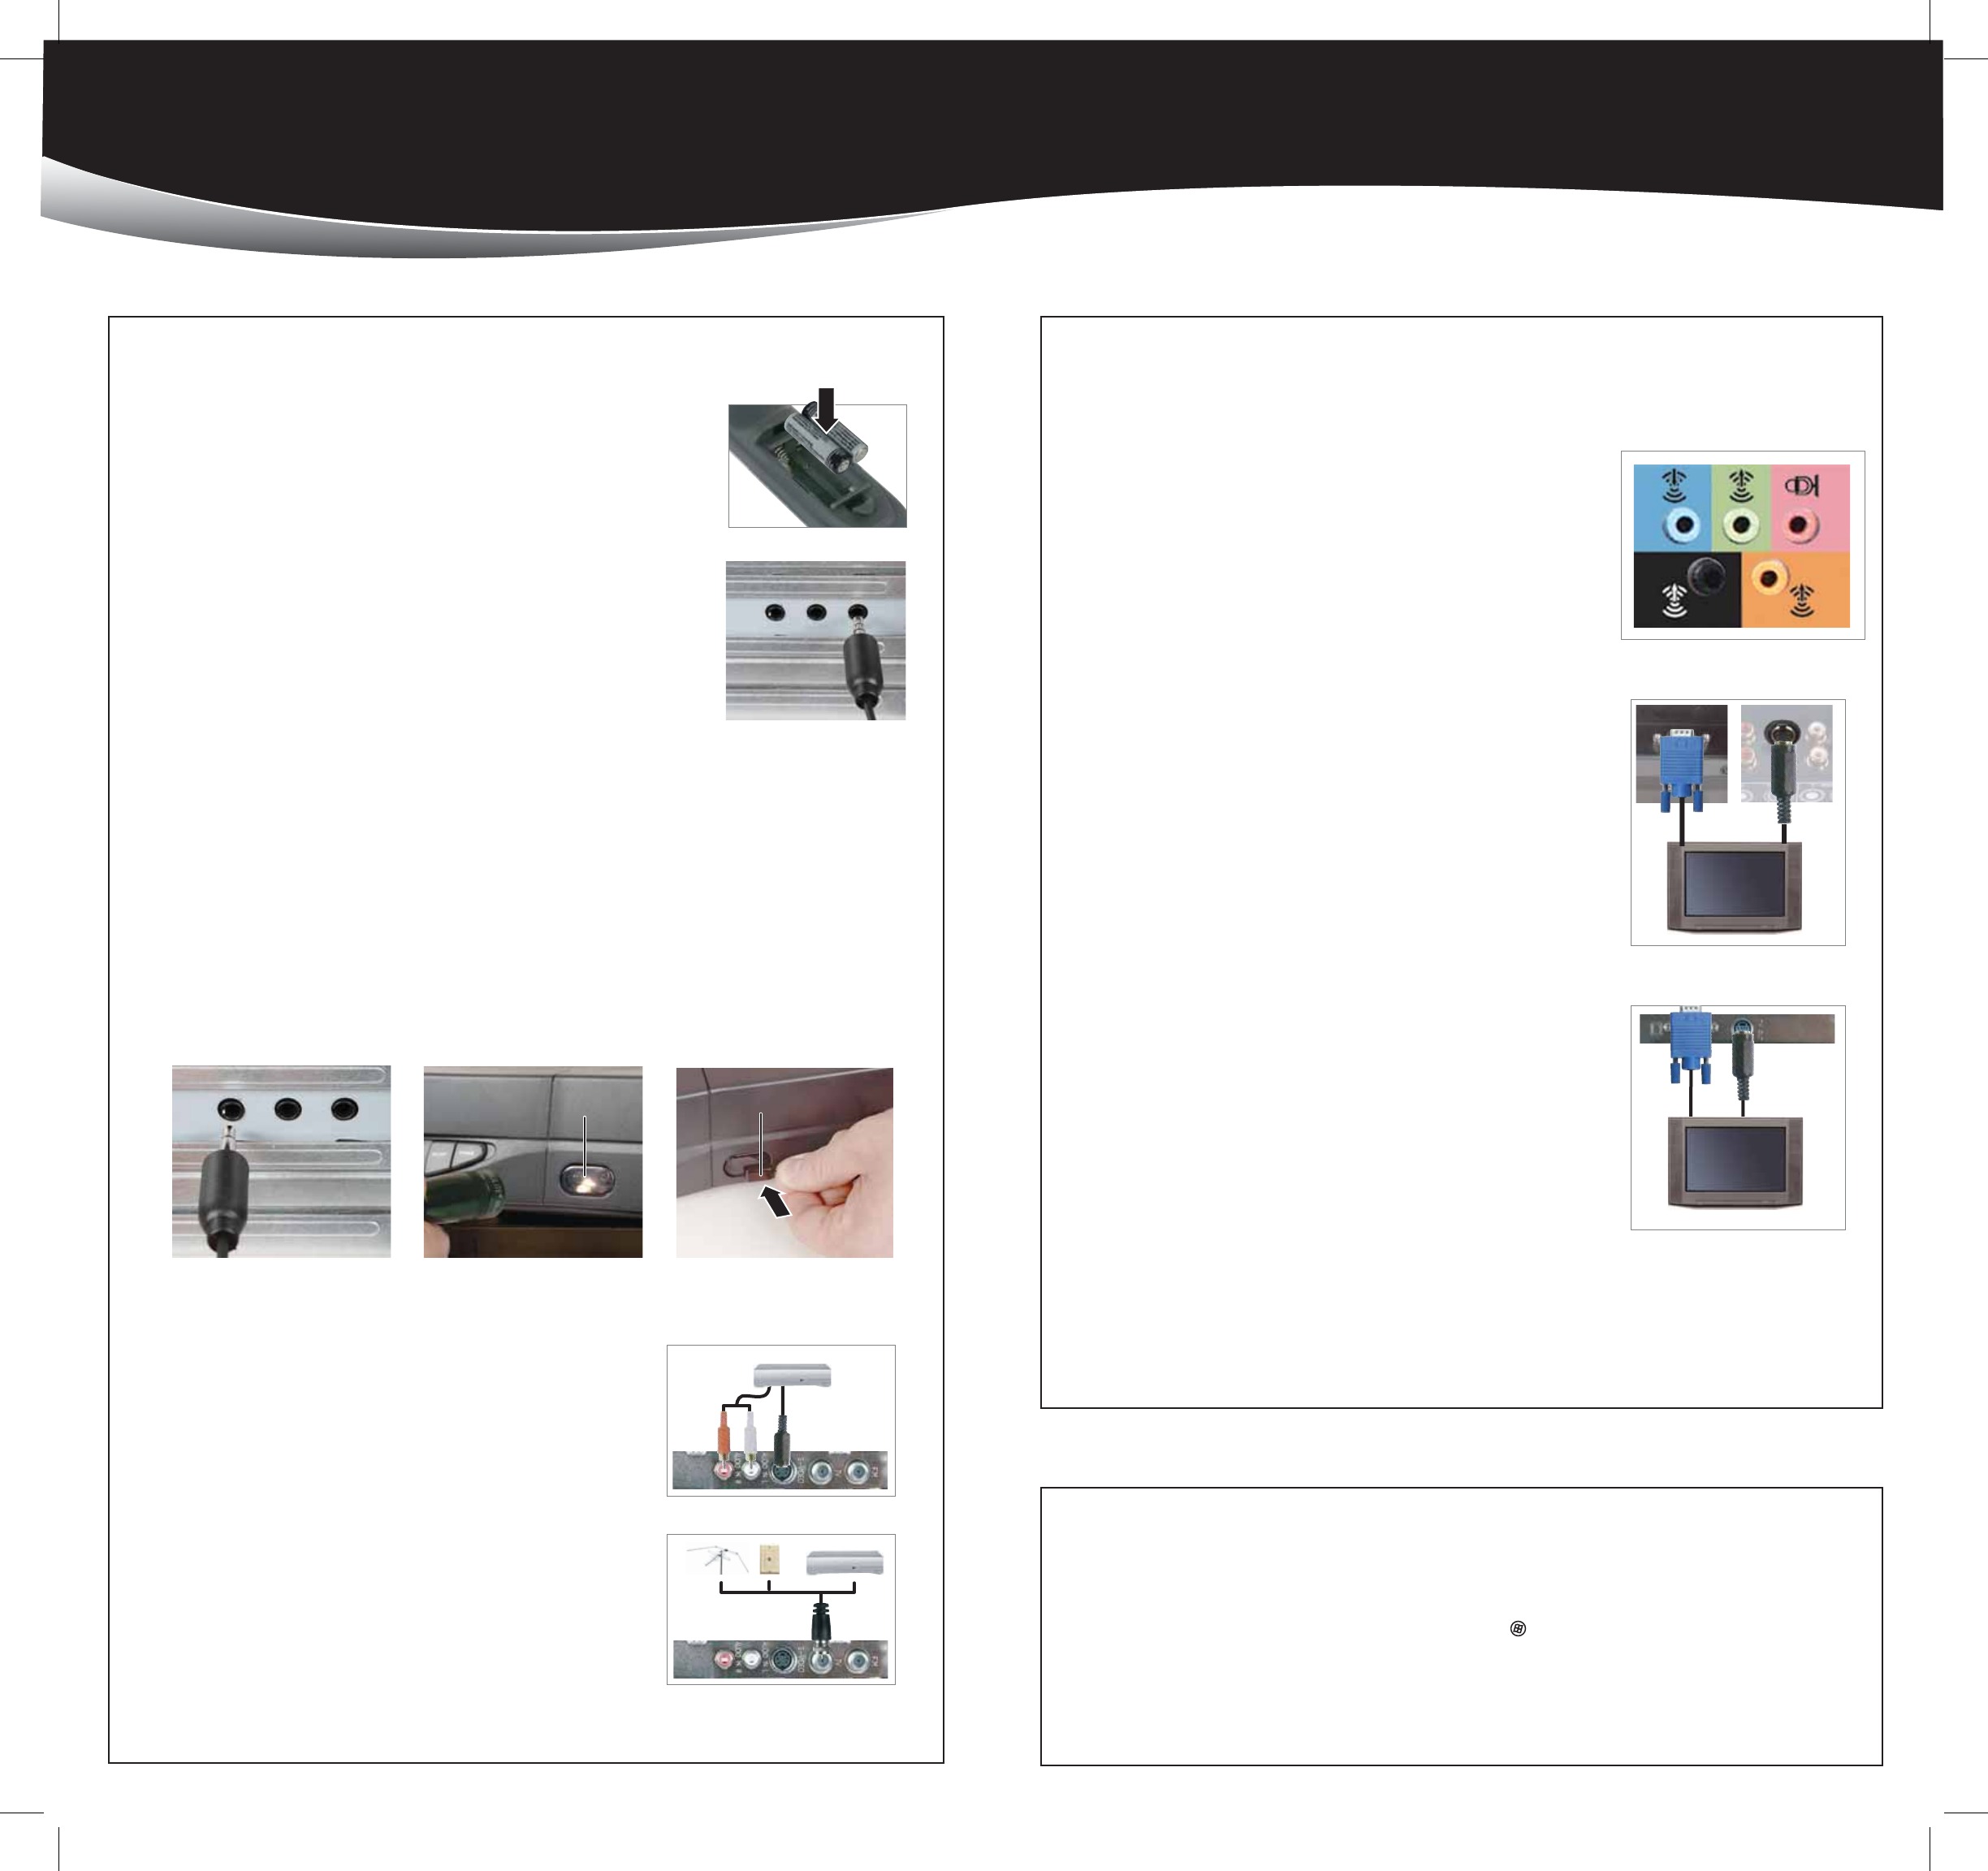
Analog audio jacks
(your computer’s jacks may vary)
SETTING UP YOUR MEDIA CENTER HARDWARE
SETTING UP MEDIA CENTER HARDWARE
Install remote control batteries
Insert two AA batteries into the remote control, matching the + and – on the
batteries with the + and – inside the battery compartment.
Connect the IR receiver cable (optional)*
NOTE: If the front of your computer is not visible when you use the remote control, position the
head of the IR receiver cable so that it is visible.
Plug the IR receiver cable into the IR receiver jack on the back of your computer.
NOTE: When the IR receiver cable is connected, it acts as the infrared sensor for the remote control
and the infrared sensor on the front of the computer is disabled.
*necessary only if you want to use the Media Center remote control to control your set-top box
Connect the IR blaster cable
If your Media Center configuration uses a set-top box for the video source,
connect the IR blaster cable to one of the two IR blaster jacks on the back of your computer and to the
set-top box IR sensor window. The IR blaster cable sends input to your set-top box to change channels.
1 Plug the IR blaster cable into one of the two IR blaster jacks on the back of your computer.
2 Refer to the manual that came with your set-top box to determine the location of its IR sensor.
- OR -
Locate the IR sensor on the set-top box by shining a flashlight through the set-top box IR sensor
window. Look for a 1/2- to 3/8-inch metallic rectangle with a 1/8-inch dark circle in the middle. This is
the IR sensor.
3 Remove the adhesive paper from the sensor head of the IR blaster cable, then place the sticky side on
the set-top box sensor window.
NOTE: See your set-top box guide for more information about remote settings.
Connect the video and audio source
S-Video—Provides acceptable video. If you use S-Video, you also need to
connect the audio using RCA stereo cables.
Connect an S-Video cable (not included) from a video device to the
S-Video in jack on the back of your computer, then connect an RCA cable
(not included) from the audio out jacks on the video device to the audio in
RCA jacks on your computer.
Coaxial (TV)—Carries both video and audio signals. Use this to connect a
direct cable or an antenna video source to your computer.
Connect a coaxial cable (not included) from a video device to the TV jack
on your computer.
OR
OR
S-Video computer connection
Coaxial computer connection
VGA/S-Video TV connection
VGA/S-Video computer connection
COMPLETING MEDIA CENTER SETUP
After your computer components are connected, you are ready to turn on the power and finish installing the
software.
1 After you complete the initial Windows setup, click (Start) , then Media Center on your computer, or
press the Start button on the remote control to start the Media Center setup wizard.
2 Follow the setup screens to configure the MediaCenter software for your specific requirements.
SETTING UP OPTIONAL COMPUTER
CONNECTIONS
Connecting a TV
You can use a TV as a display device. However, some older TVs provide a
lower quality display than computer monitors or flat-panel TVs that are
optimized for your computer.
Your computer provides display outputs from a VGA (monitor) port or an
S-Video port. Select the highest quality port that your TV supports:
VGA—Best. If your TV has a VGA port, use this.
S-Video—Good. Display quality is acceptable for TV images but not as
good for Media Center functions.
For a better picture on a 4:3 aspect ratio (standard) TV, you may need to
lower the computer screen resolution to 800×600 or 640×480.
1 Connect a VGA cable (not included) or S-Video cable (not included) to the
VGA port or S-Video out port on the back of your computer.
2 Connect the other end of the cable to the VGA port or S-Video port on
the back of your TV.
3 Turn on your TV and select the TV In video source. For more information
about selecting the TV In video source, see your TV’s documentation.
Connecting the computer to an existing home
stereo or home theater
Your computer includes audio jacks that support a 7.1 Surround Sound
audio system. The sound system setup varies, depending on your sound
system’s audio inputs. Use your computer and sound system’s setup
posters and other documentation to connect your computer to the sound
system
set-top box
IR sensor window
1
2
3
IR blaster cable
sensor head


