


- 9 - Hardware Installation Process
English
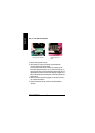
Step 1: Install the Central Processing Unit (CPU)
Step 1-1 : CPU Installation
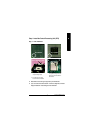
Pin1 indicator
Pin1 indicator
CPU Top View CPU Bottom View
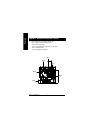
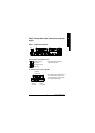
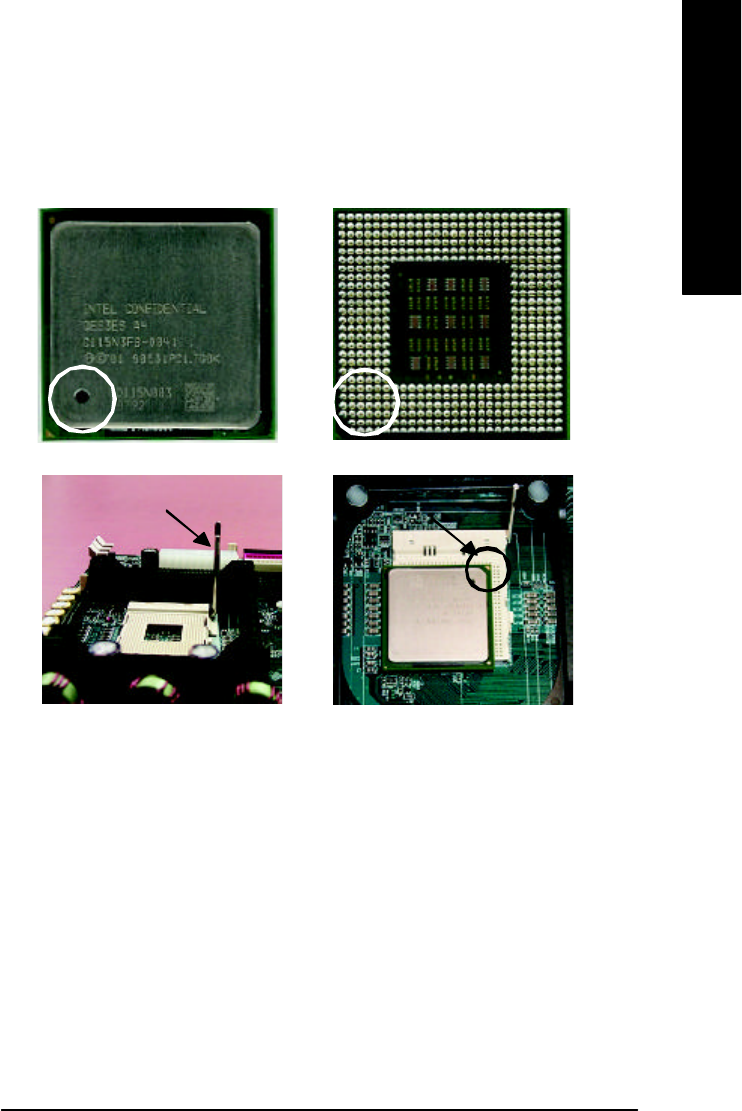
Socket Actuation Lever
1. Pull up the CPU socket lever
and up to 90-degree angle.
Pin1 indicator
2. Locate Pin 1 in the socket and look
for a (golden) cut edge on the CPU
upper corner. Then insert the CPU
into the socket.
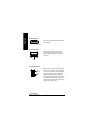
3. Press down the CPU socket
lever and finish CPU installation.
M
Please make sure the CPU type is supported by the motherboard.
M
If you do not match the CPU socket Pin 1 and CPU cut edge well, it will cause
improper installation. Please change the insert orientation.