Assembly
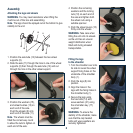
Attaching the legs and wheels
WARNING.
You may need assistance when lifting the
machine out of the box and assembling.
Note. The legs should be splayed out at the bottom to give
stability to the unit.
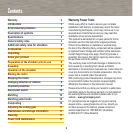
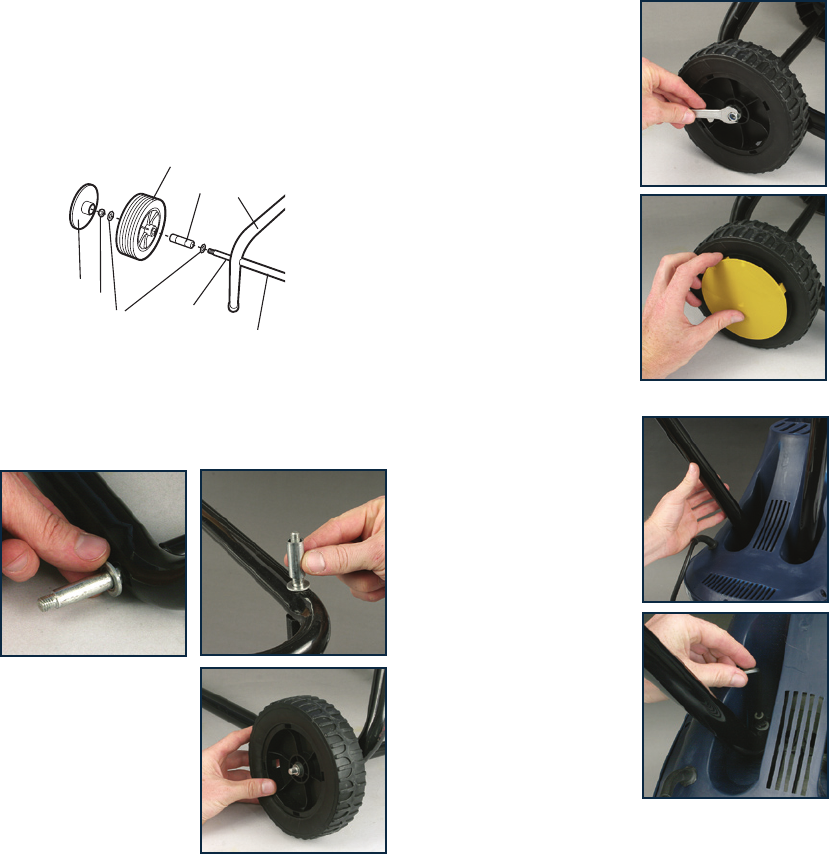
1. Position the axle tube (12) between the two wheel
supports (8).
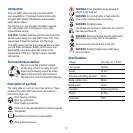
2. Slide the axle (11) through the hole in one of the wheel
supports (8) then through the axle tube (12) and out
through the hole in the other wheel support.
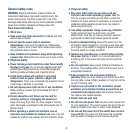
3. Position the washers (15),
and wheel bushes (13) on
each end of the axle.
Push the wheels (9) onto
each end of the axle (11).
Note. The wheels must be
fitted the correct way round
to allow the nuts to tighten on
each end of the axle.
4 Position the remaining
washers and the locking
nuts (16) on each end of
the axle and tighten both
the wheel nuts using a
suitable spanner.
5. Push the wheel covers (10)
firmly onto the wheels.
WARNING. Take care when
tilting the unit onto its wheels
as the unit has an uneven
weight distribution when
tilted and during wheeled
transportation.
Fitting the legs
to the shredder
1. Turn the shredder over onto
its side to reveal the wheel
support fixing holes on the
underside of the shredder
body (1).
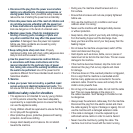
2. Push the legs (8) into
position.
3. Align the holes in the
legs with the fixing holes in
the shredder body (1).
4. Secure the legs using
the hex bolts (14) and
wave washers (21) using
the small allen key (17)
supplied.
WARNING. To ensure the
stability of the shredder, make
sure that the cap headed
bolts and wave washers are
securely tightened.
8


