


User’s Manual
8
POWER
POWER SOURCE:
1. Make sure that the power cord is the correct type required in your area.
2. This LCD monitor has an 12V DC Adapter power supply that allows operation in either
100/120V AC or 220/240V AC voltage area (No user adjustment is required.)
3. Connect the AC-power cord one end to the adapter AC-input socket, the other end to wall-outlet,
then connect the DC-plug to your monitor.
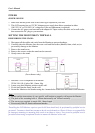
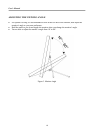
SETTING THE MONITOR ON THE WALL
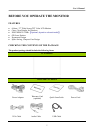
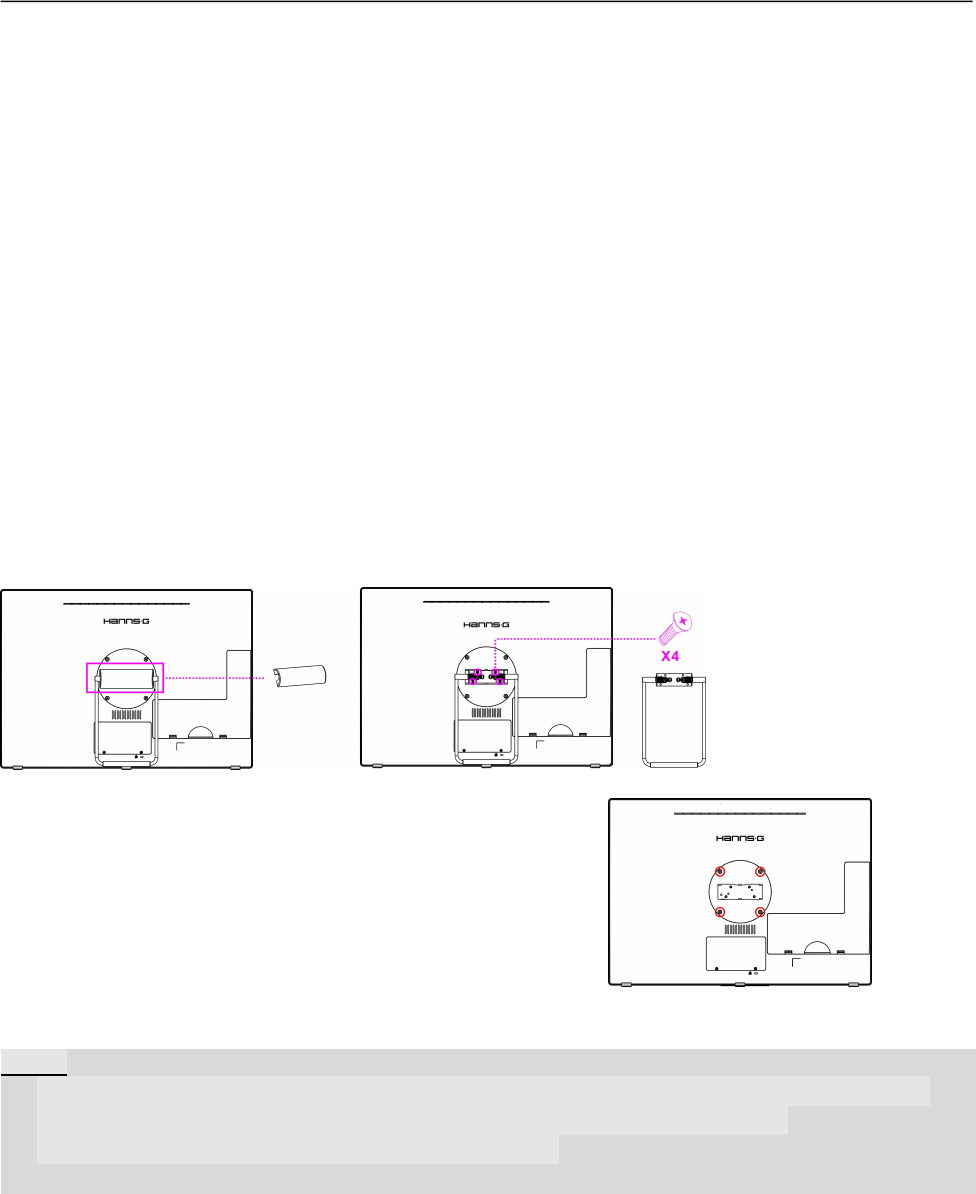
DISSEMBLING THE STAND :
1. Disconnect all the cables and cords from the Monitor to prevent breakage.
2. Carefully place the Monitor face down on a soft and flat surface (blanket, foam, cloth, etc) to
prevent any damage to the Monitor.
3. Remove the stand cover.
4. Remove the screws so that the stand can be removed.
5. Gently remove the stand.
(For reference only)
1. Purchase a VESA compatible wall bracket:
VESA 100×100, 4 holes, M4, 10mm, 8kg.
2. Locate your ideal Monitor position on the wall.
3. Fix the wall bracket firmly on the wall.
4. Secure the Monitor to the bracket using the 4 mount holes on the back and center of the Monitor.
Note:
Please read the instructions of your specific wall bracket to properly wall mount the Monitor.
The pitch of the mounting holes is 100mm horizontally and 100mm vertically.
The screws type required is metric: M4, 10mm length.
For use only with UL listed wall mount bracket.
*Installing the LCD Monitor requires special skill that should only be performed by qualified service
personnel. Customers should not attempt to do the work themselves. Hanns.G bears no responsibility
for improper mounting or mounting that results in accident or injury. You can ask a qualified service
personnel about using an optional bracket to mount the Monitor to the wall.