


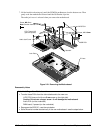
HP OmniBook 2100/3000/3100 Removal and Replacement 2-23
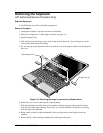
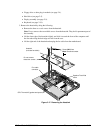
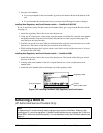
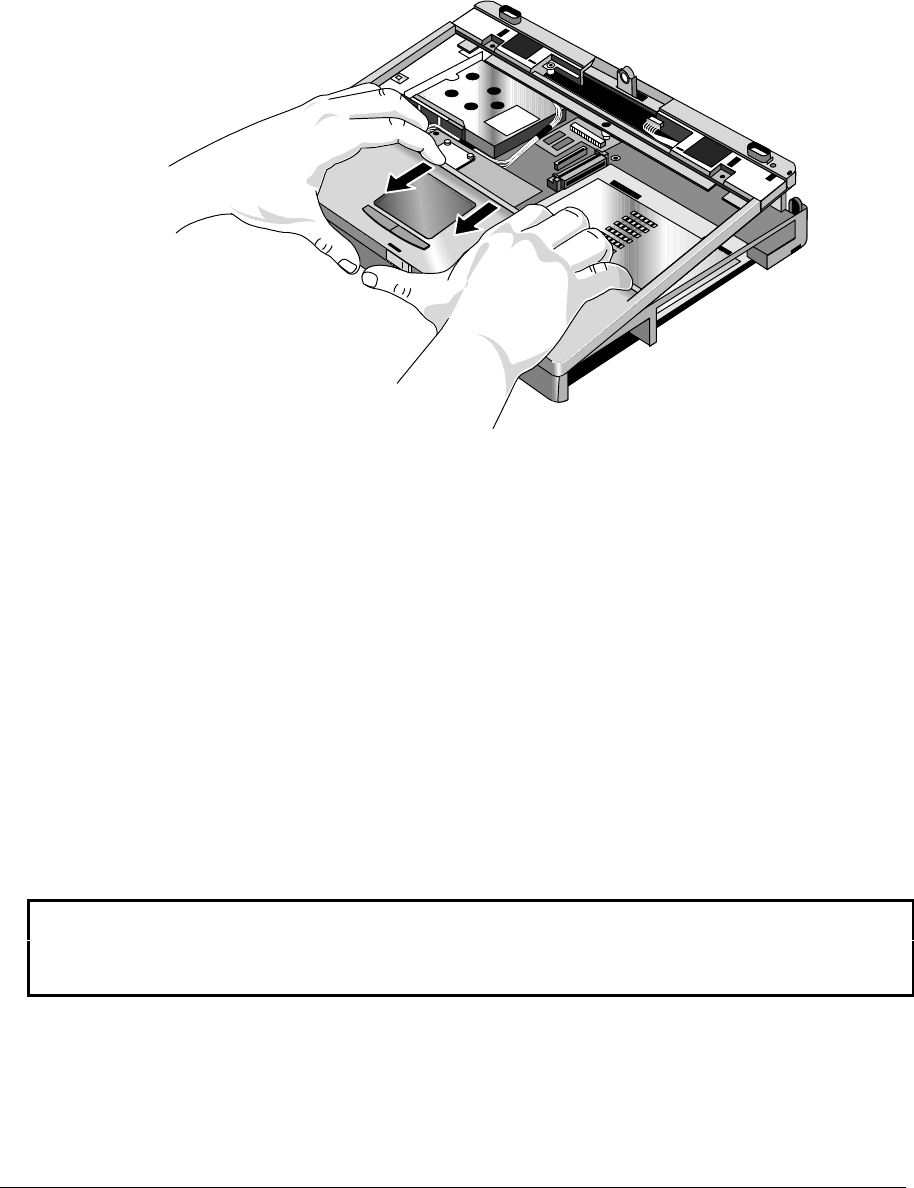
7. Lift up along the back edge of the top case until that edge is free.
8. Place your thumbs on the front of the bottom case and your fingertips wrapped around the back of
the palmrest. Lift the back of the top case about 4 cm, then gently but firmly pinch the case
forward—until the four snaps release along the front edge.
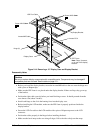
Figure 2-19. Removing the Top Case
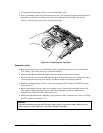
Reassembly Notes
• Before you install the top case and heatsink, make sure the left-rear screw is not installed in the
CPU module. (You install it after you install the heatsink.)
• Make sure the IR/icon cable and speaker cables are properly routed and restrained.
• Place the top case over the front latch but tilted up at the back, then pull forward and down along
the front edge until the snaps lock. Finally, seat the back edge over the hinge brackets.
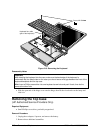
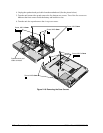
• Route the speaker/touch-pad cable so it does not overlap the CPU module or PCMCIA housing.
(See Figure 2-17.)
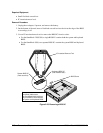
• Before installing the heatsink, make sure a rubber spacer is stuck to the back-right corner of the
CPU module. If the thermal pad on top of the CPU is damaged, replace it. (Both parts are
included in the CPU thermal kit.) (See Figure 2-17.)
• When installing the heatsink, remember to plug in the fan cable, and make sure it does not overlap
the CPU module. (See Figure 2-17.)
Caution
The three heatsink screws have M2 threads, slightly smaller than other screws. Make sure you
use the correct screws. Otherwise, you could damage the threads.